|
Topic/Lesson |
The
Details
|
-
Lesson 1
(Updated 10/6/2024)
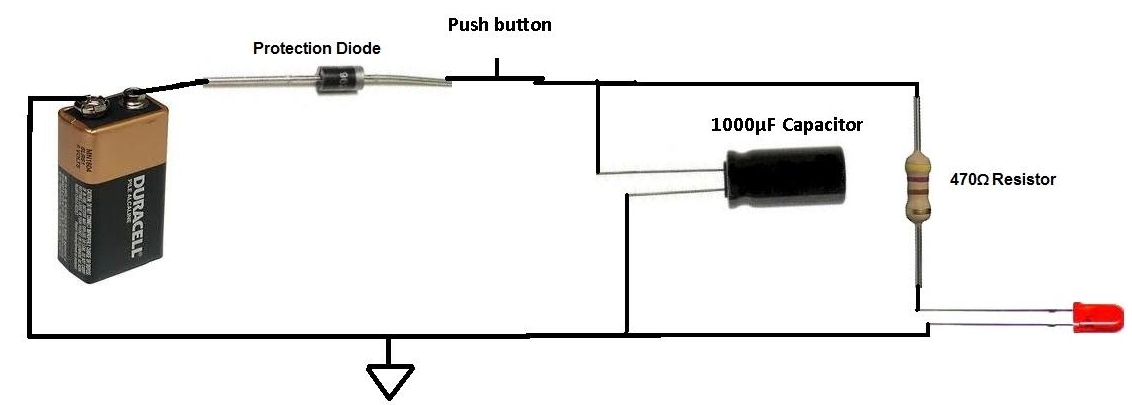
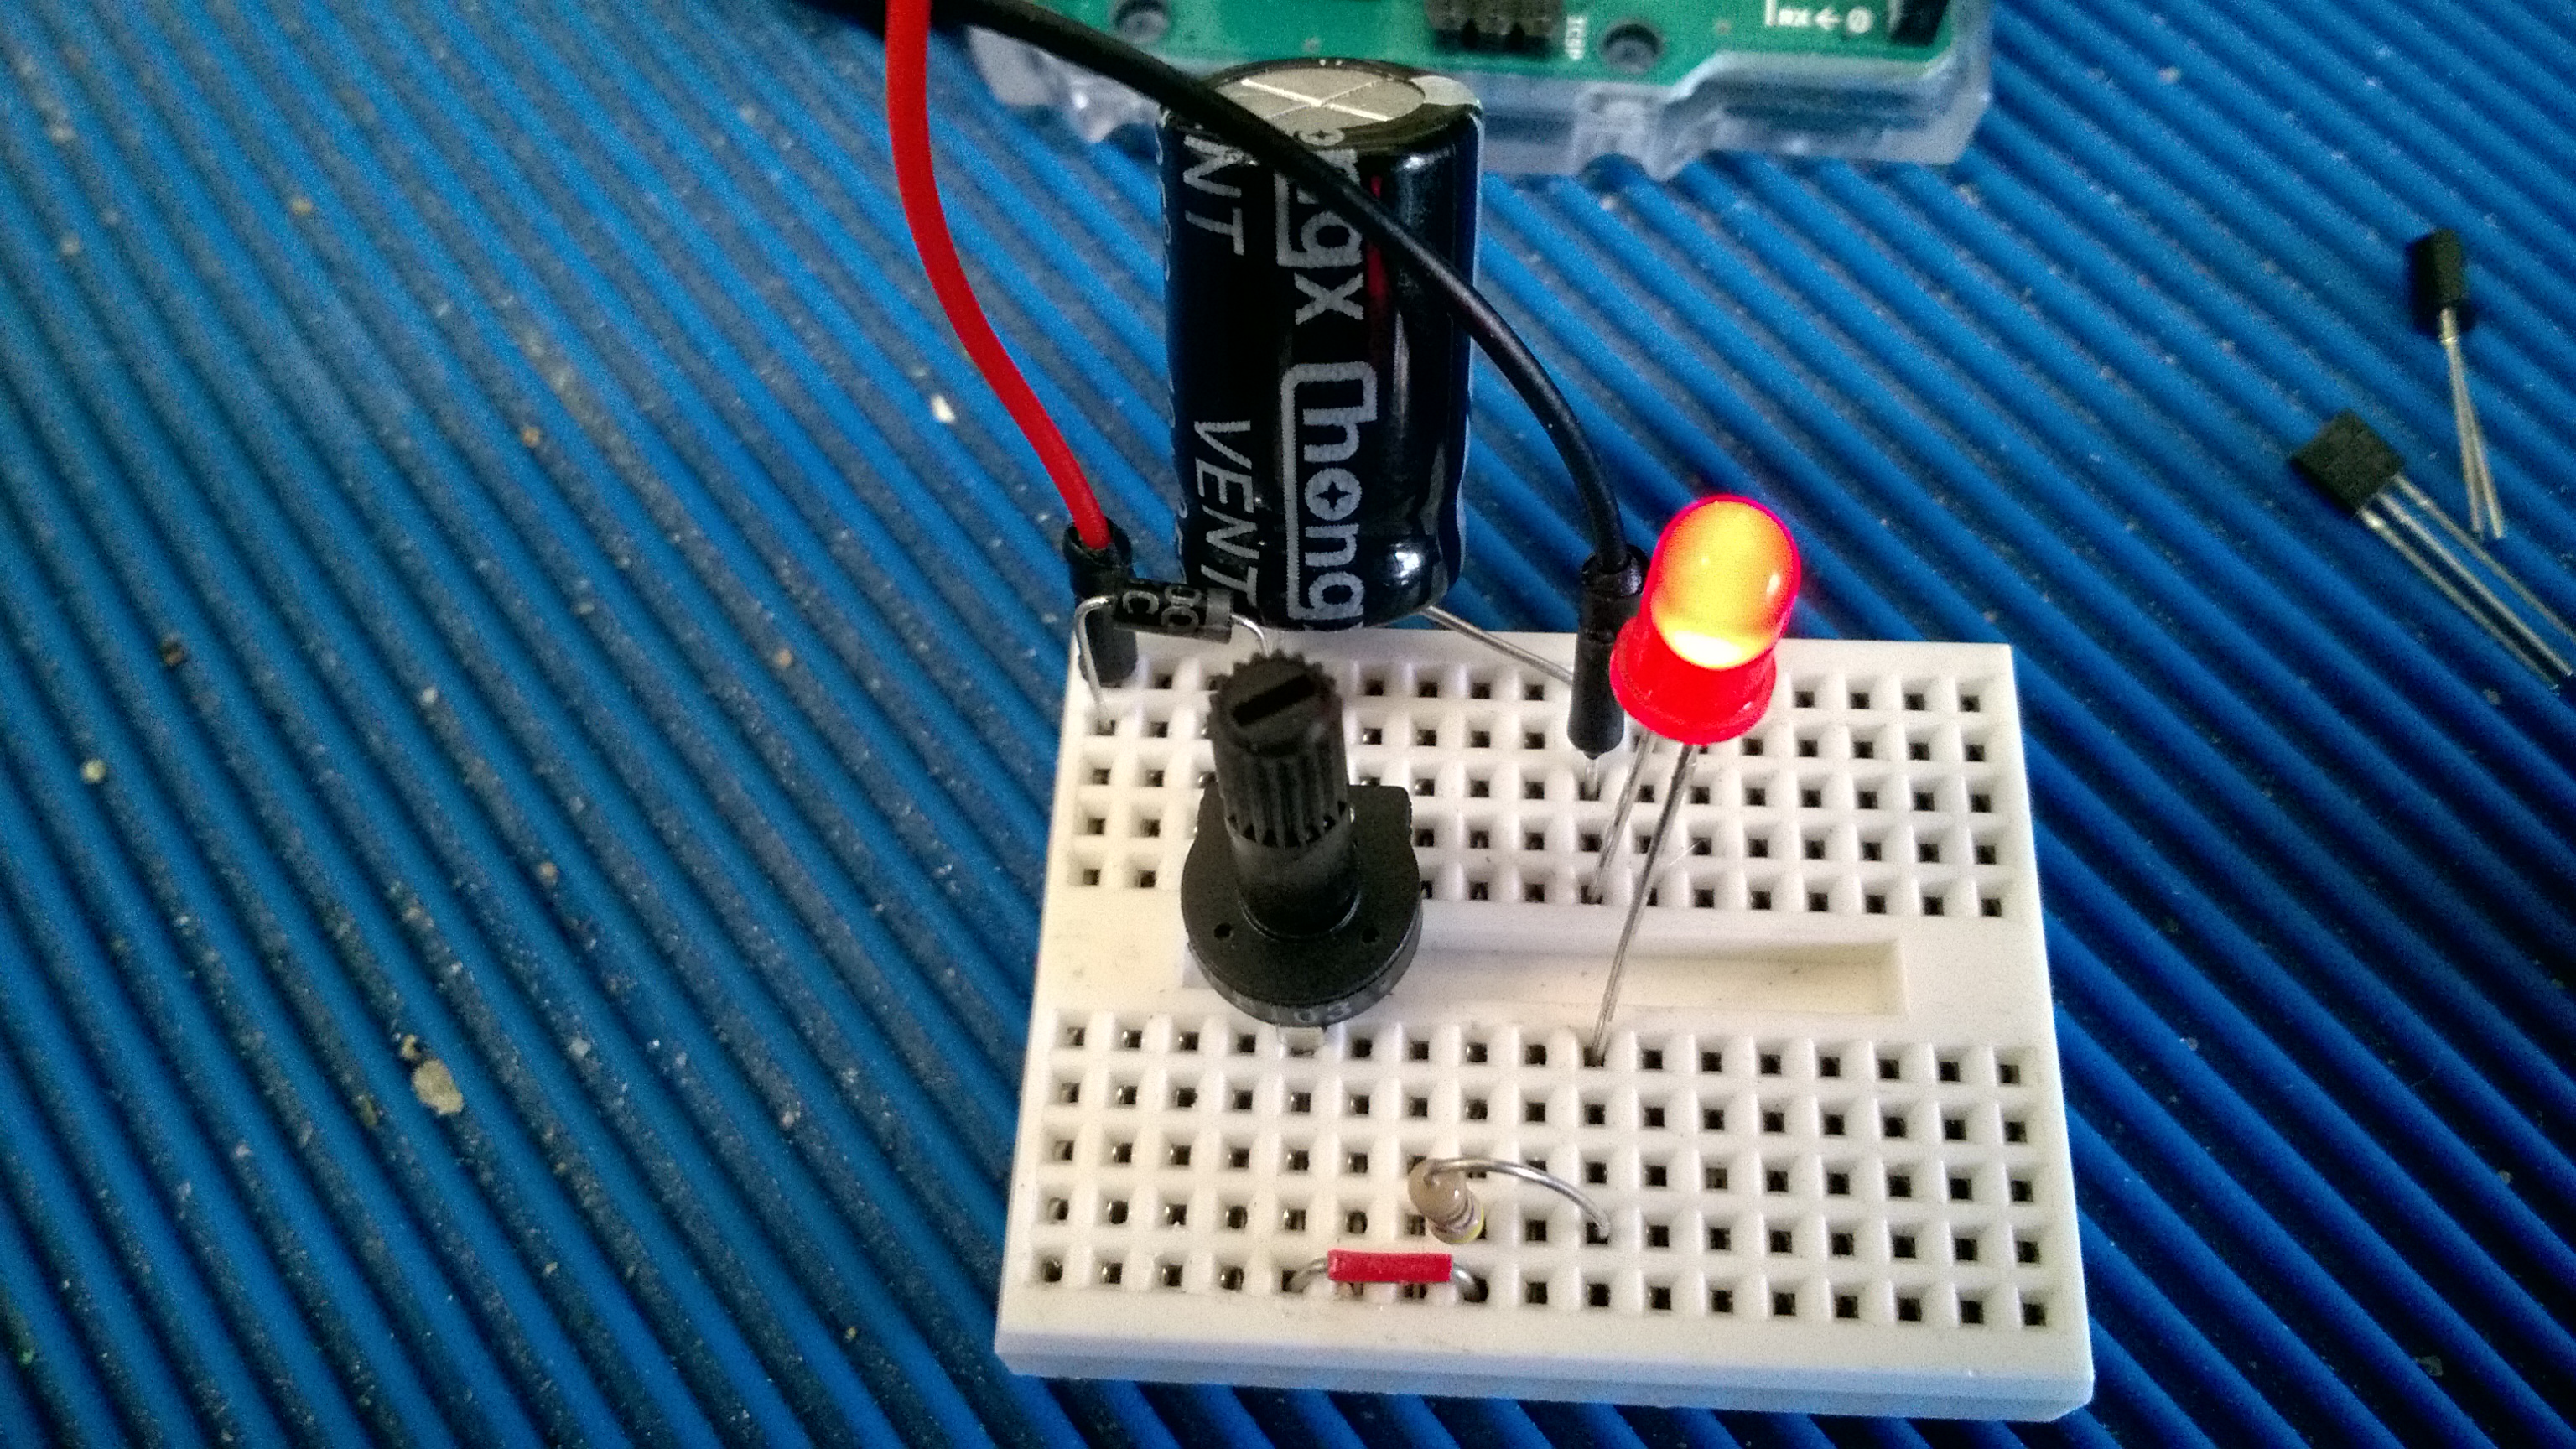
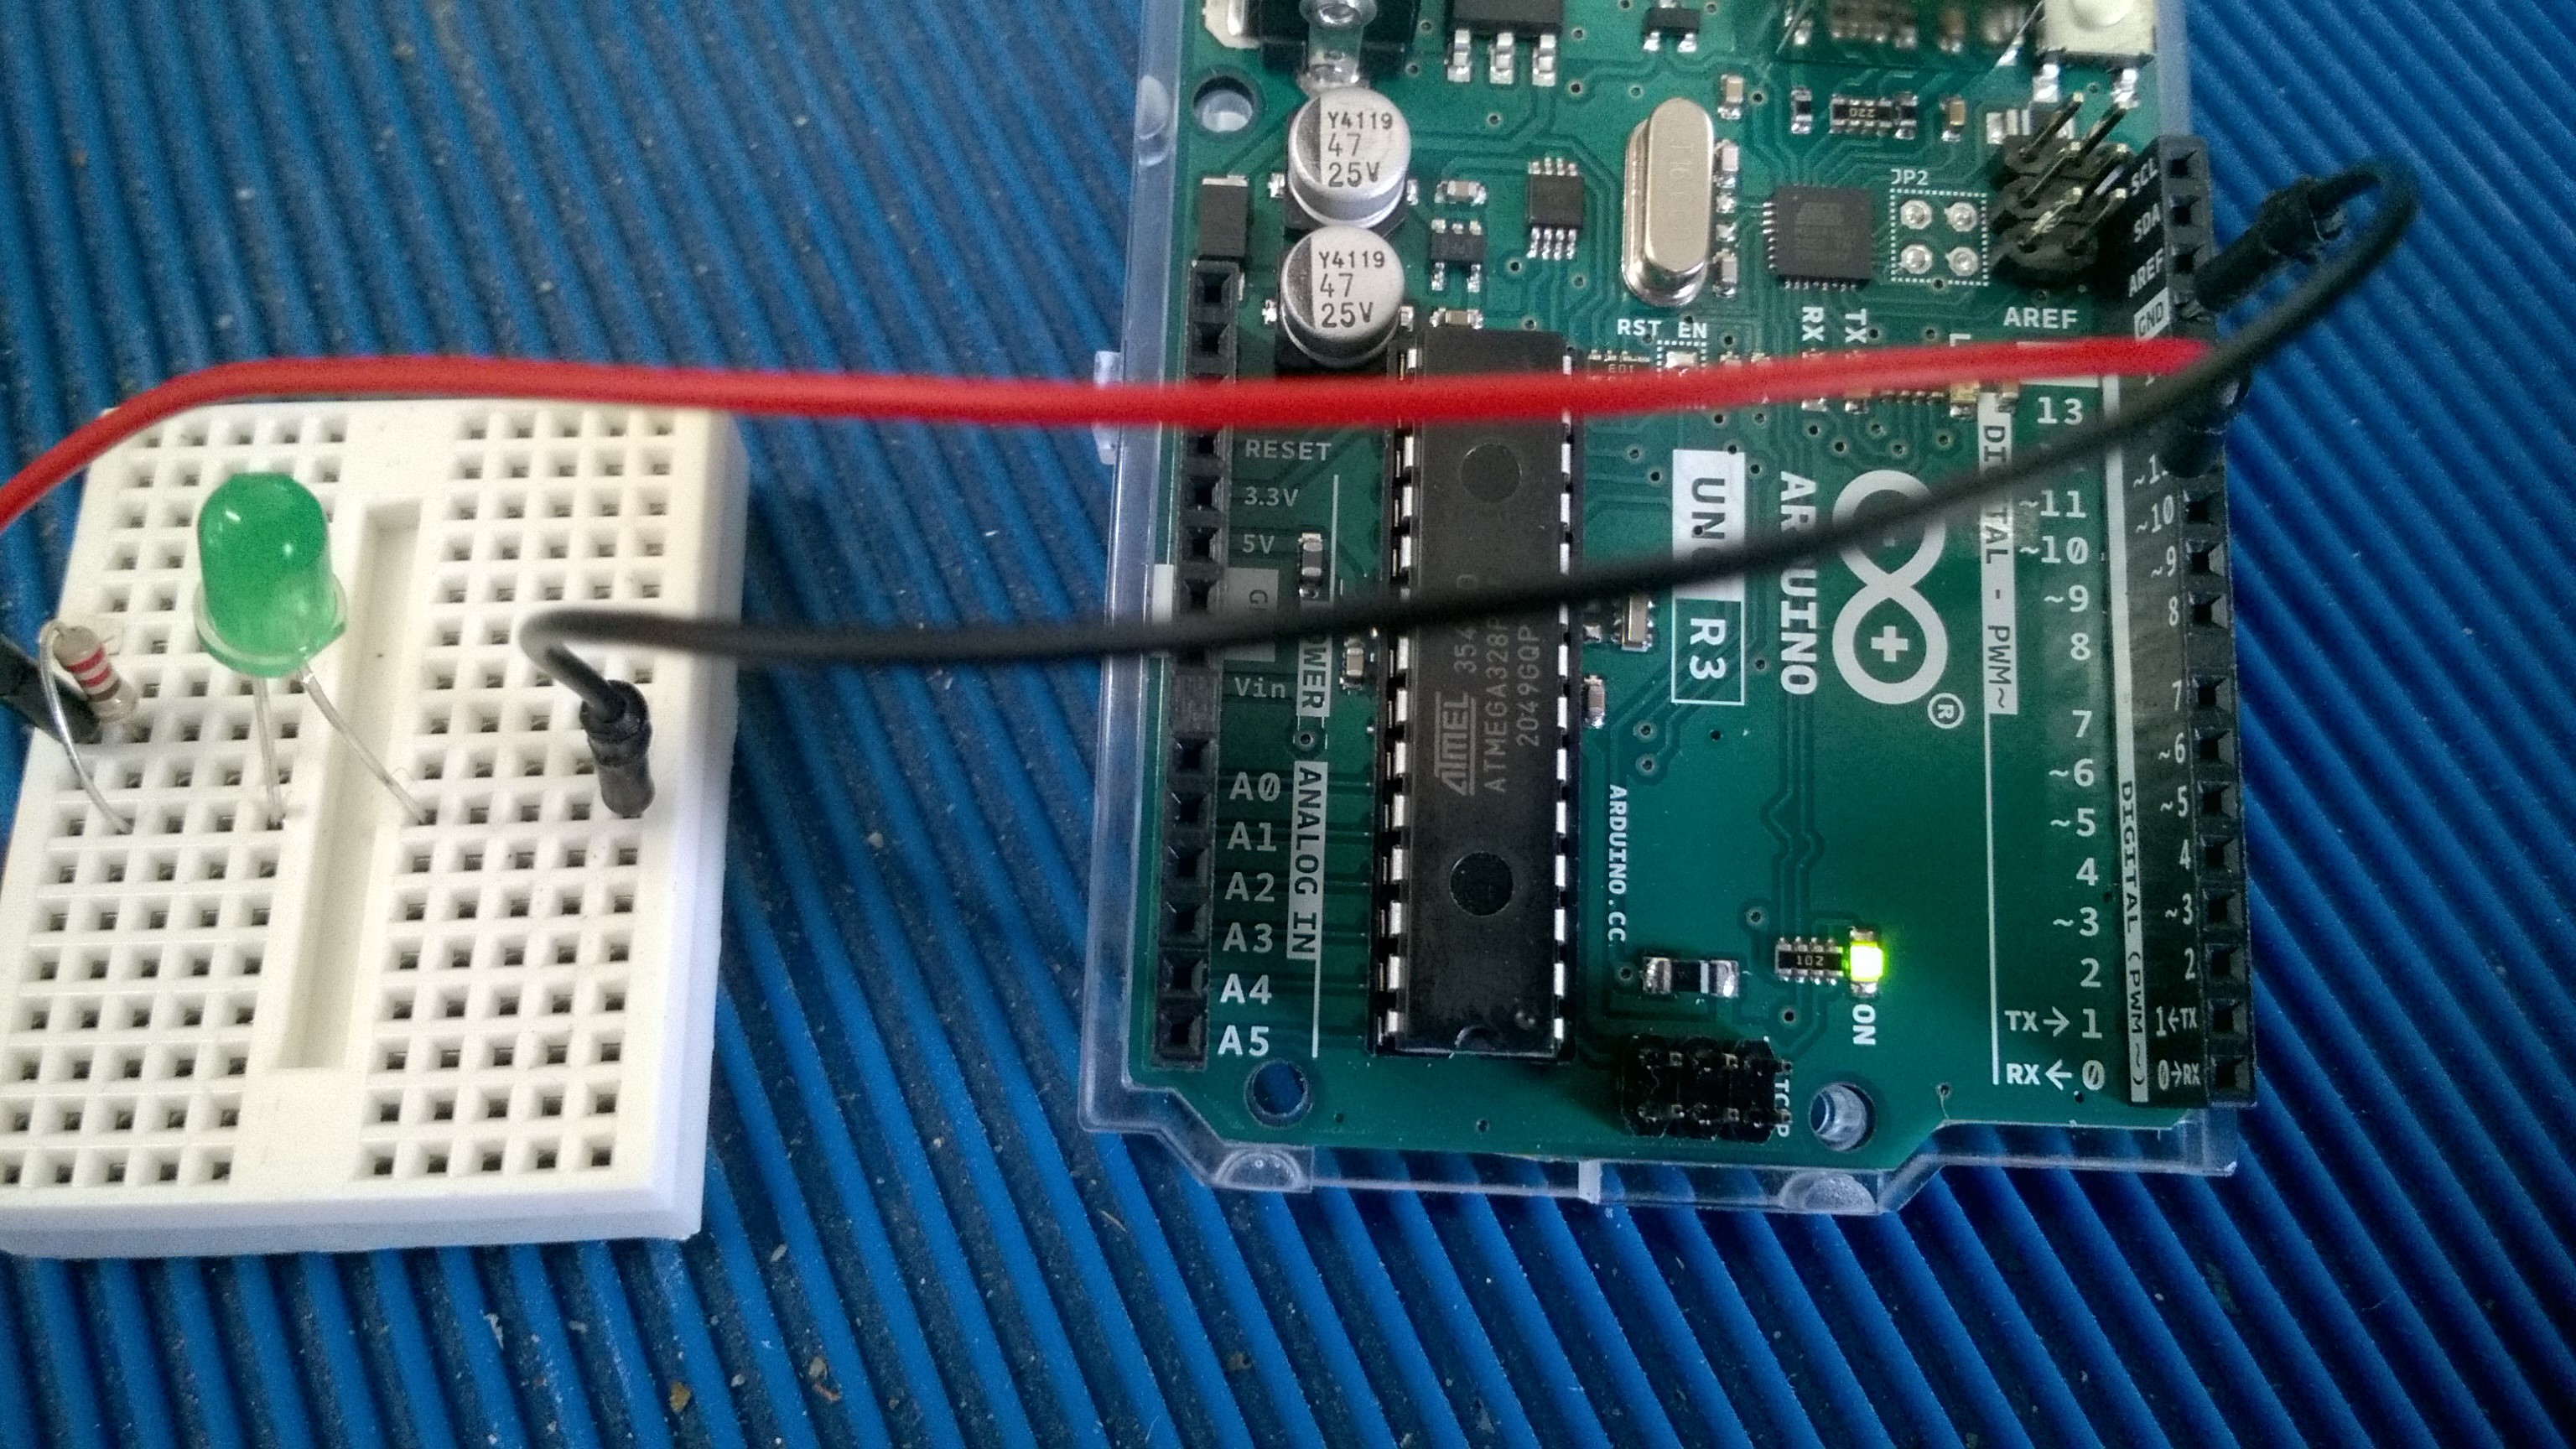
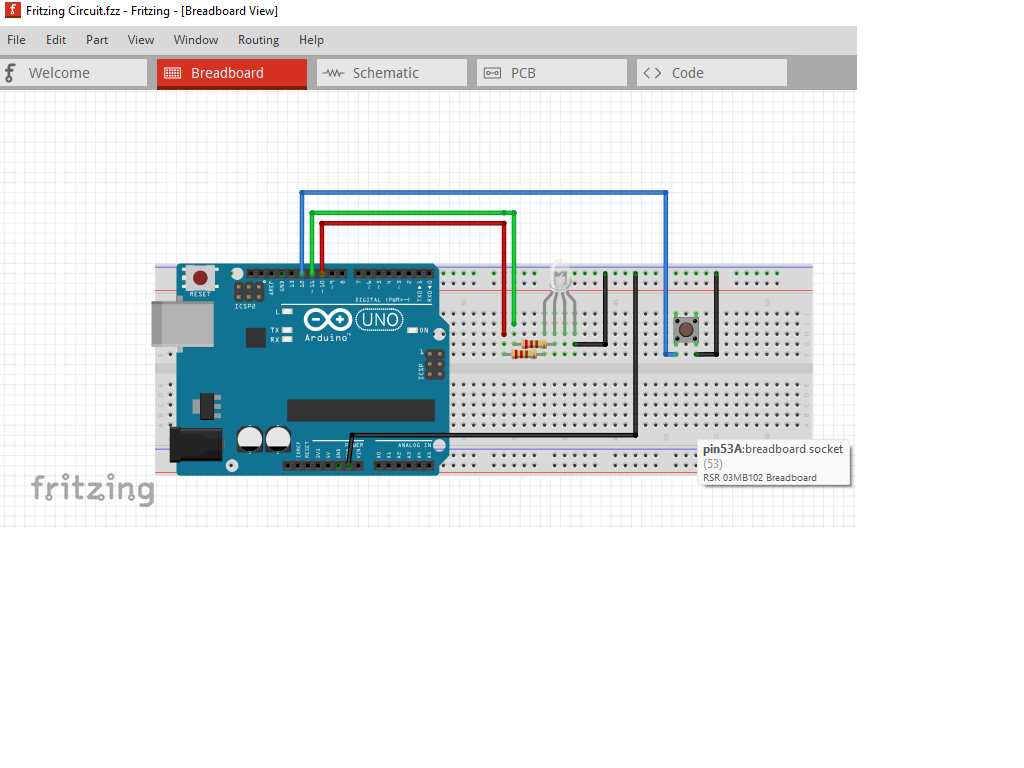
Getting Arduino IDE set up. Learning about basic
circuits.
Create our first sketch & learn basic layout
skills.
|
- Introduction to
Electronic Circuits, Sensors, & Arduino Programming
- Arduino facts and
features
- Breadboards: how
to wire components
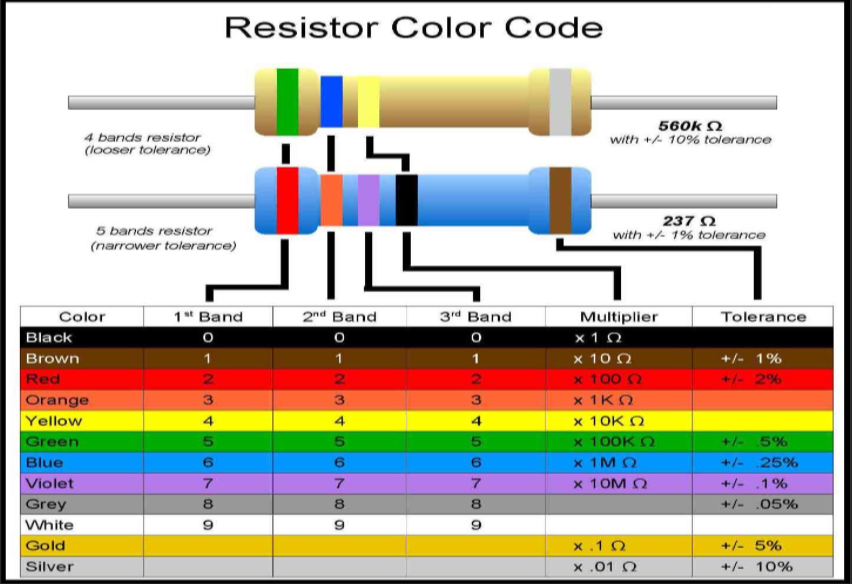
- LEDs and resistors
- Programming
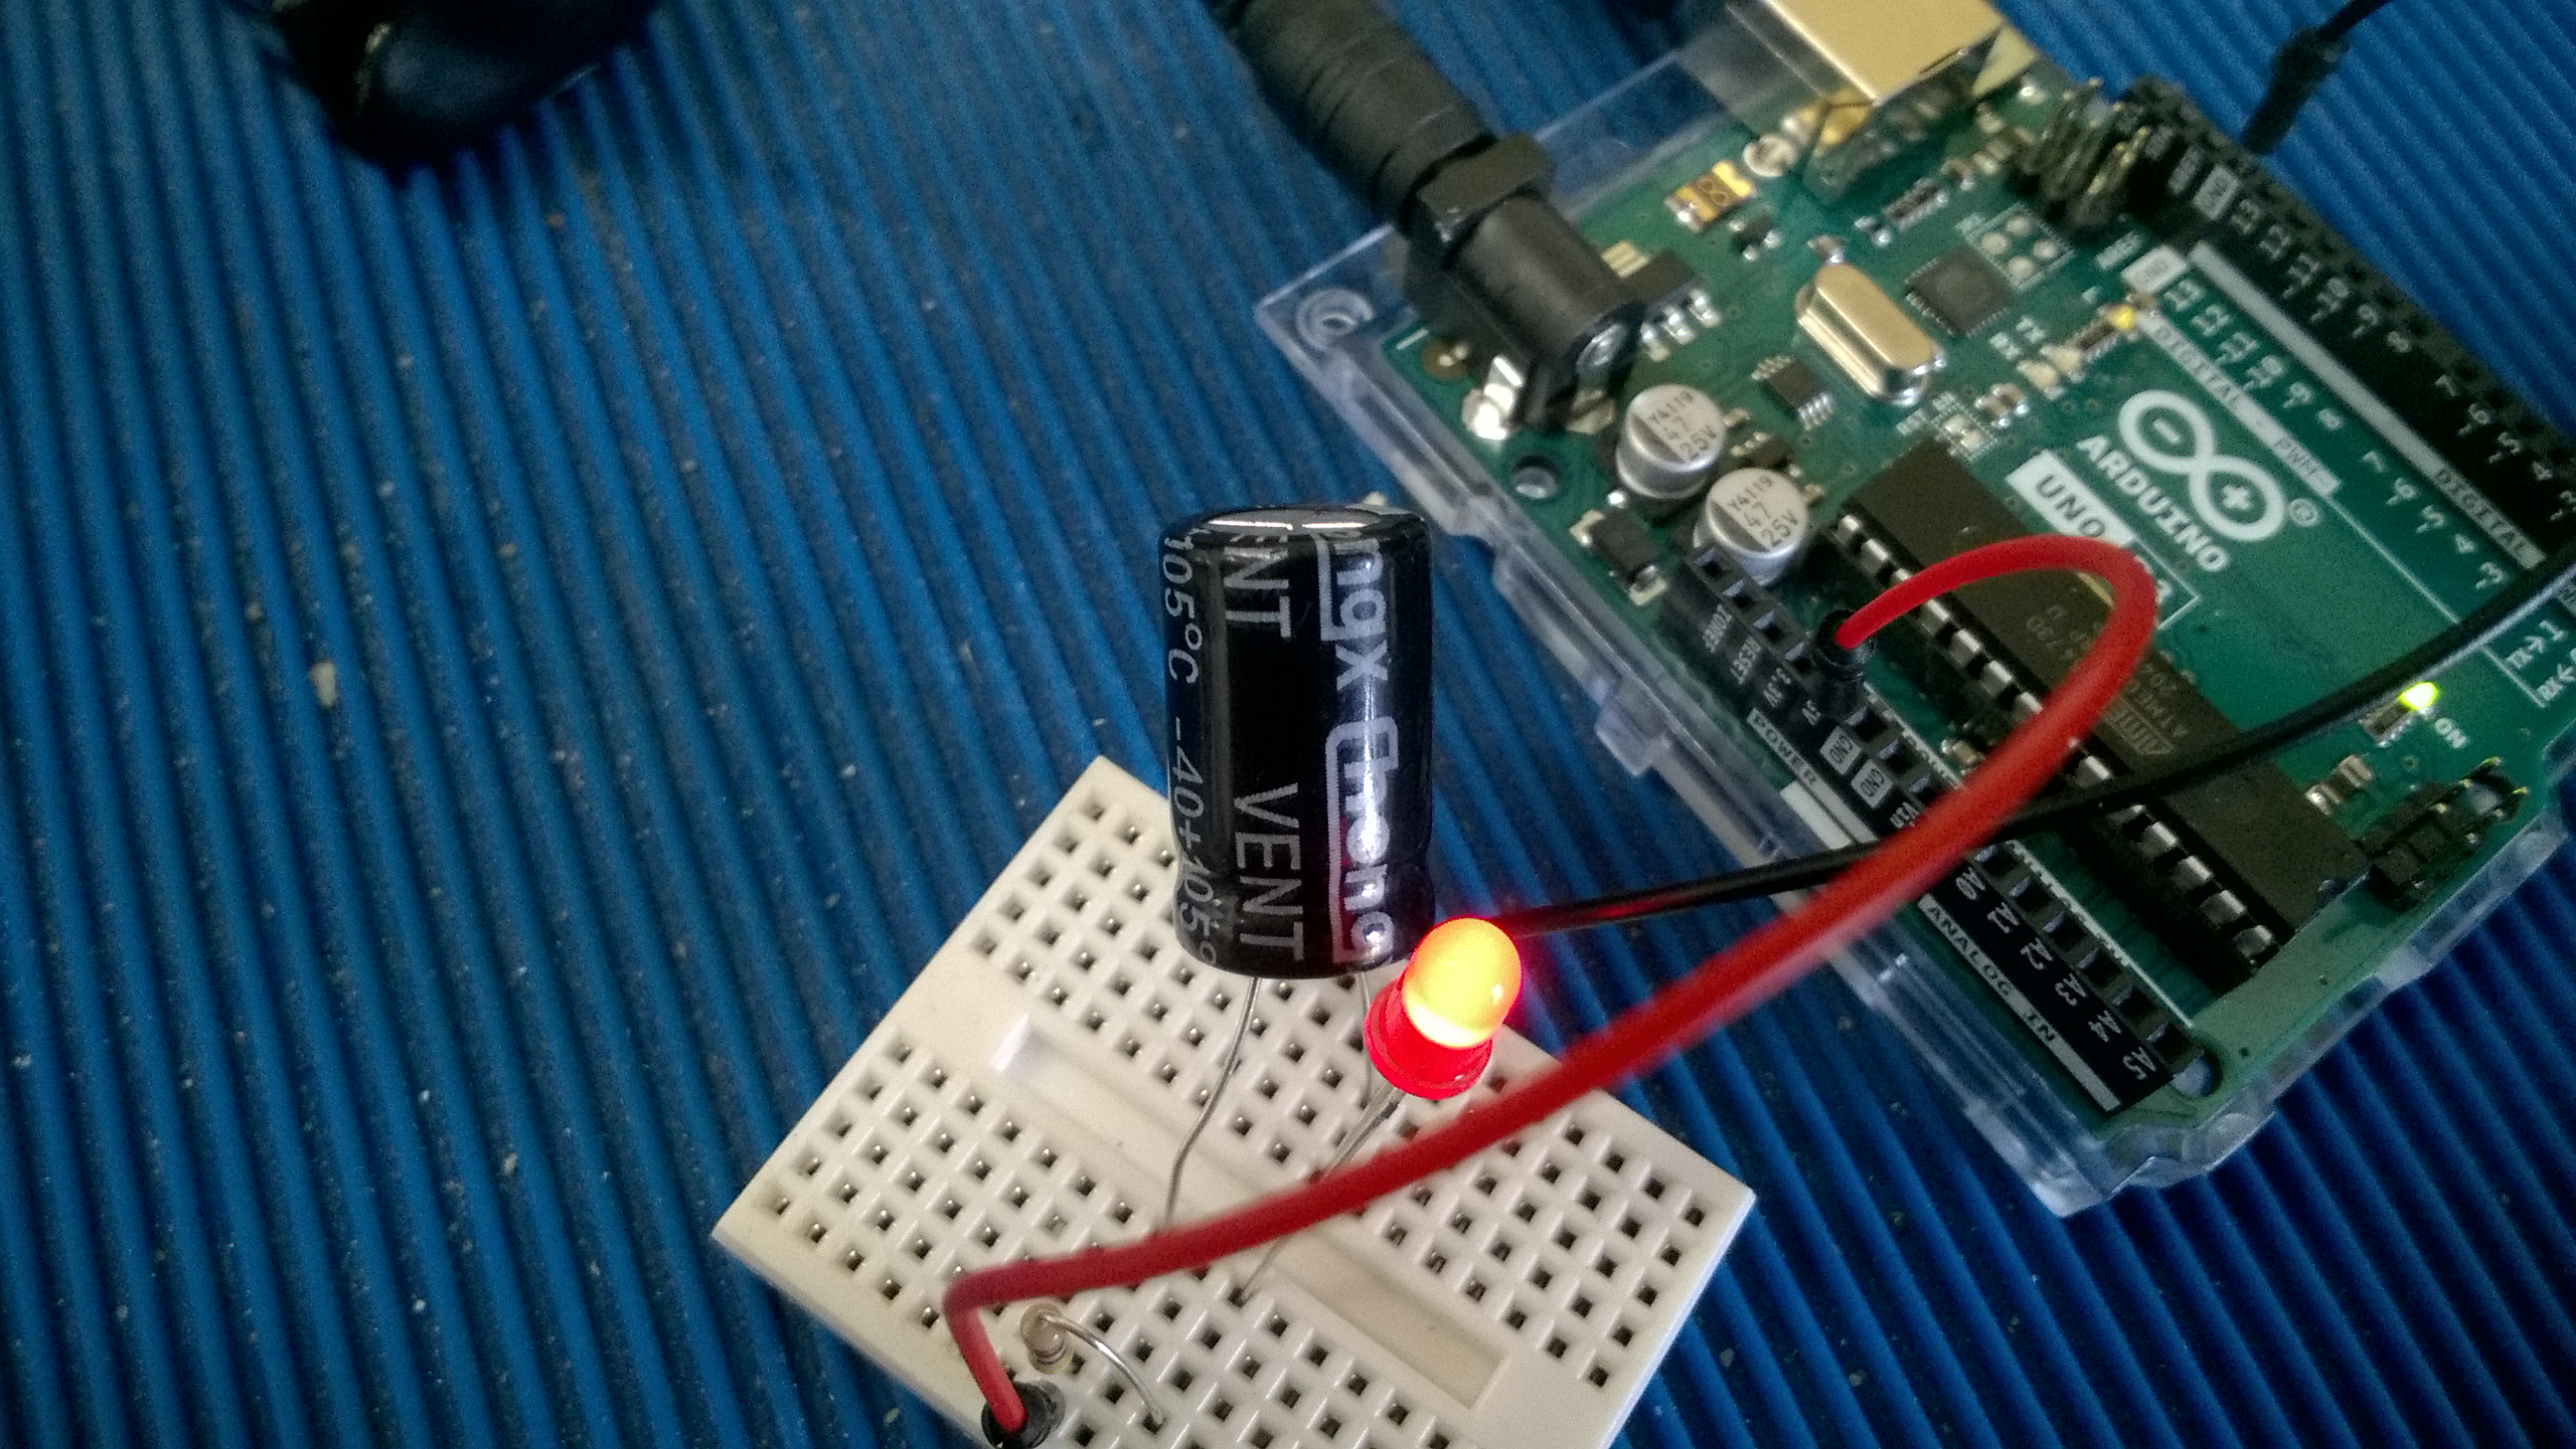
- Our first Arduino
sketch: Blinky. We will make our first
Arduino program to blink the LED on our
breadboard.
- Setup & loop
sections
- Variables
- Delay command
- DigitalWrite
command
- Setting Pin
outputs high and low
- Downloads
& Images
- Capacitive
Proximity Sensor Experiment with Arduino UNO
|
-
Lesson 2
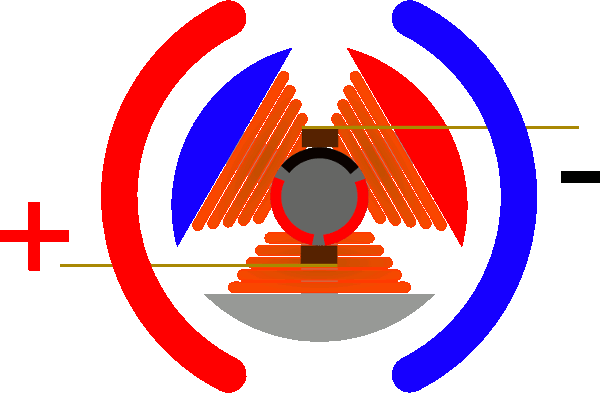
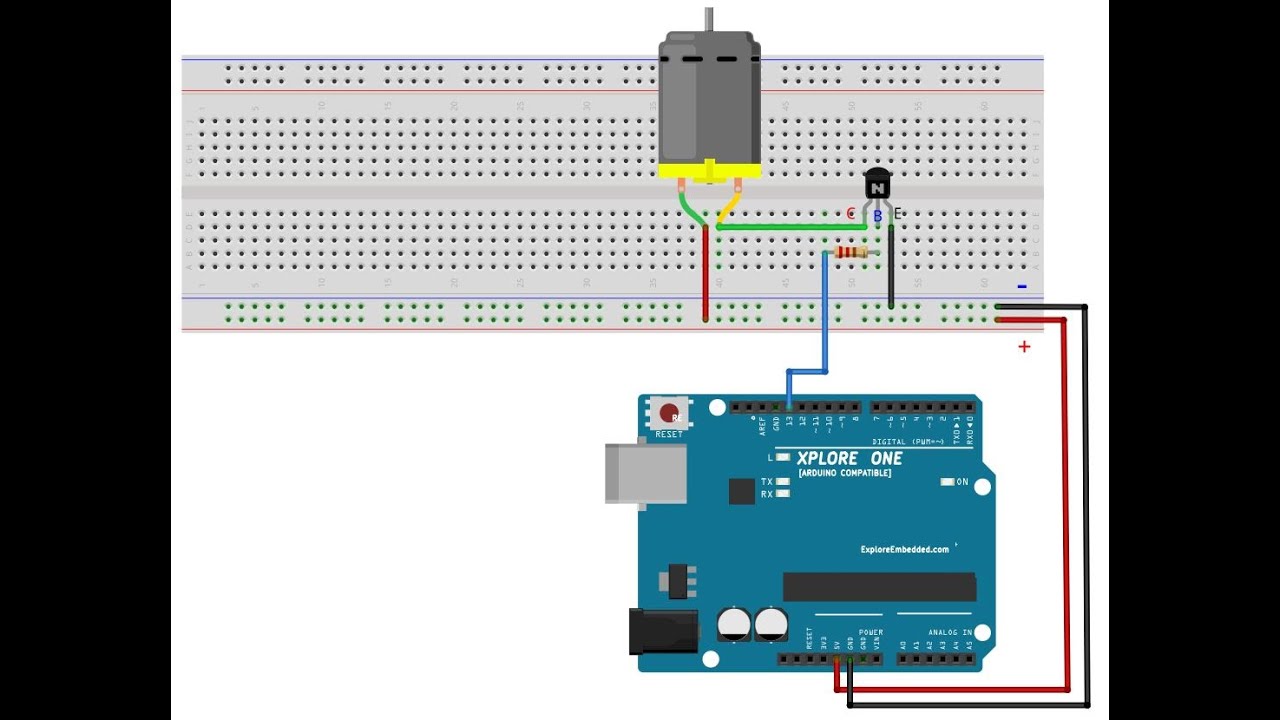
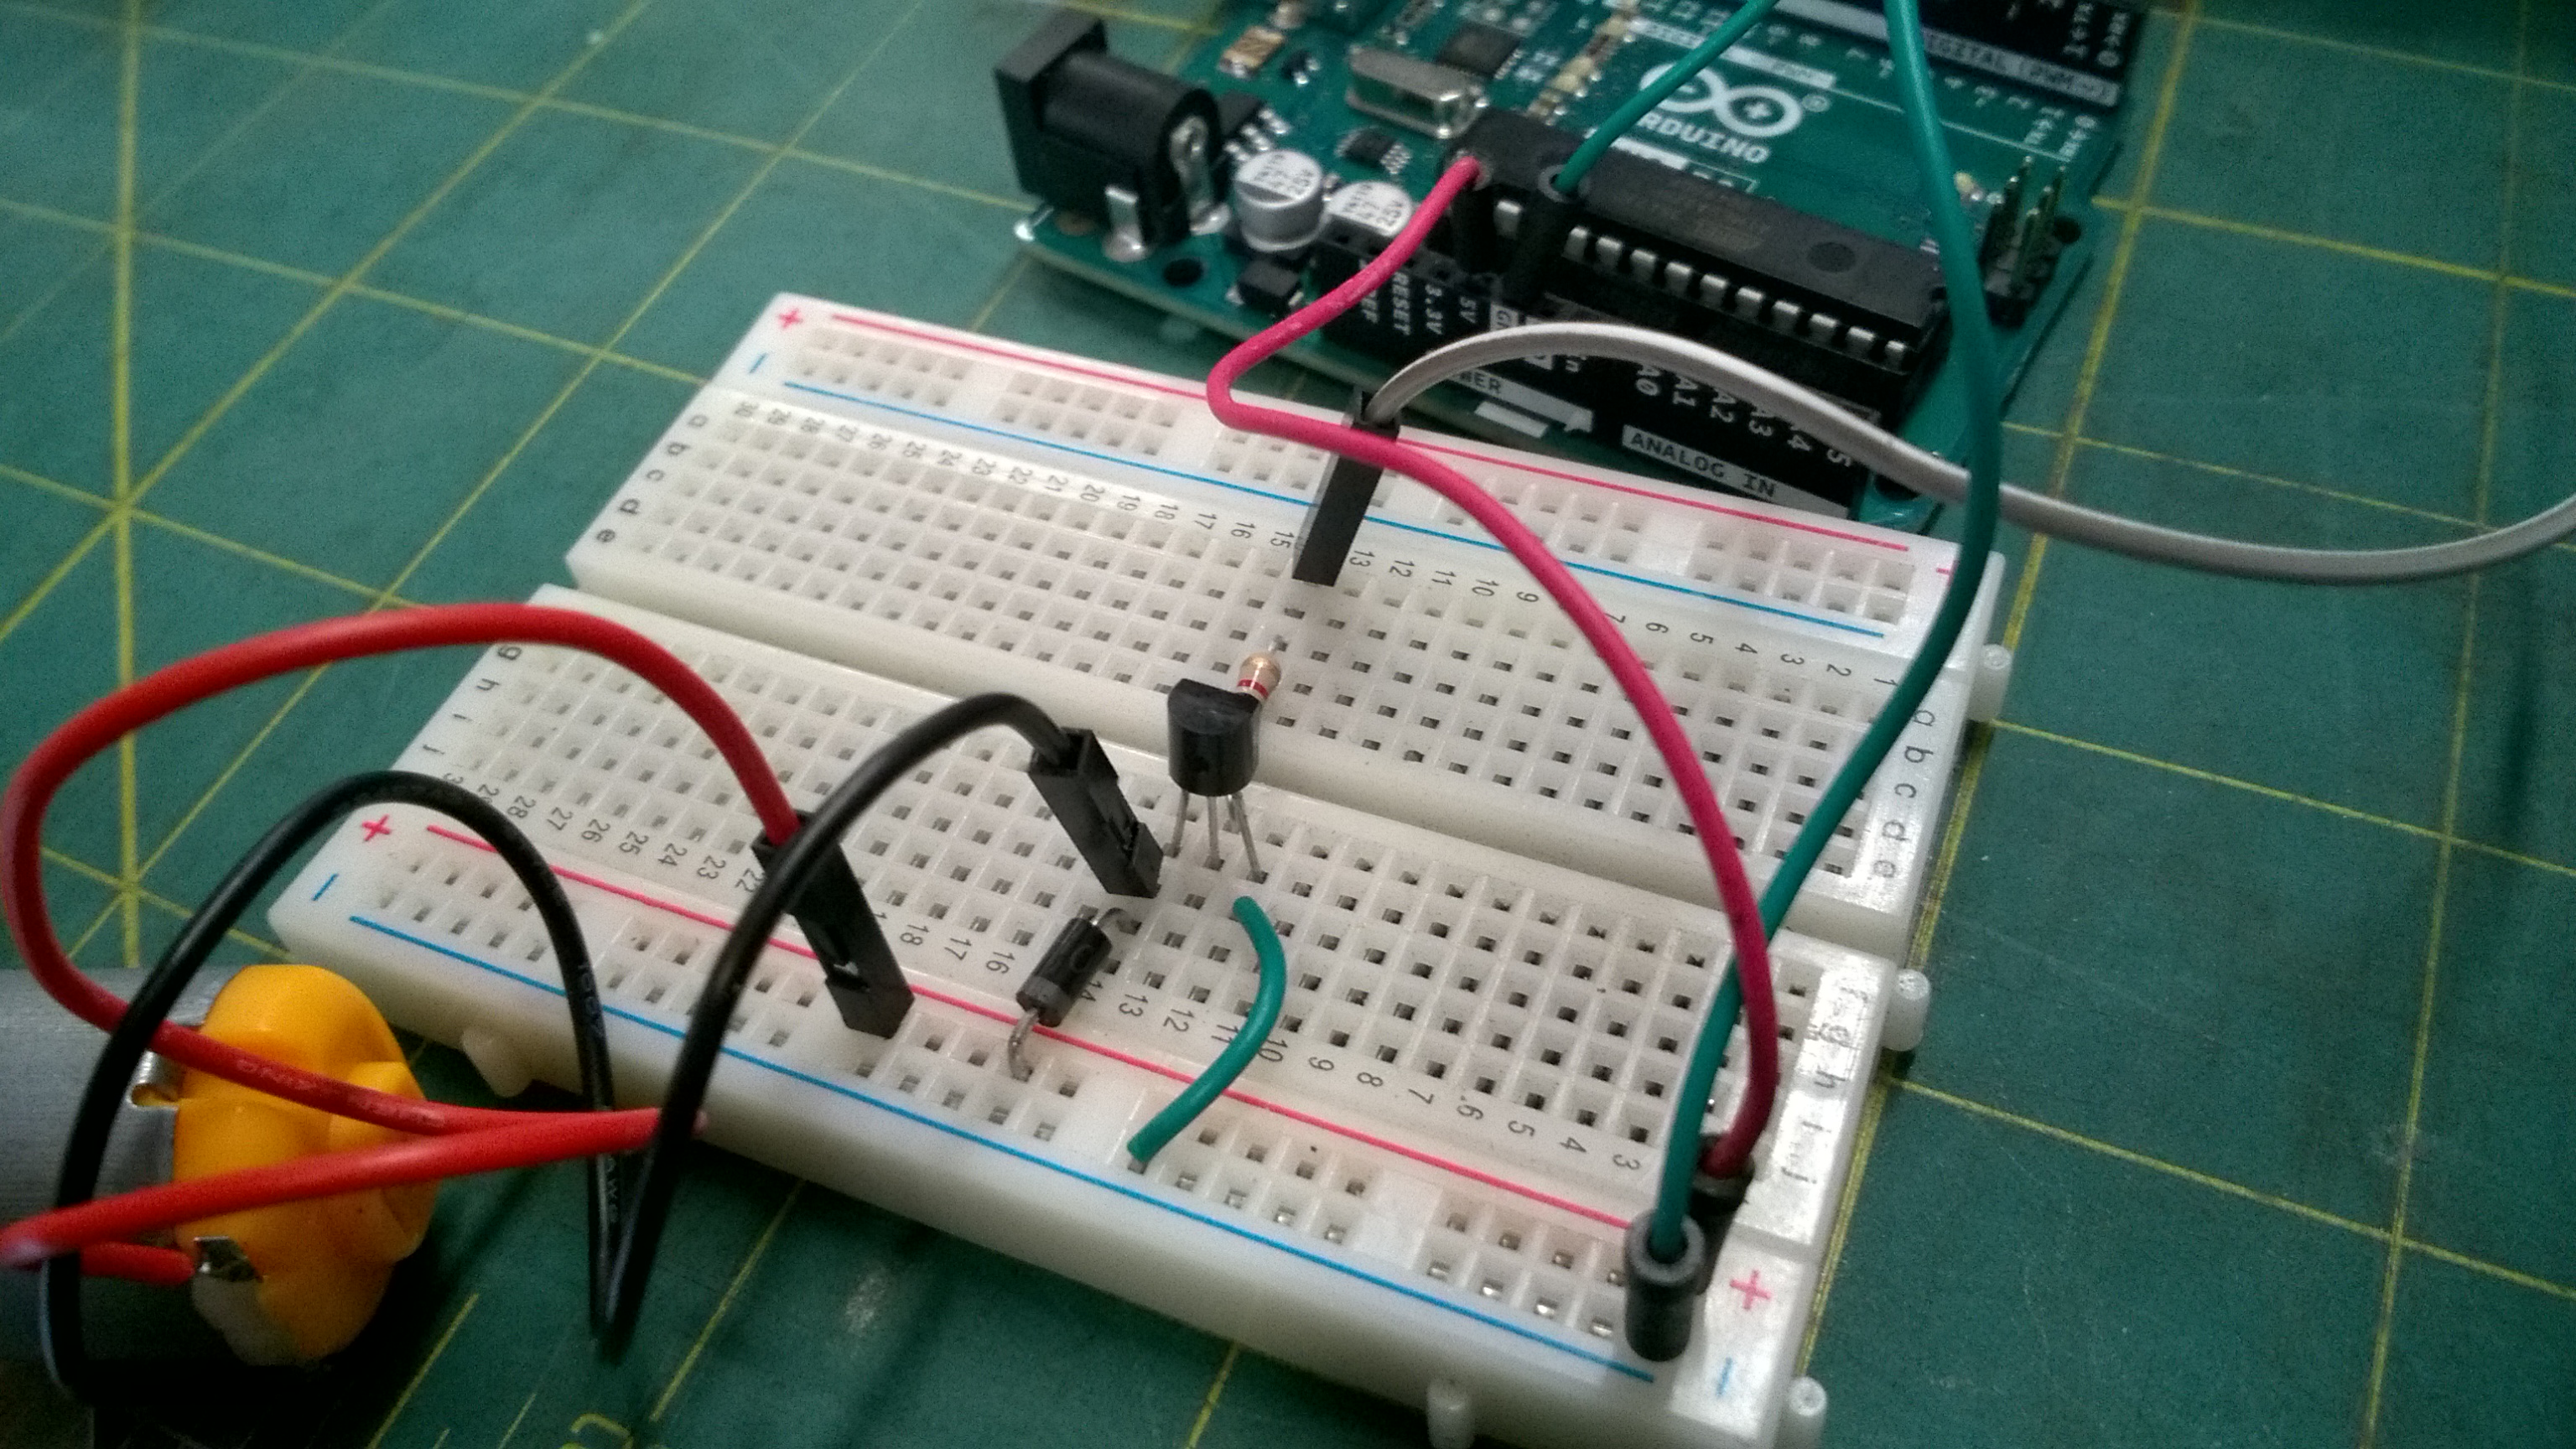
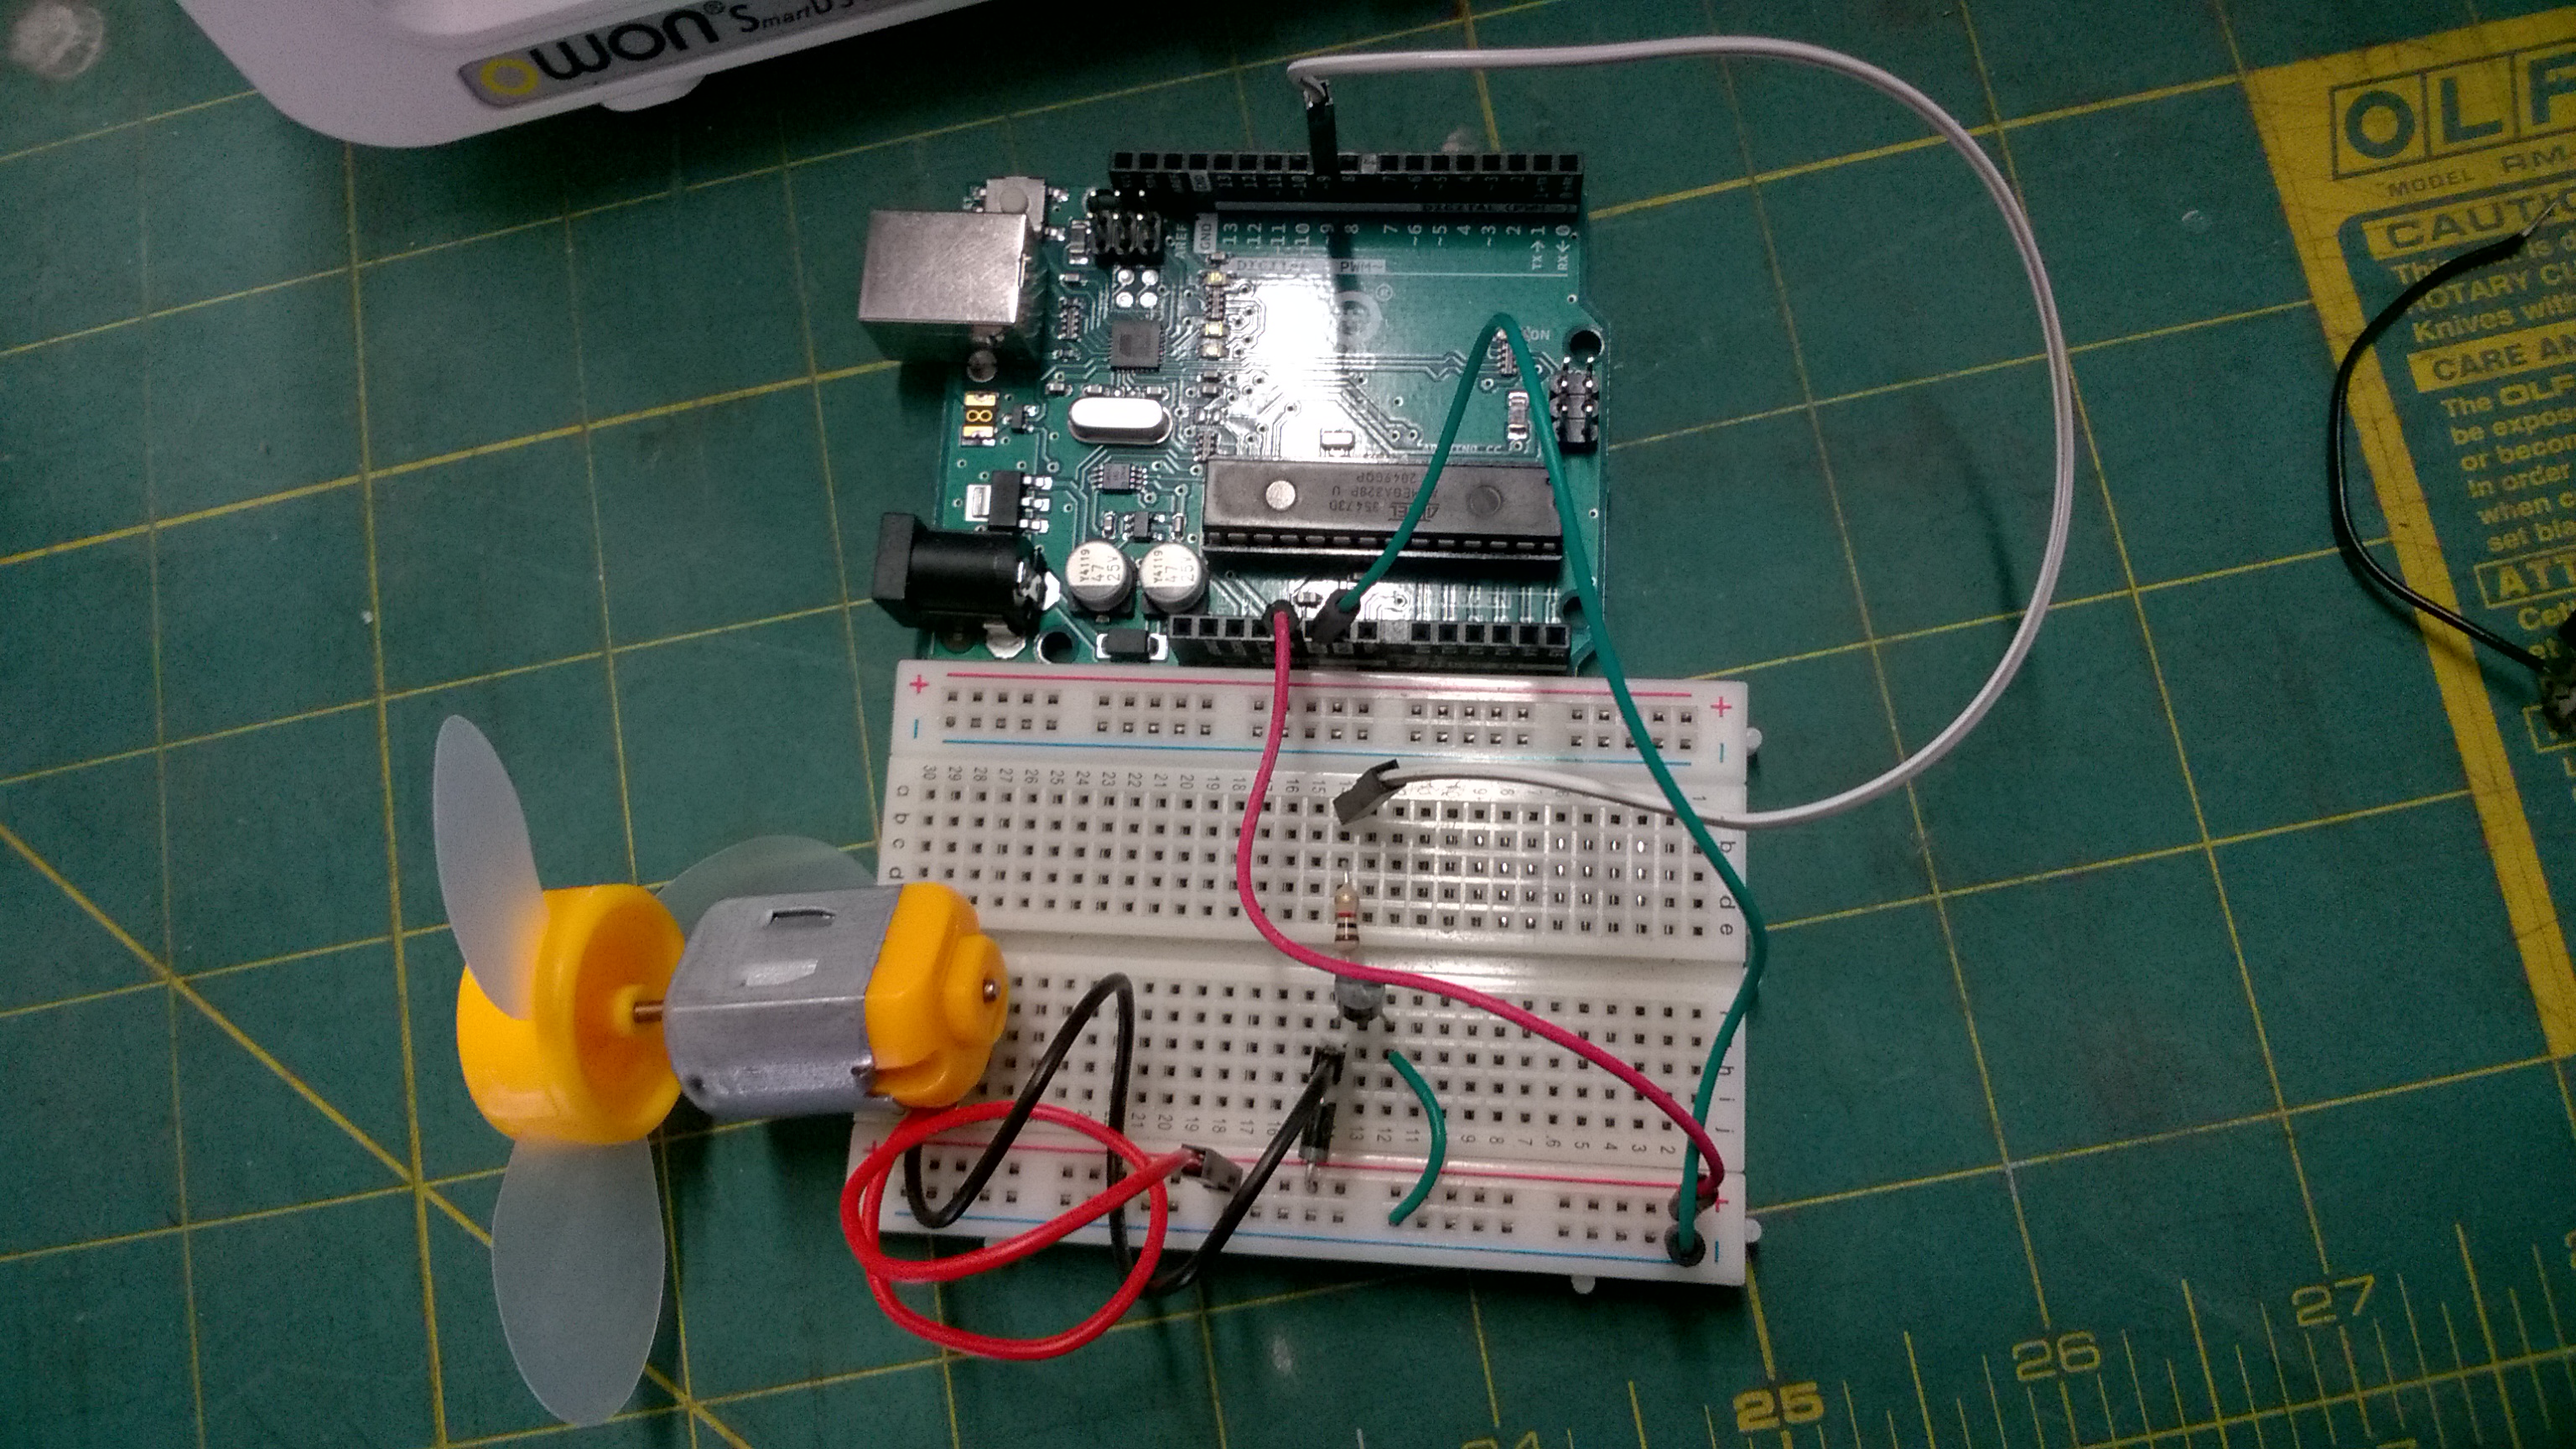
Using DC
motors. How to use diodes & transistors to
control a motor.
Working with
H-Bridges to drive DC Motors.
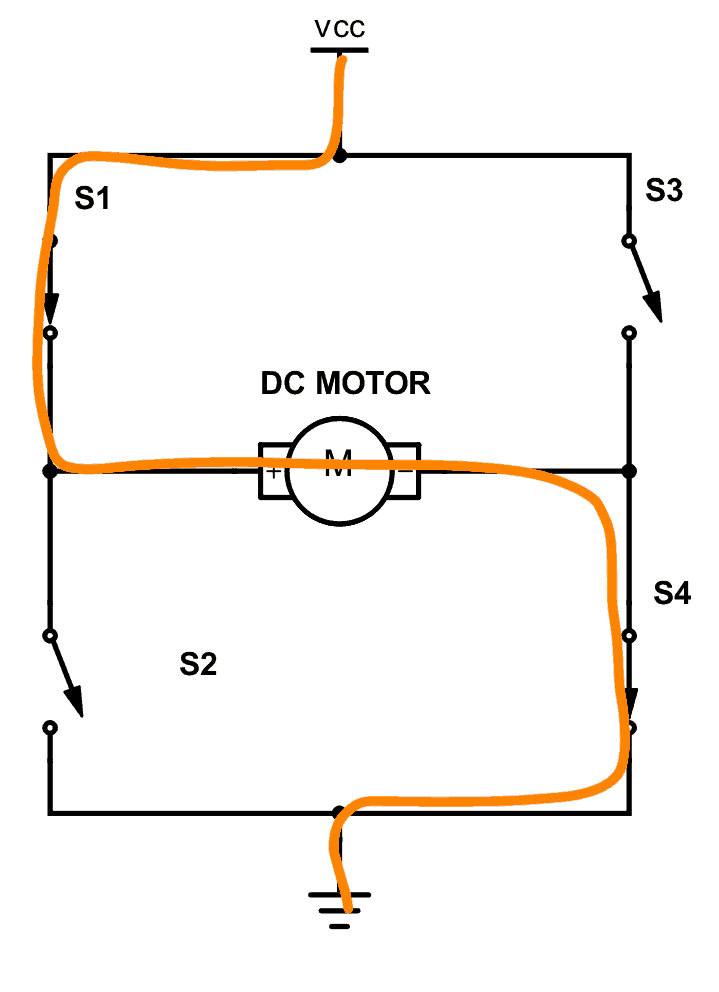
-
H-Bridge using switches.
|
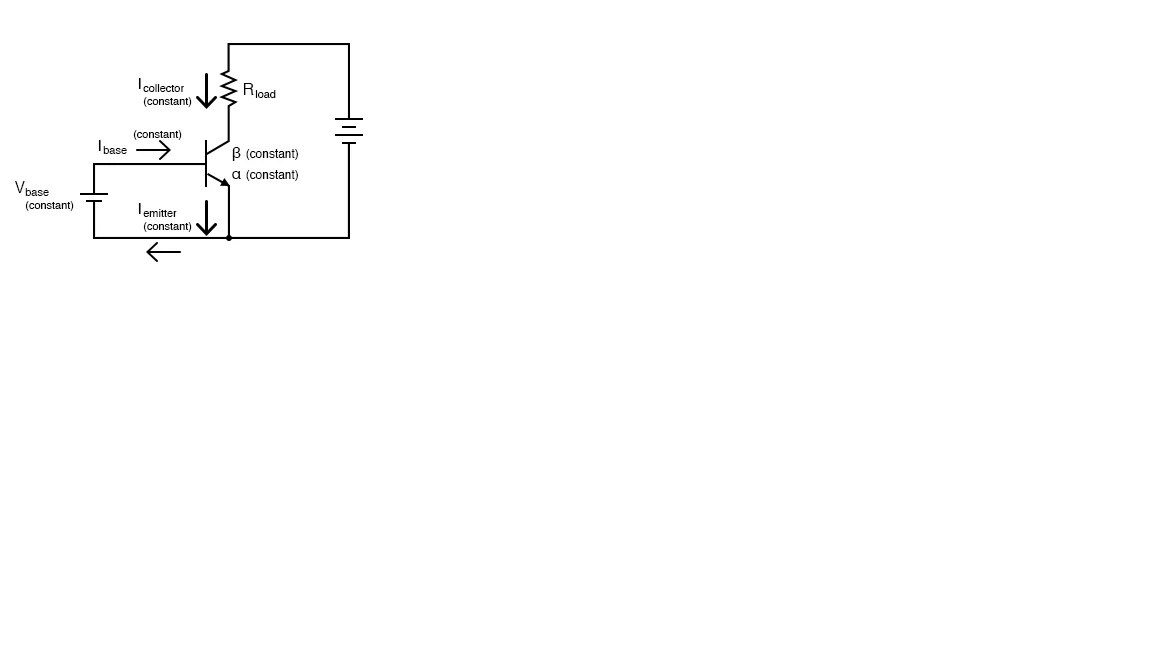
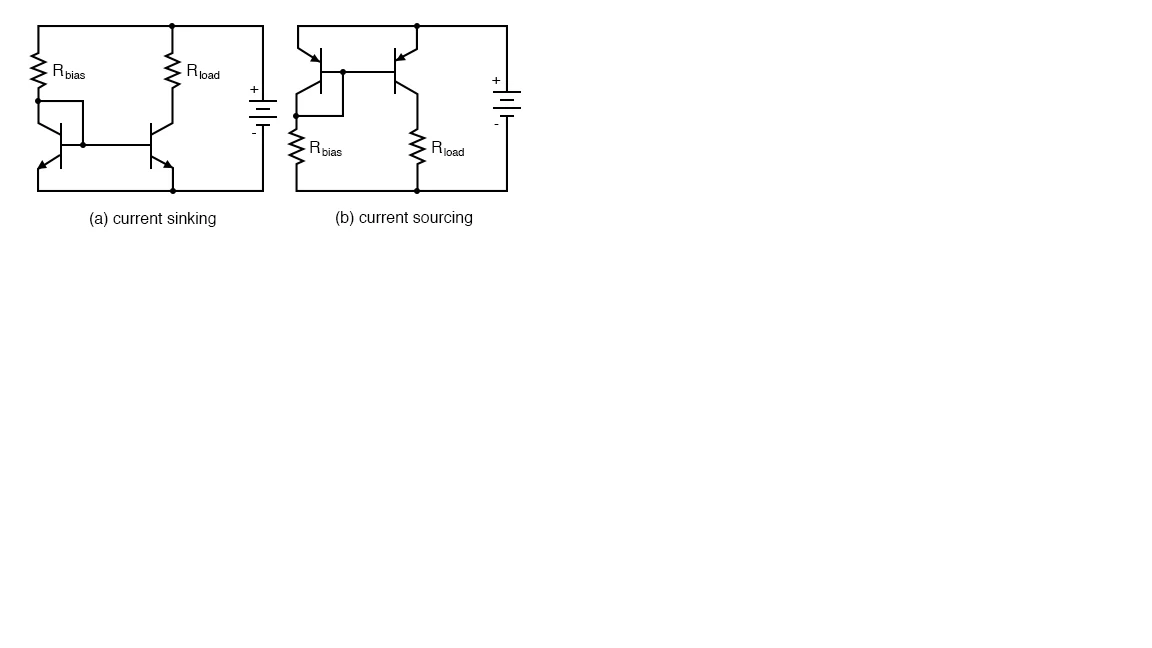
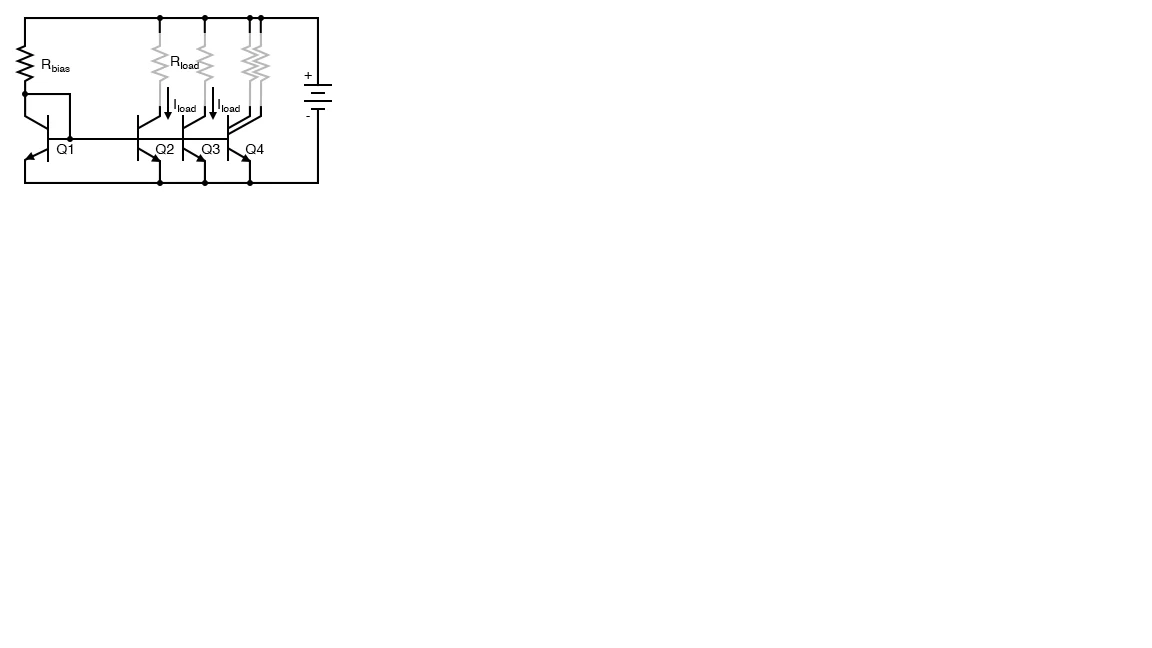
-
PART 1
-
Pulse-Width Modulation (PWM) &
Transistor Motor Drivers
- Open Collector and Open Drain
Circuits
-
Programming
|
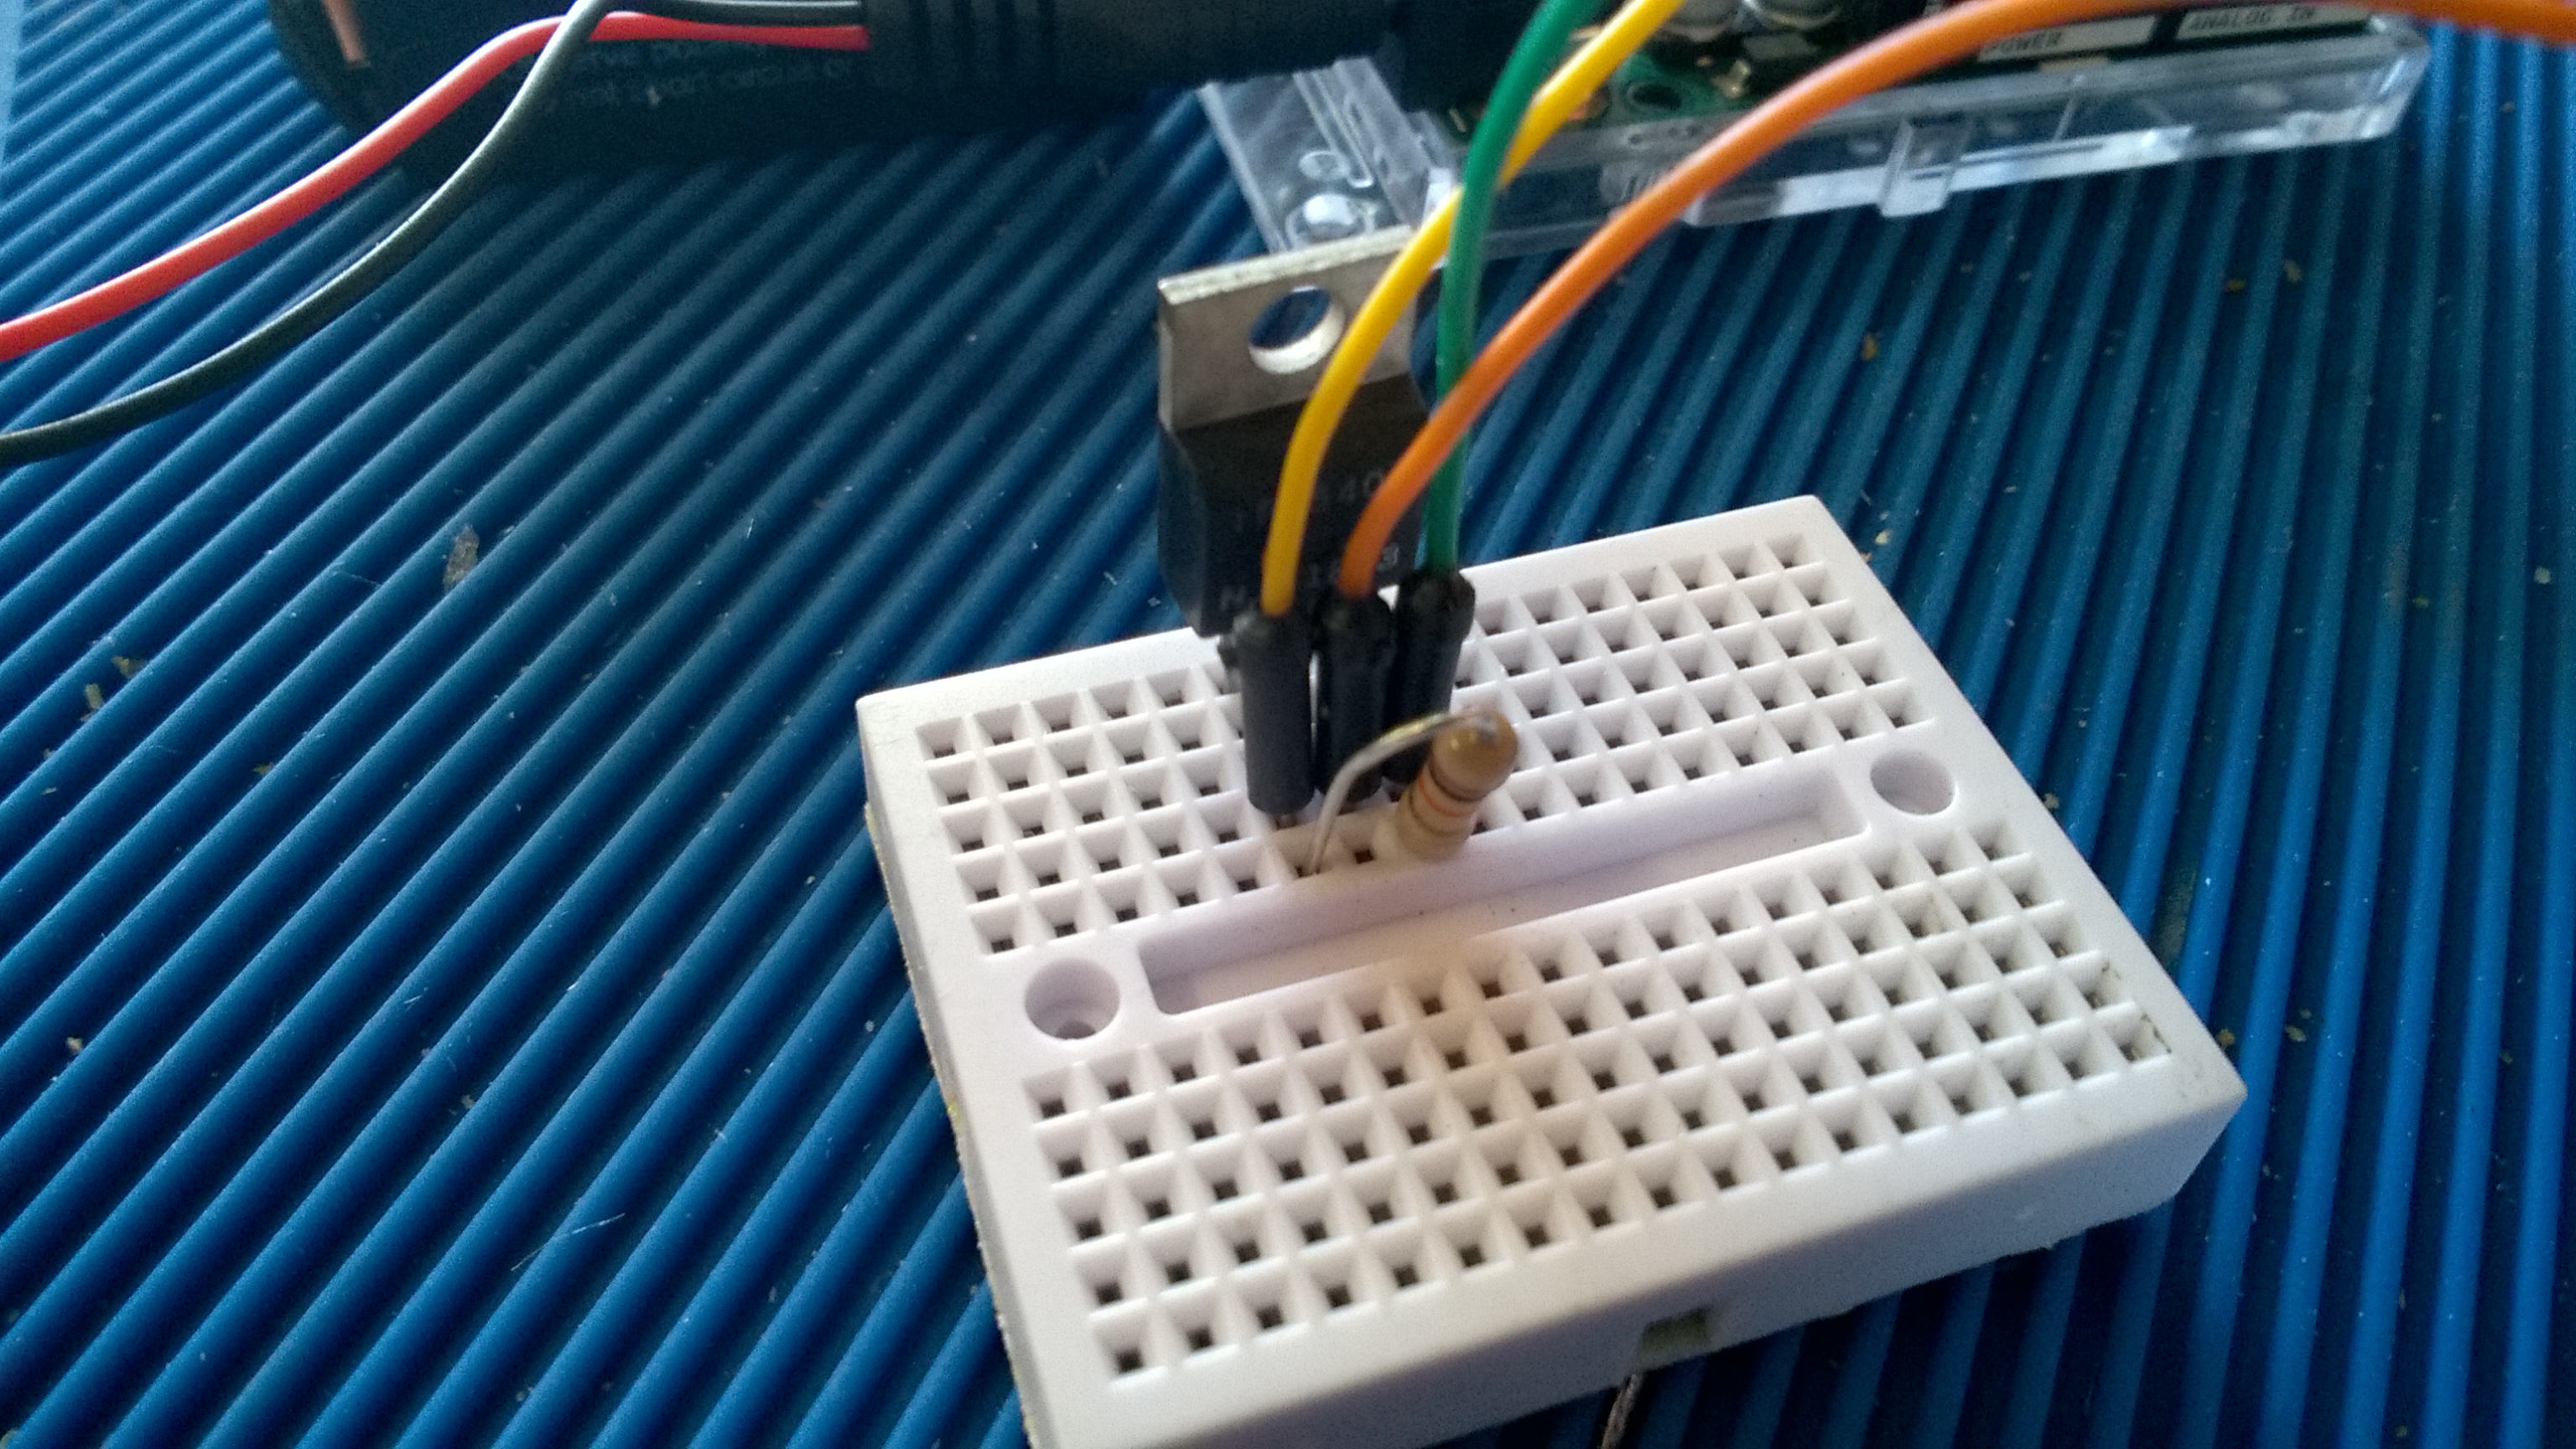
- PART 2
- Introduction to
Enhanced Motor Drivers
- Introduction to
Enhanced MOSFETS as switches (handle with
care)
-
IRF540
handles 23-35 Amps.
-
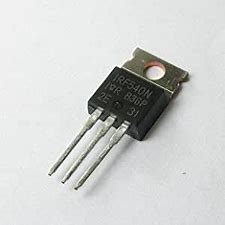 MOSFET
is a powerful switch we control in code. MOSFET
is a powerful switch we control in code.
- Introduction to
H-Bridge circuit using MOSFETS
- Programming DROK H-Bridge Board
- Demo 1: Arduino and DROK H-Bridge board
Demo
- Introdution to Using Custom Functions
-
Downloads & Images
|
-
Lesson 3
Introduction to servos,
Serial monitor, & C++ control structures and
loops.
-
PWM in more detail
|
-
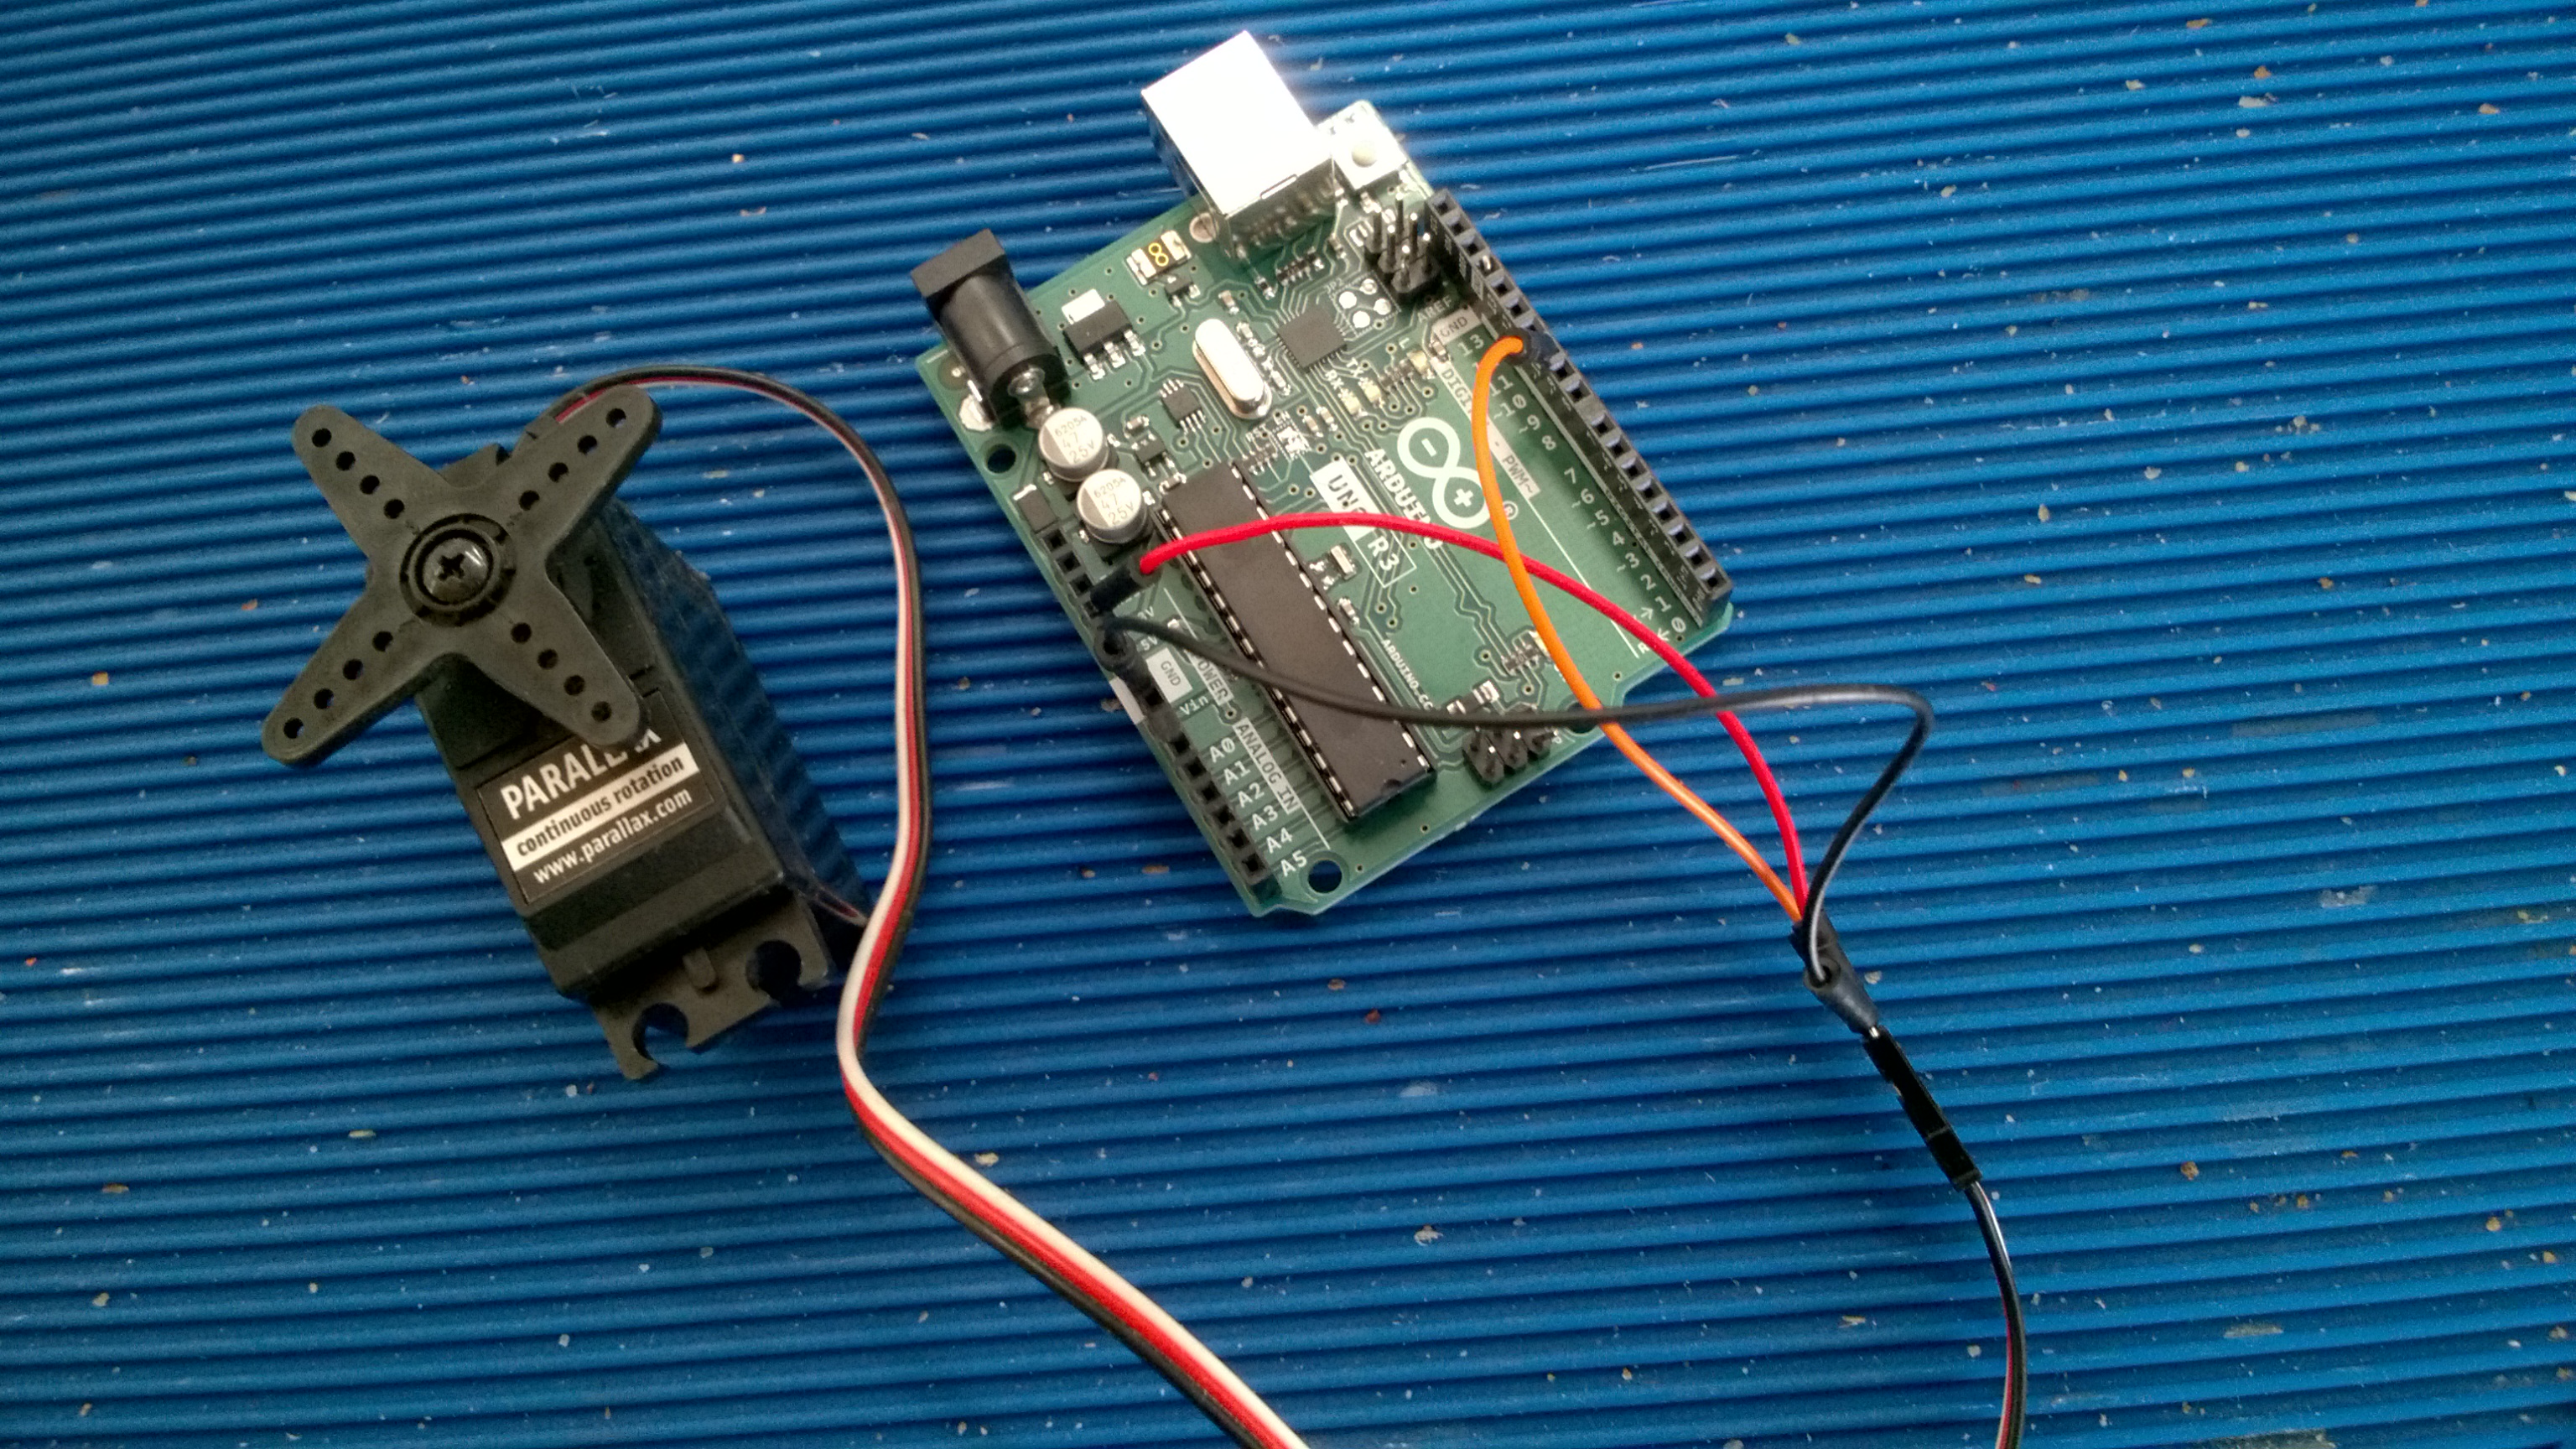
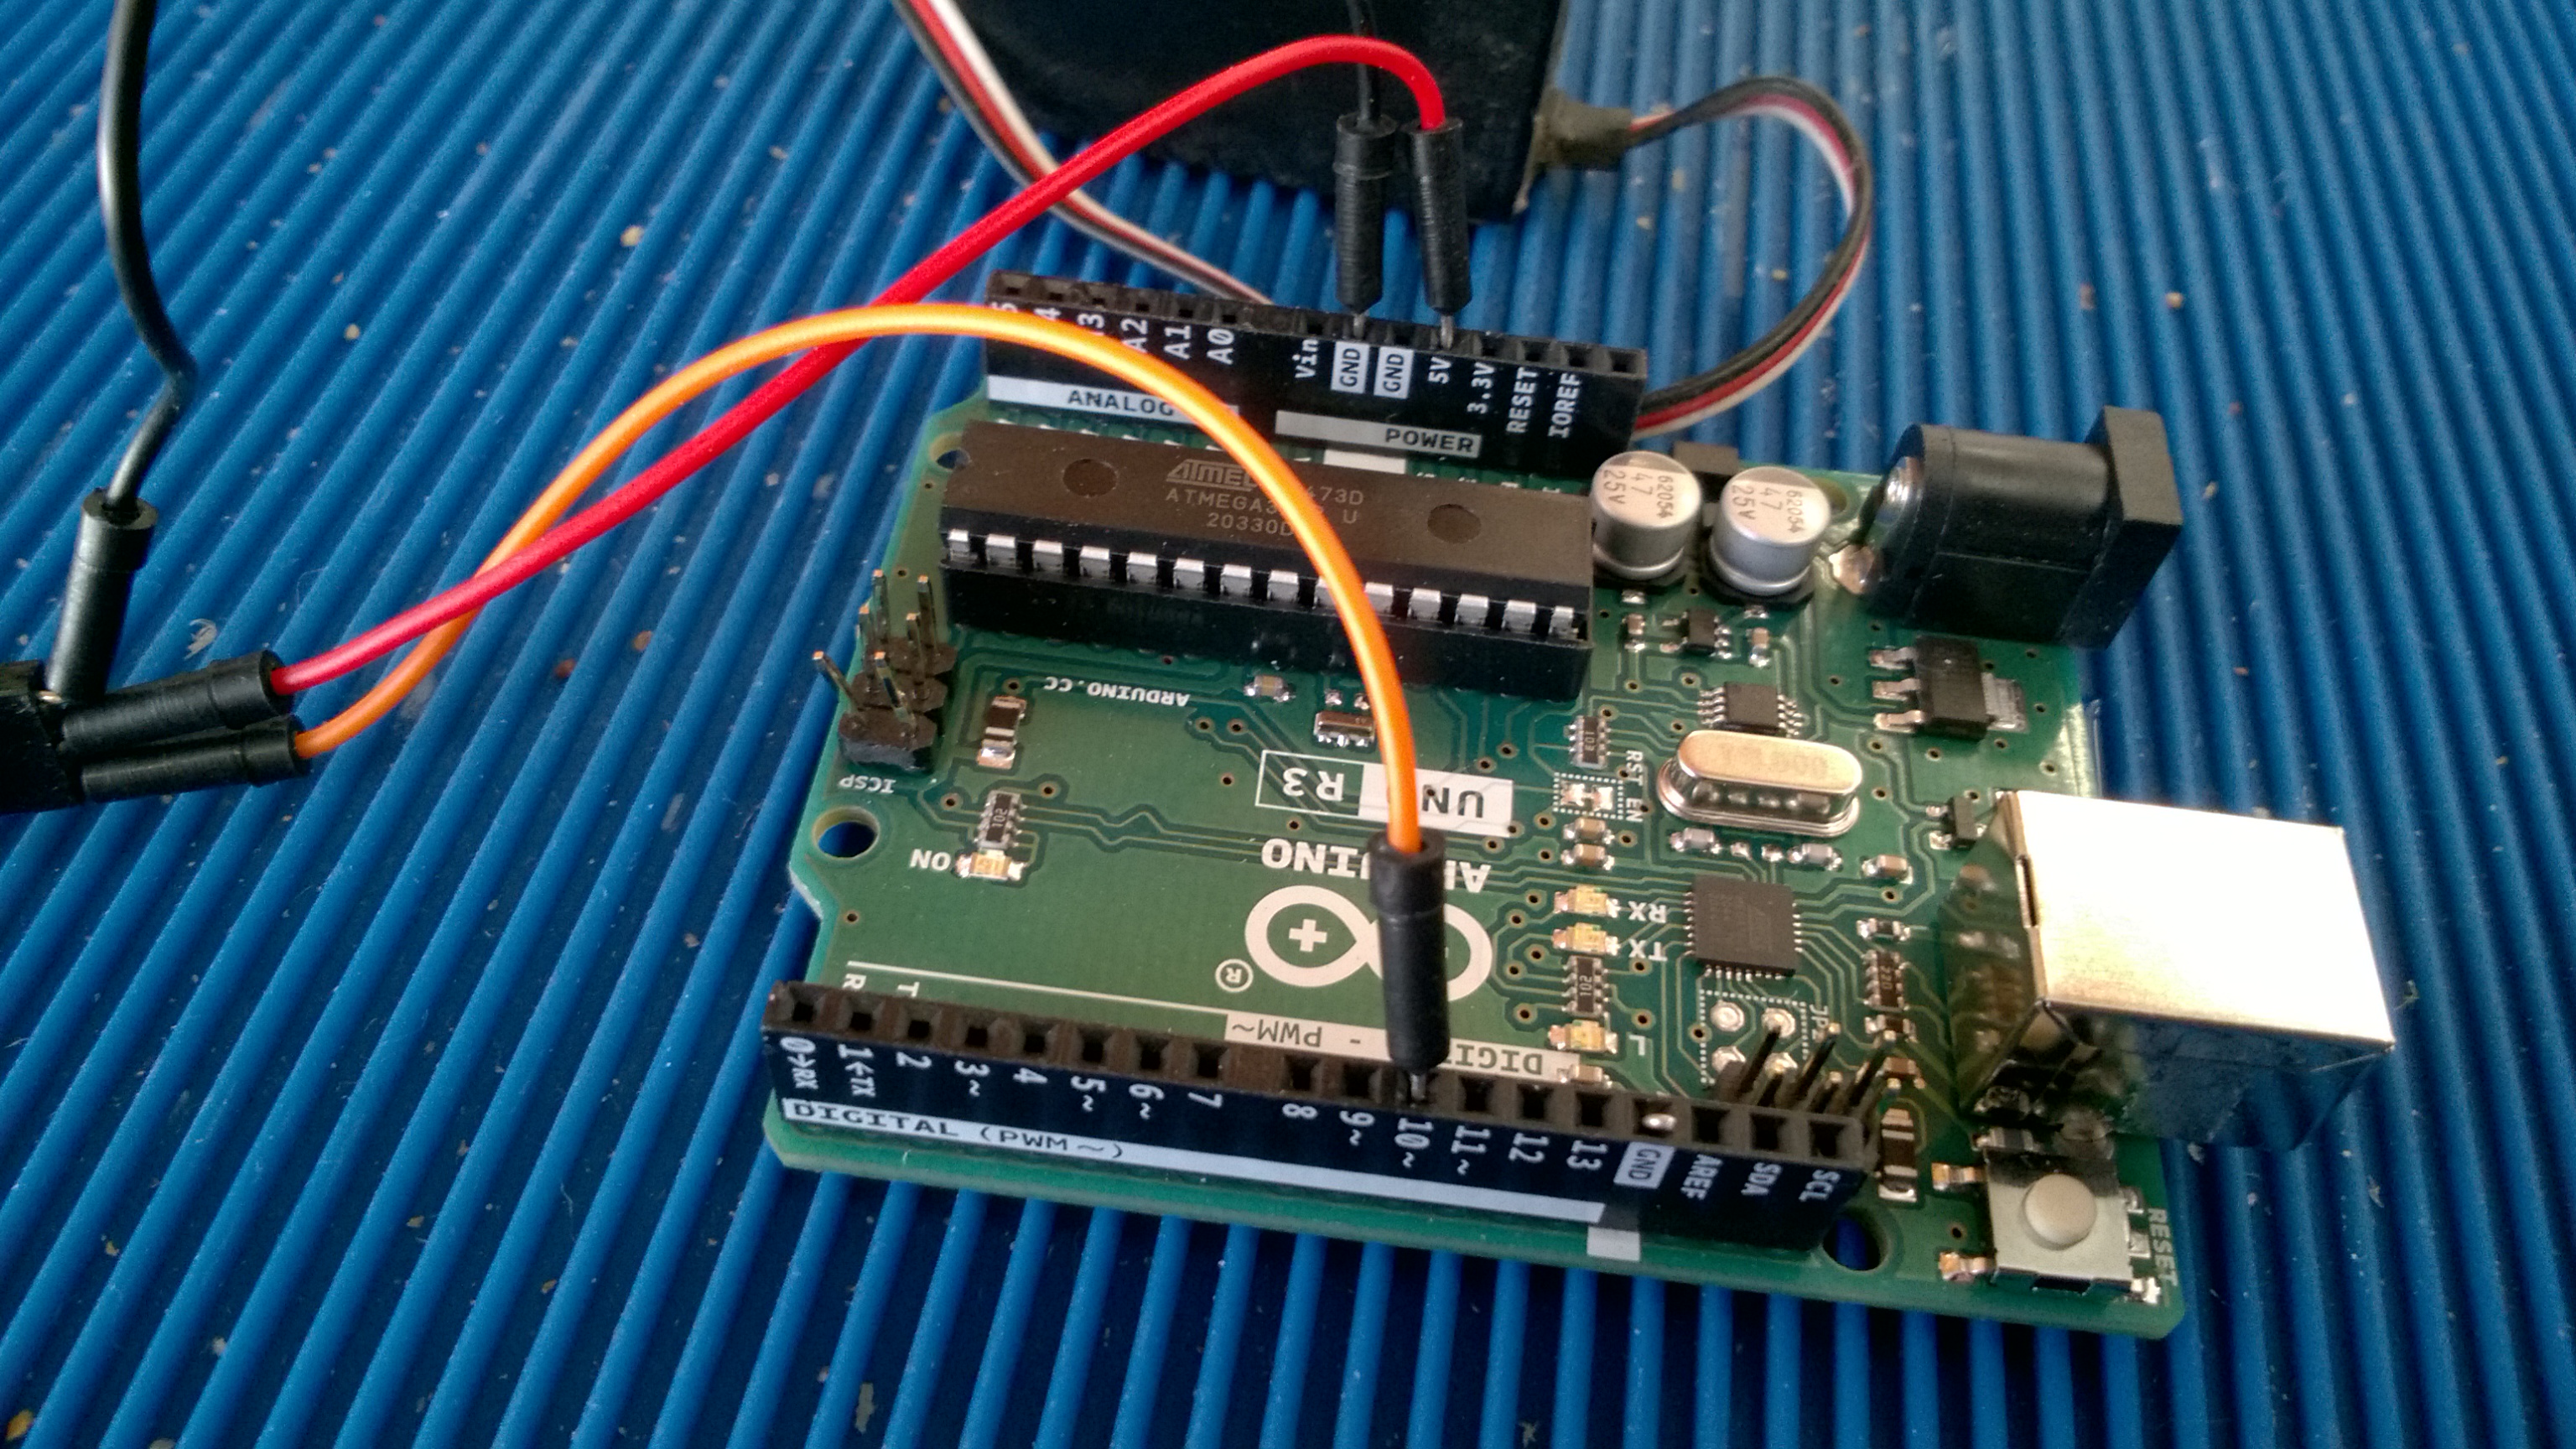
Working with Servos
- Overview & theory of operation
SG90 servo
in your kit
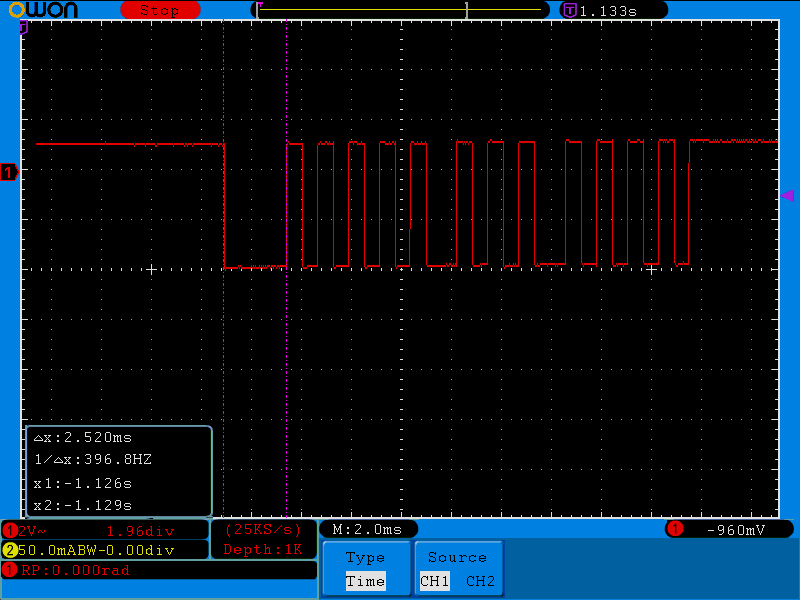
- Pulse width modulation
for servos
- Programming
- Switch, If, & loops
statements
- Custom functions
-
Downloads & Images
|
-
Lesson 4
Introduction to
IR control. Decoding the IR stream with a TV
remote.
-
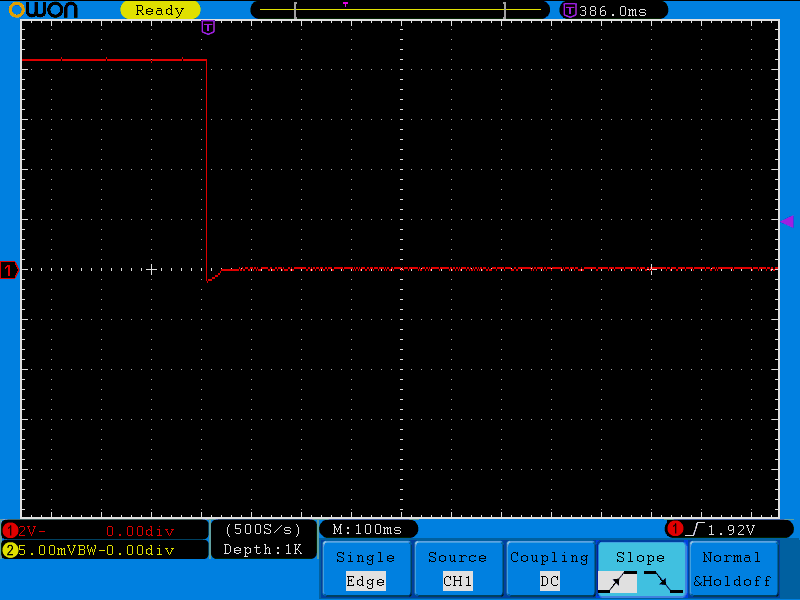
Viewing
ocilloscope images of decoded signals.
|
-
Working with
Sony IR TV Remote
.gif)
-
My IR Decoding article
- How codes are transmitted
& decoded (IR Demo BOE & Boe-Bot basic
moving) Scope demo.
- Binary to decimal
conversion
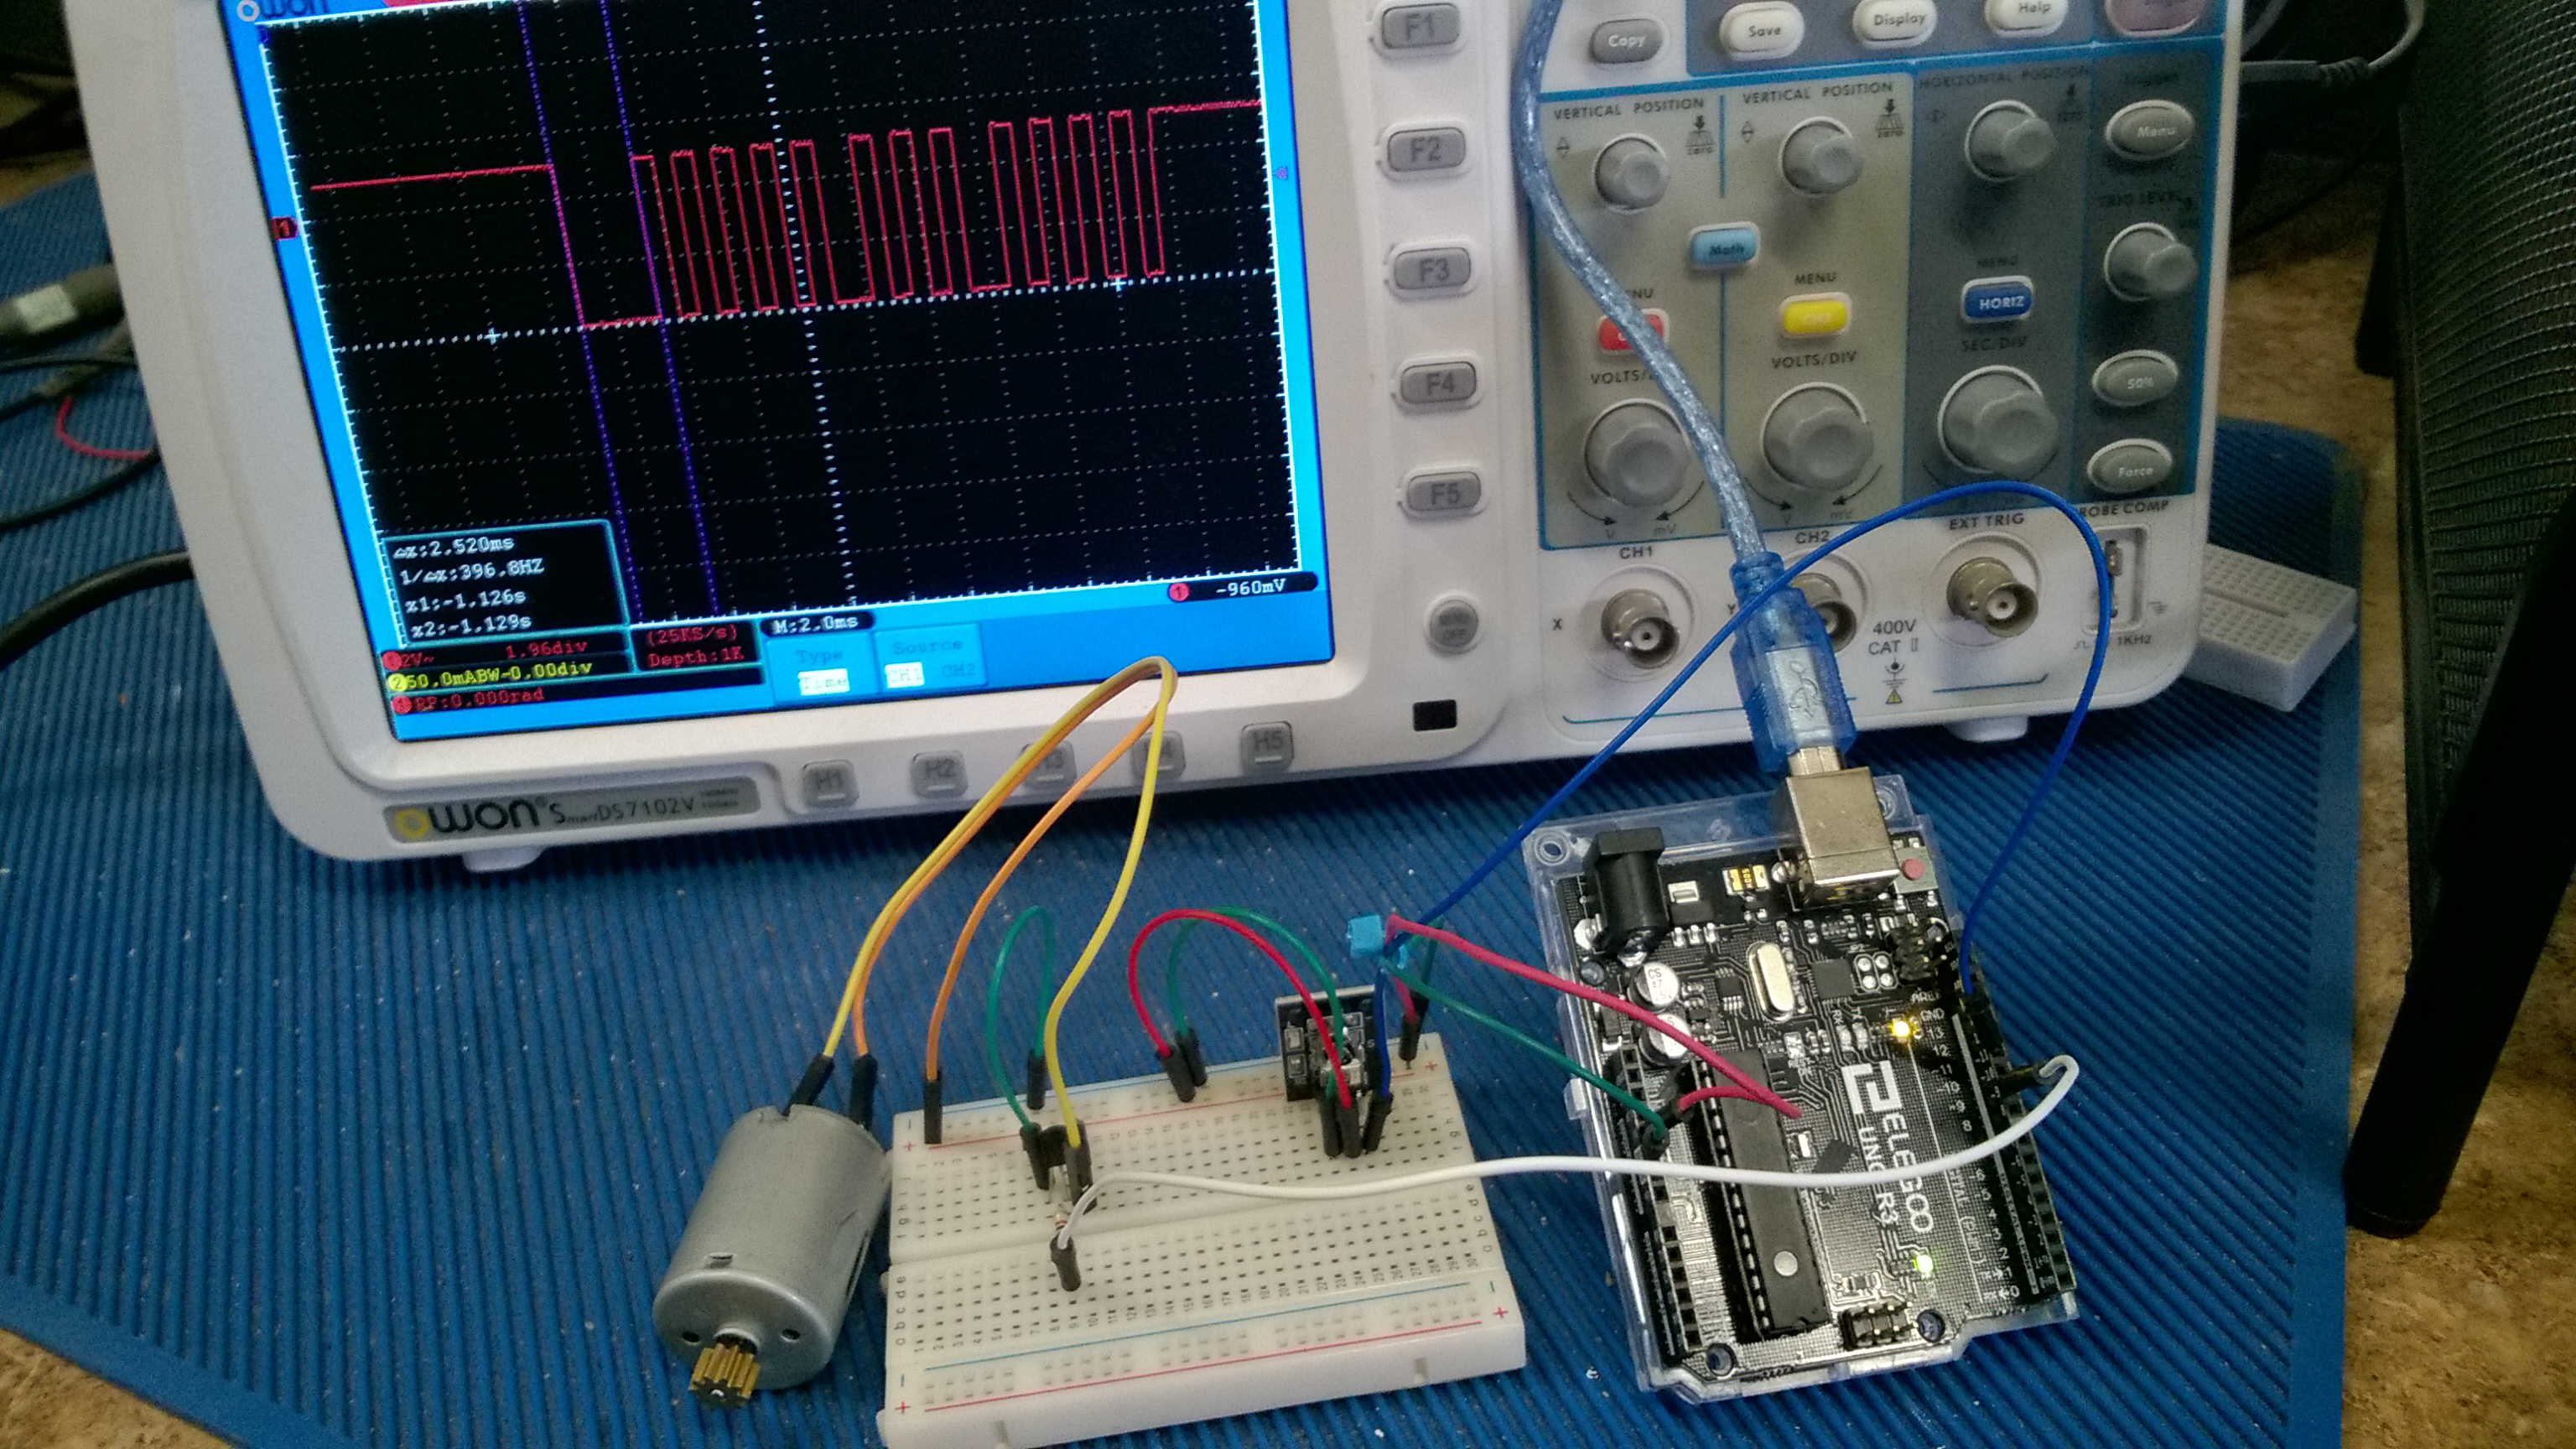
- Pulse-width patterns (Scope images and
demo)
-
Programming
- Decoding demo with Basic
Stamp microcontroller demo
-
Working with custom
Arduino libraries (IRRemote 3.3)
- Downloads & Images
-
Lesson 4 download
|
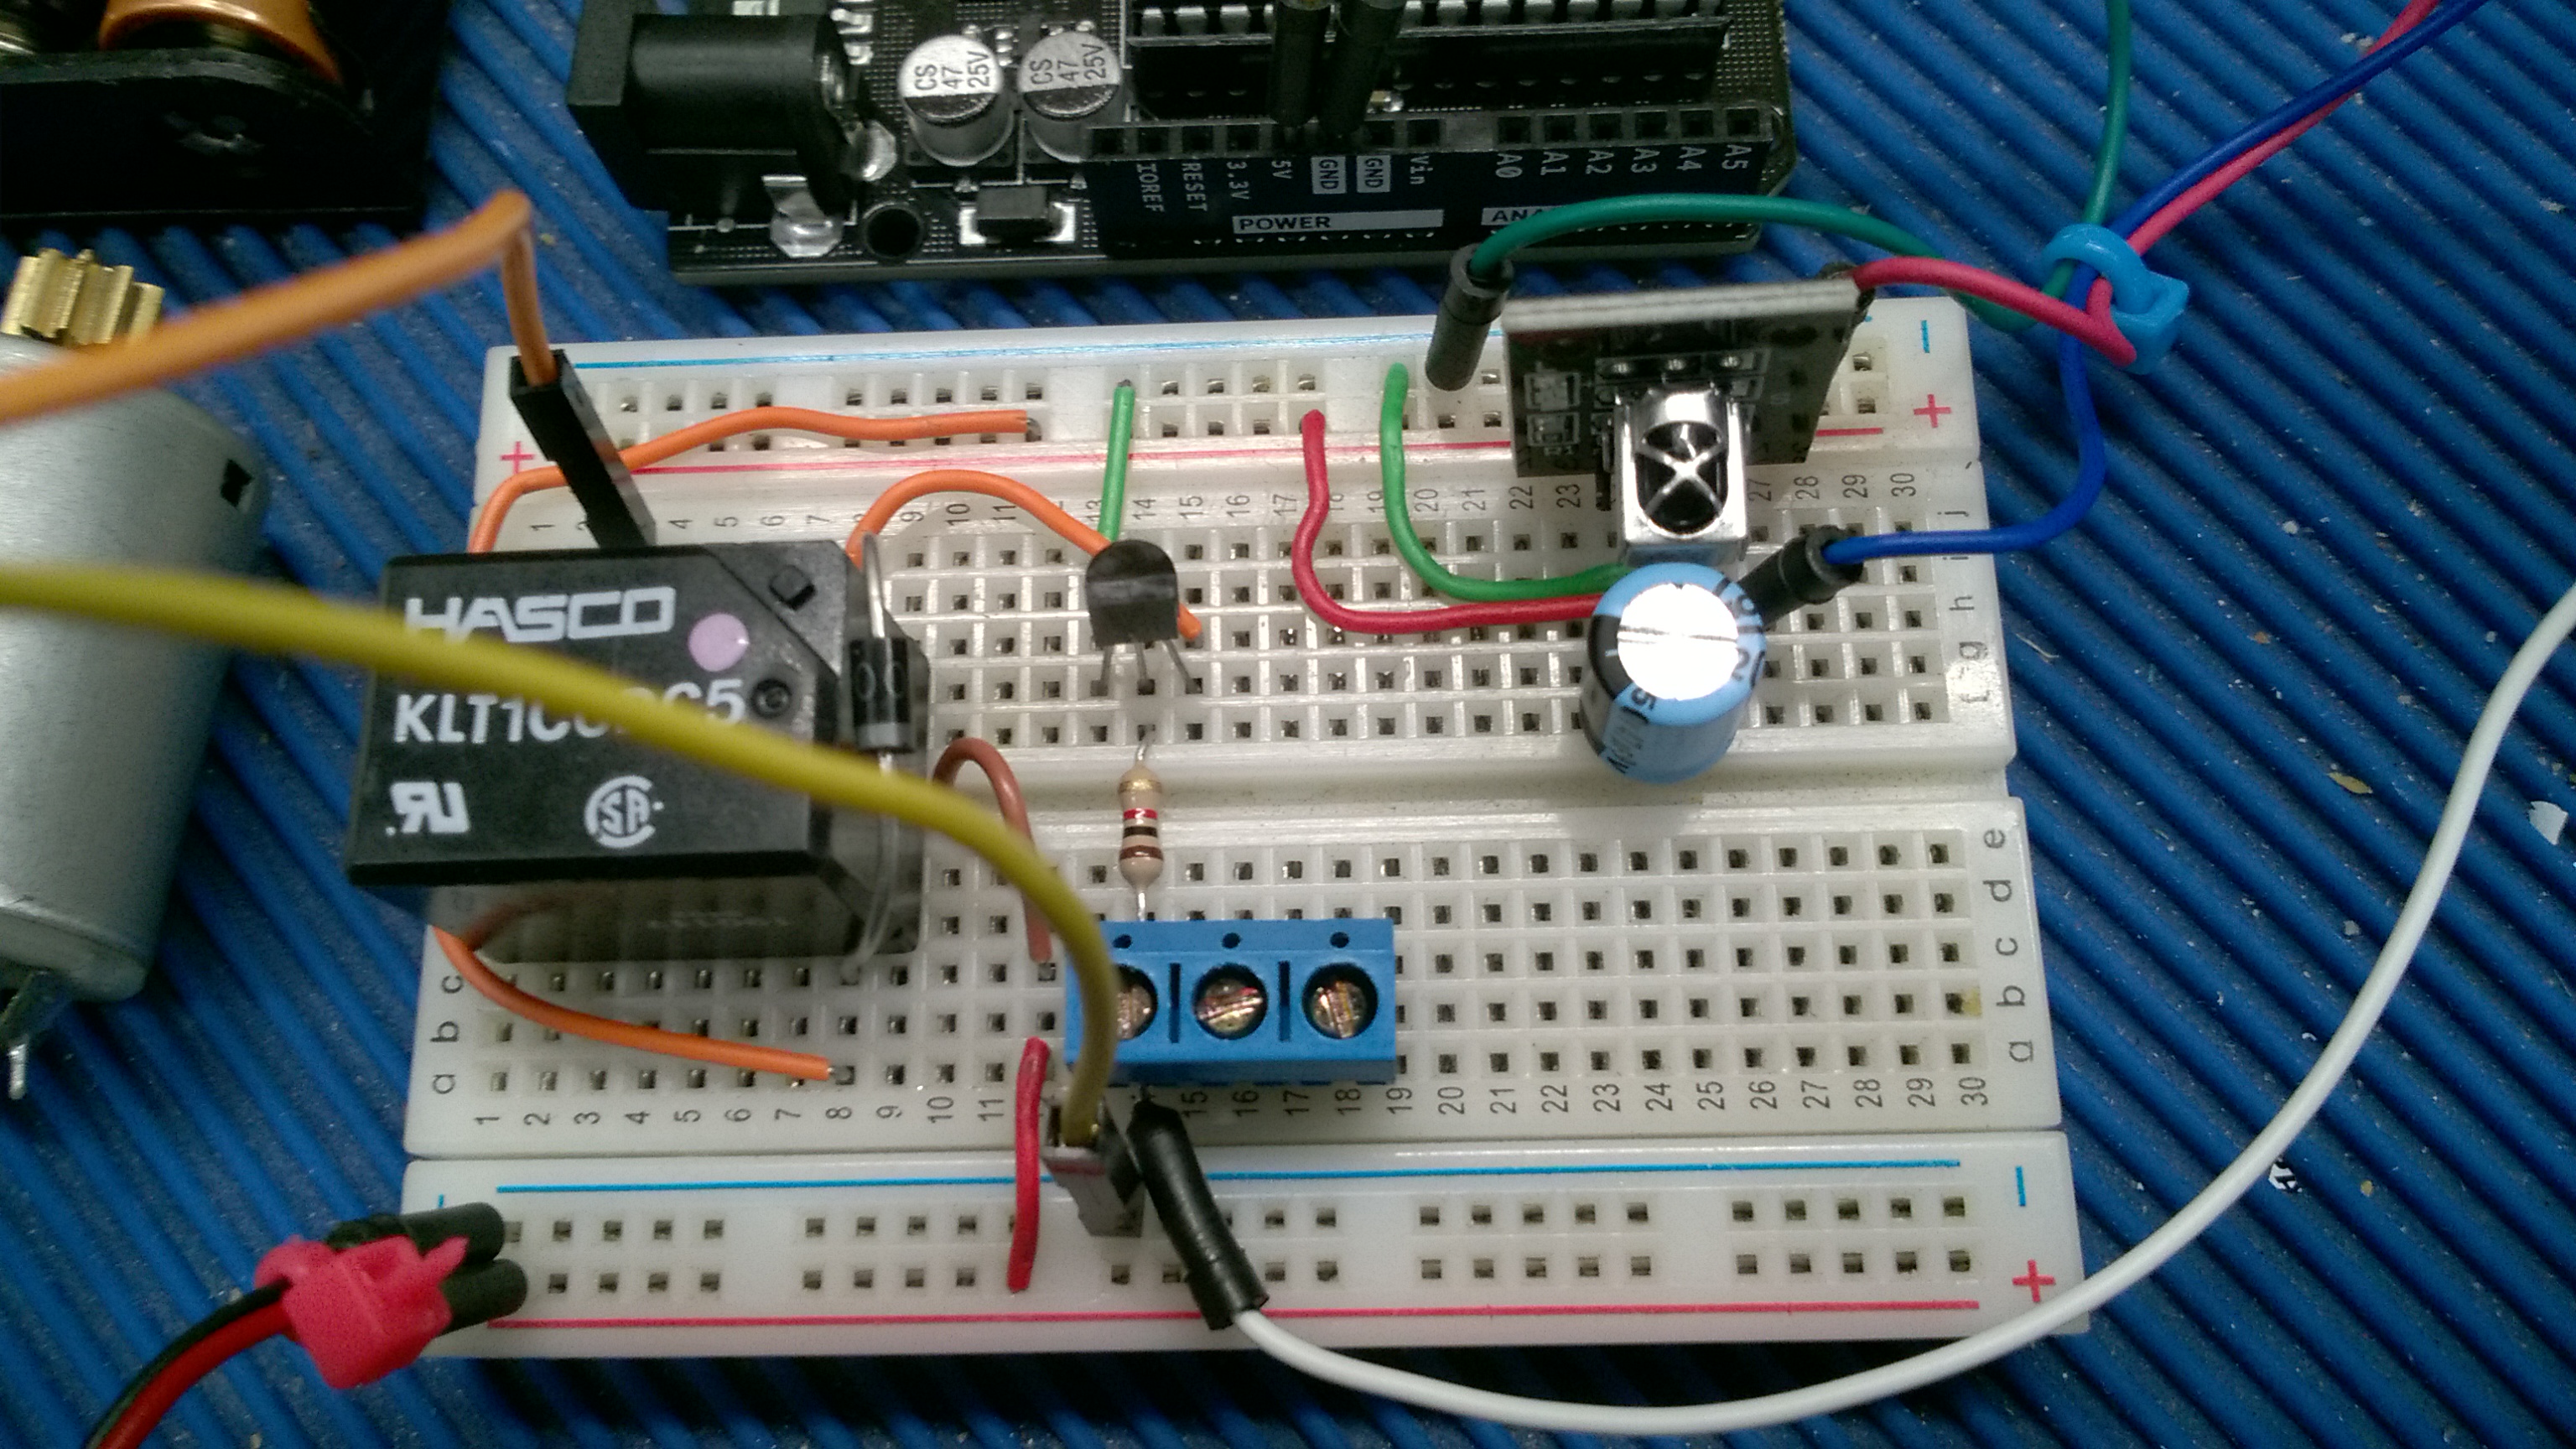
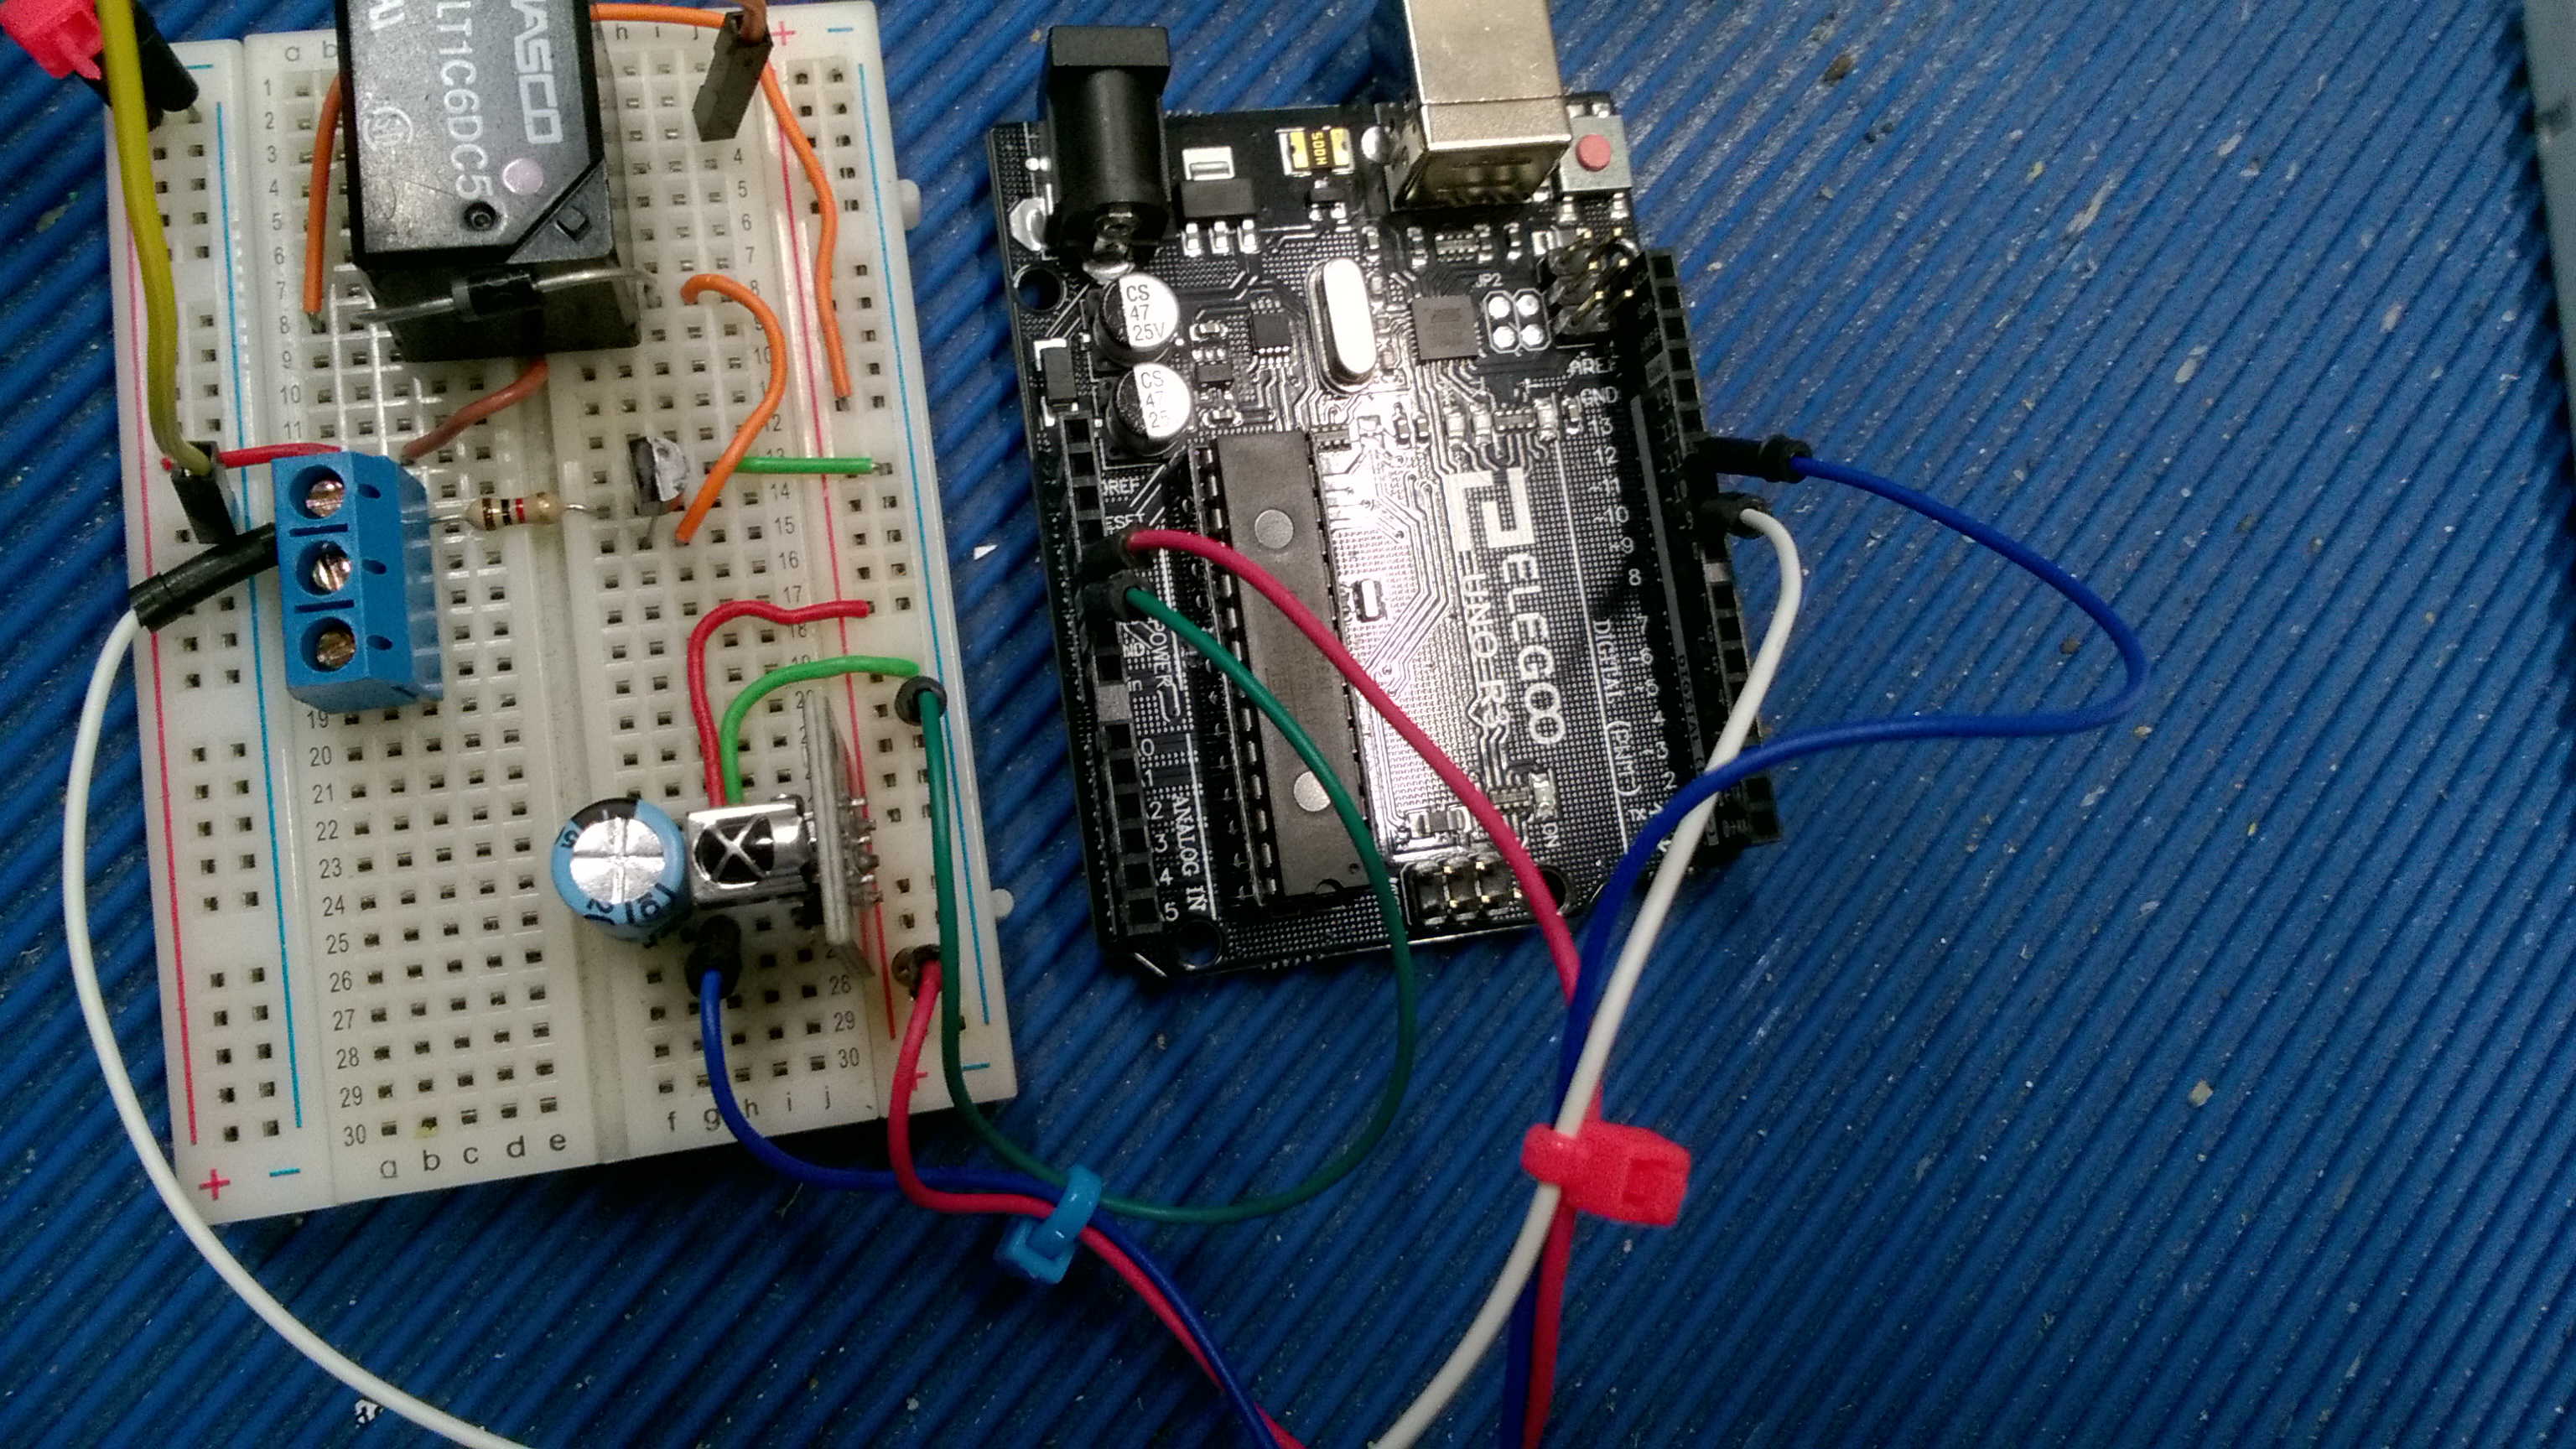
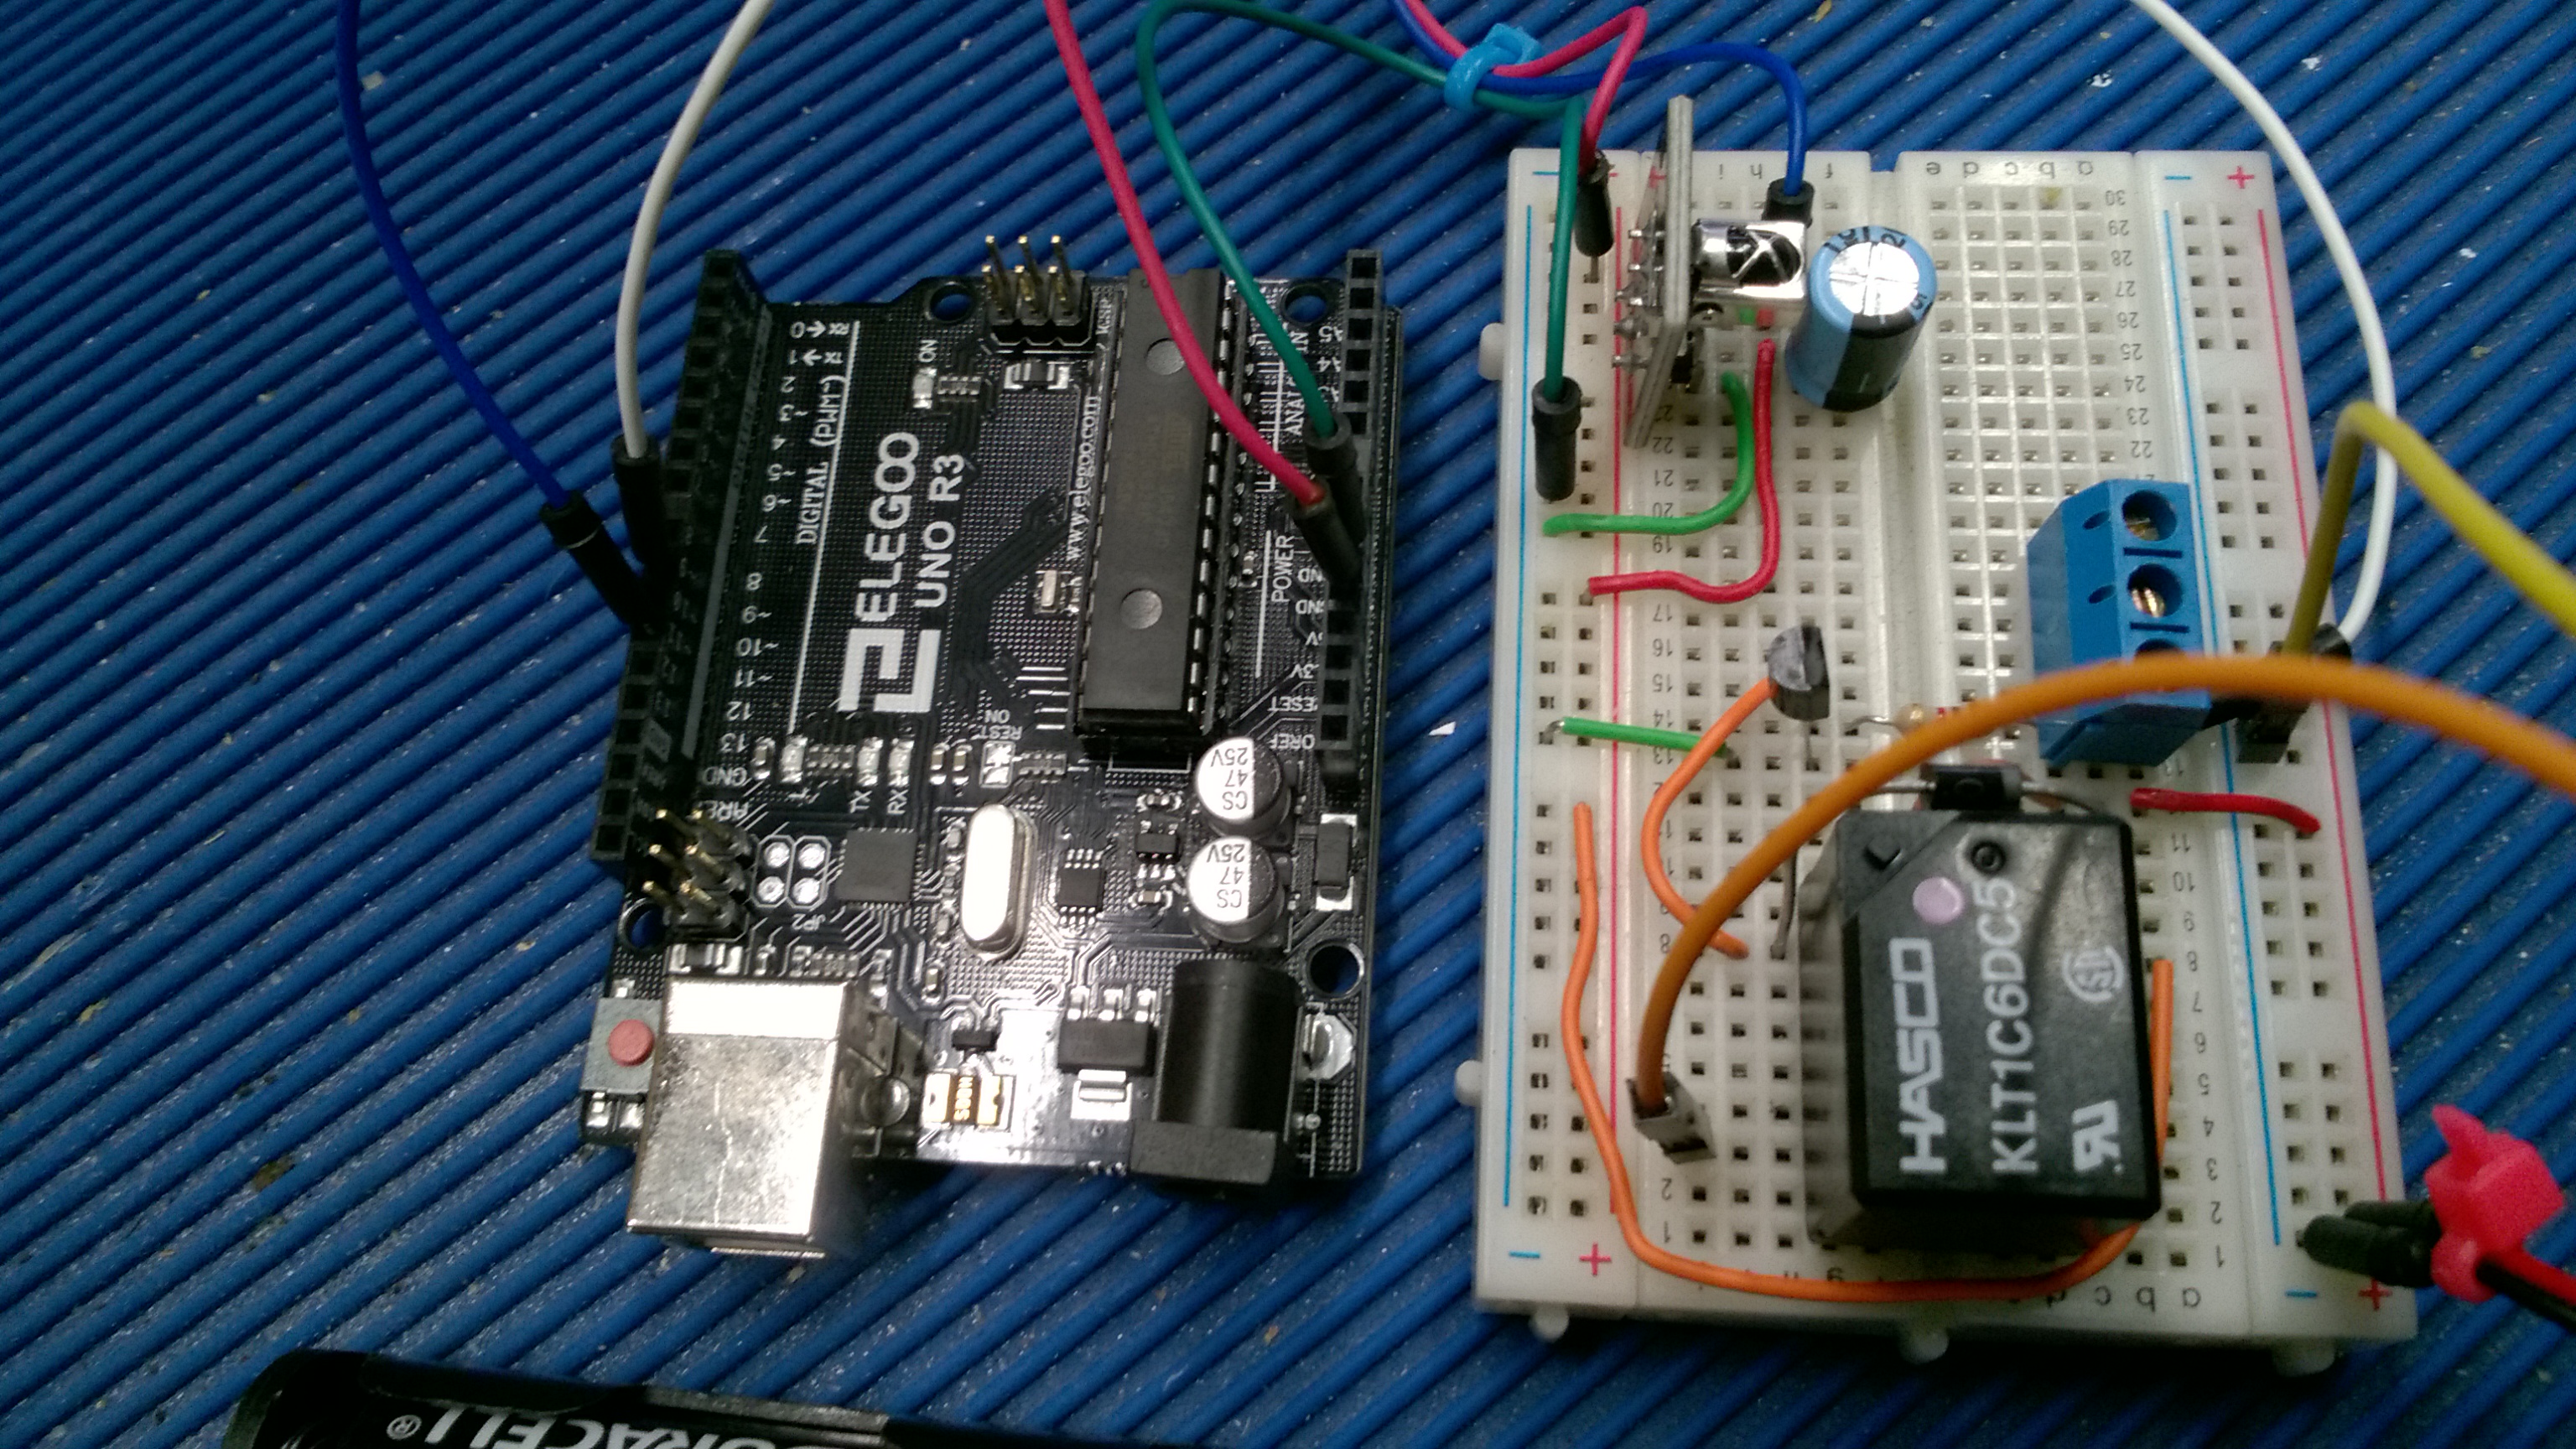
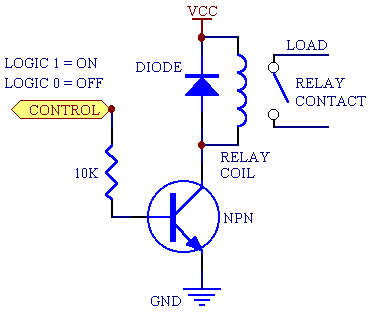
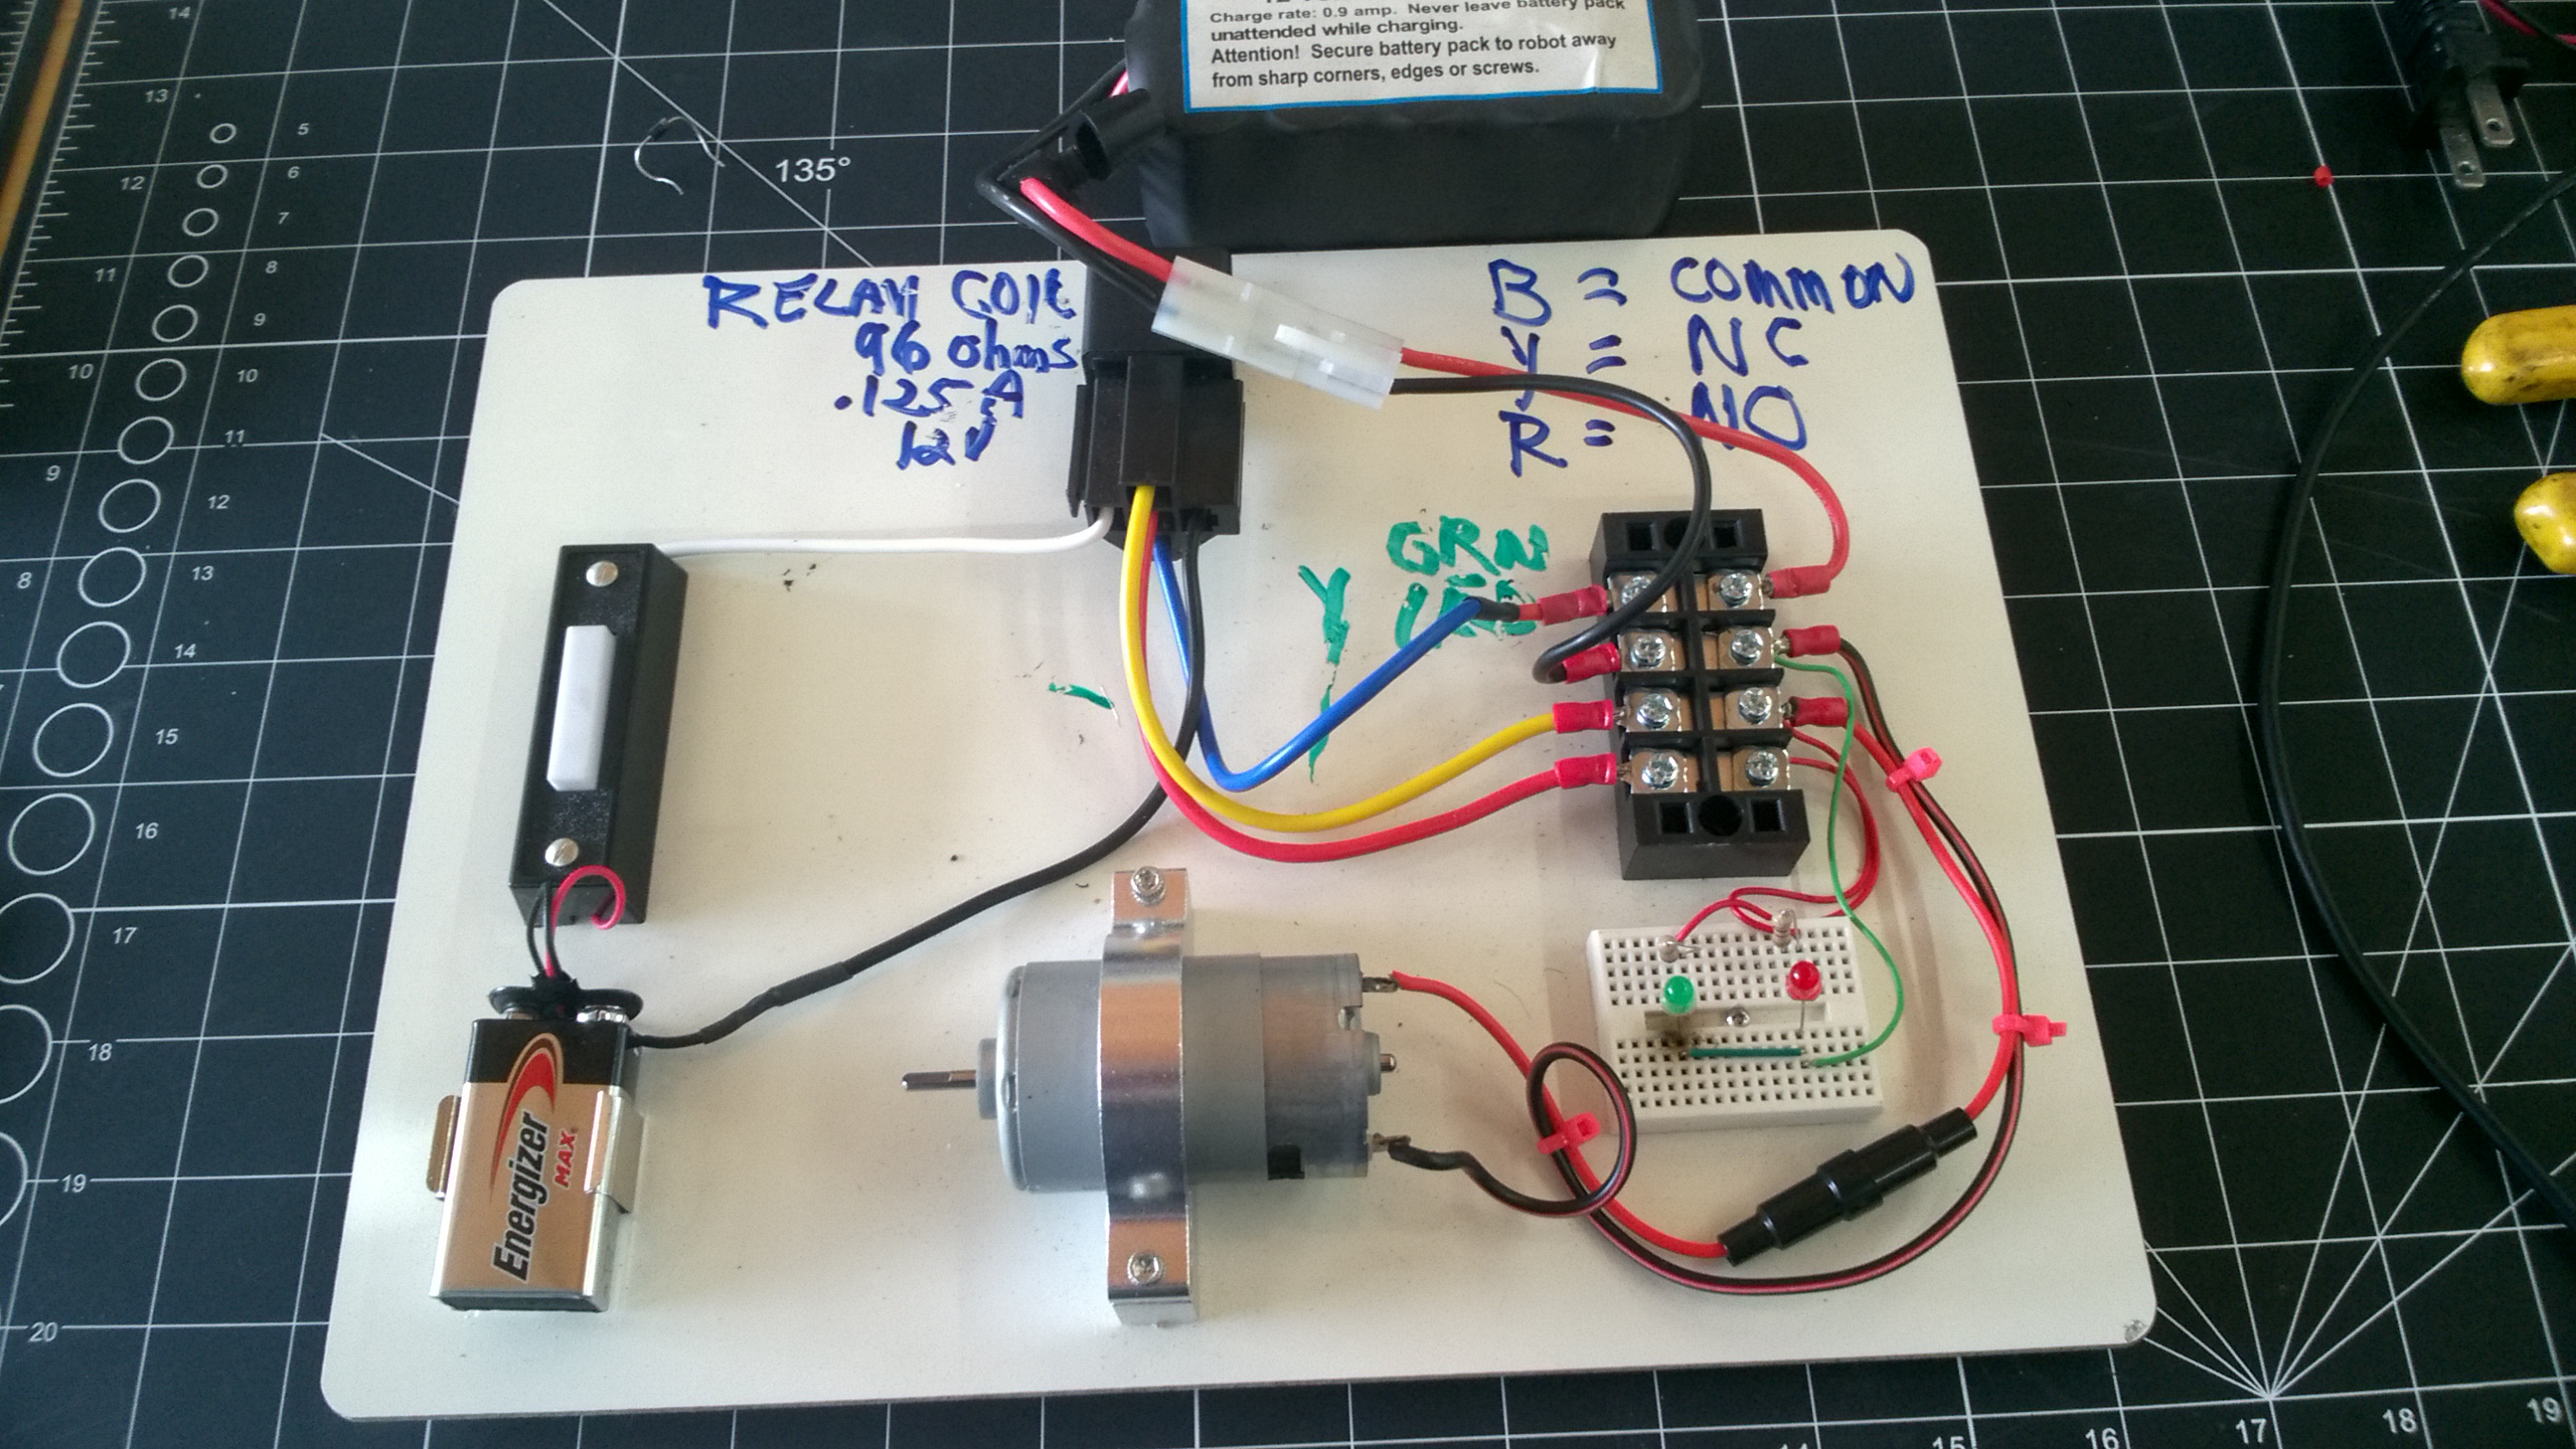
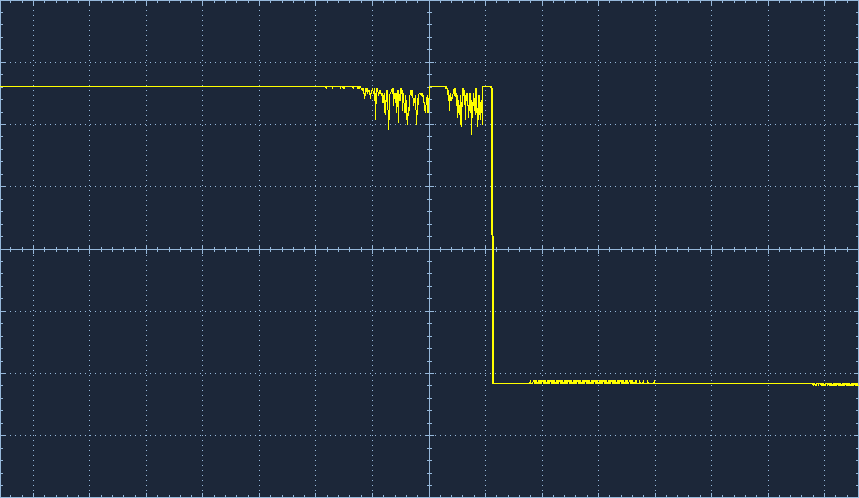
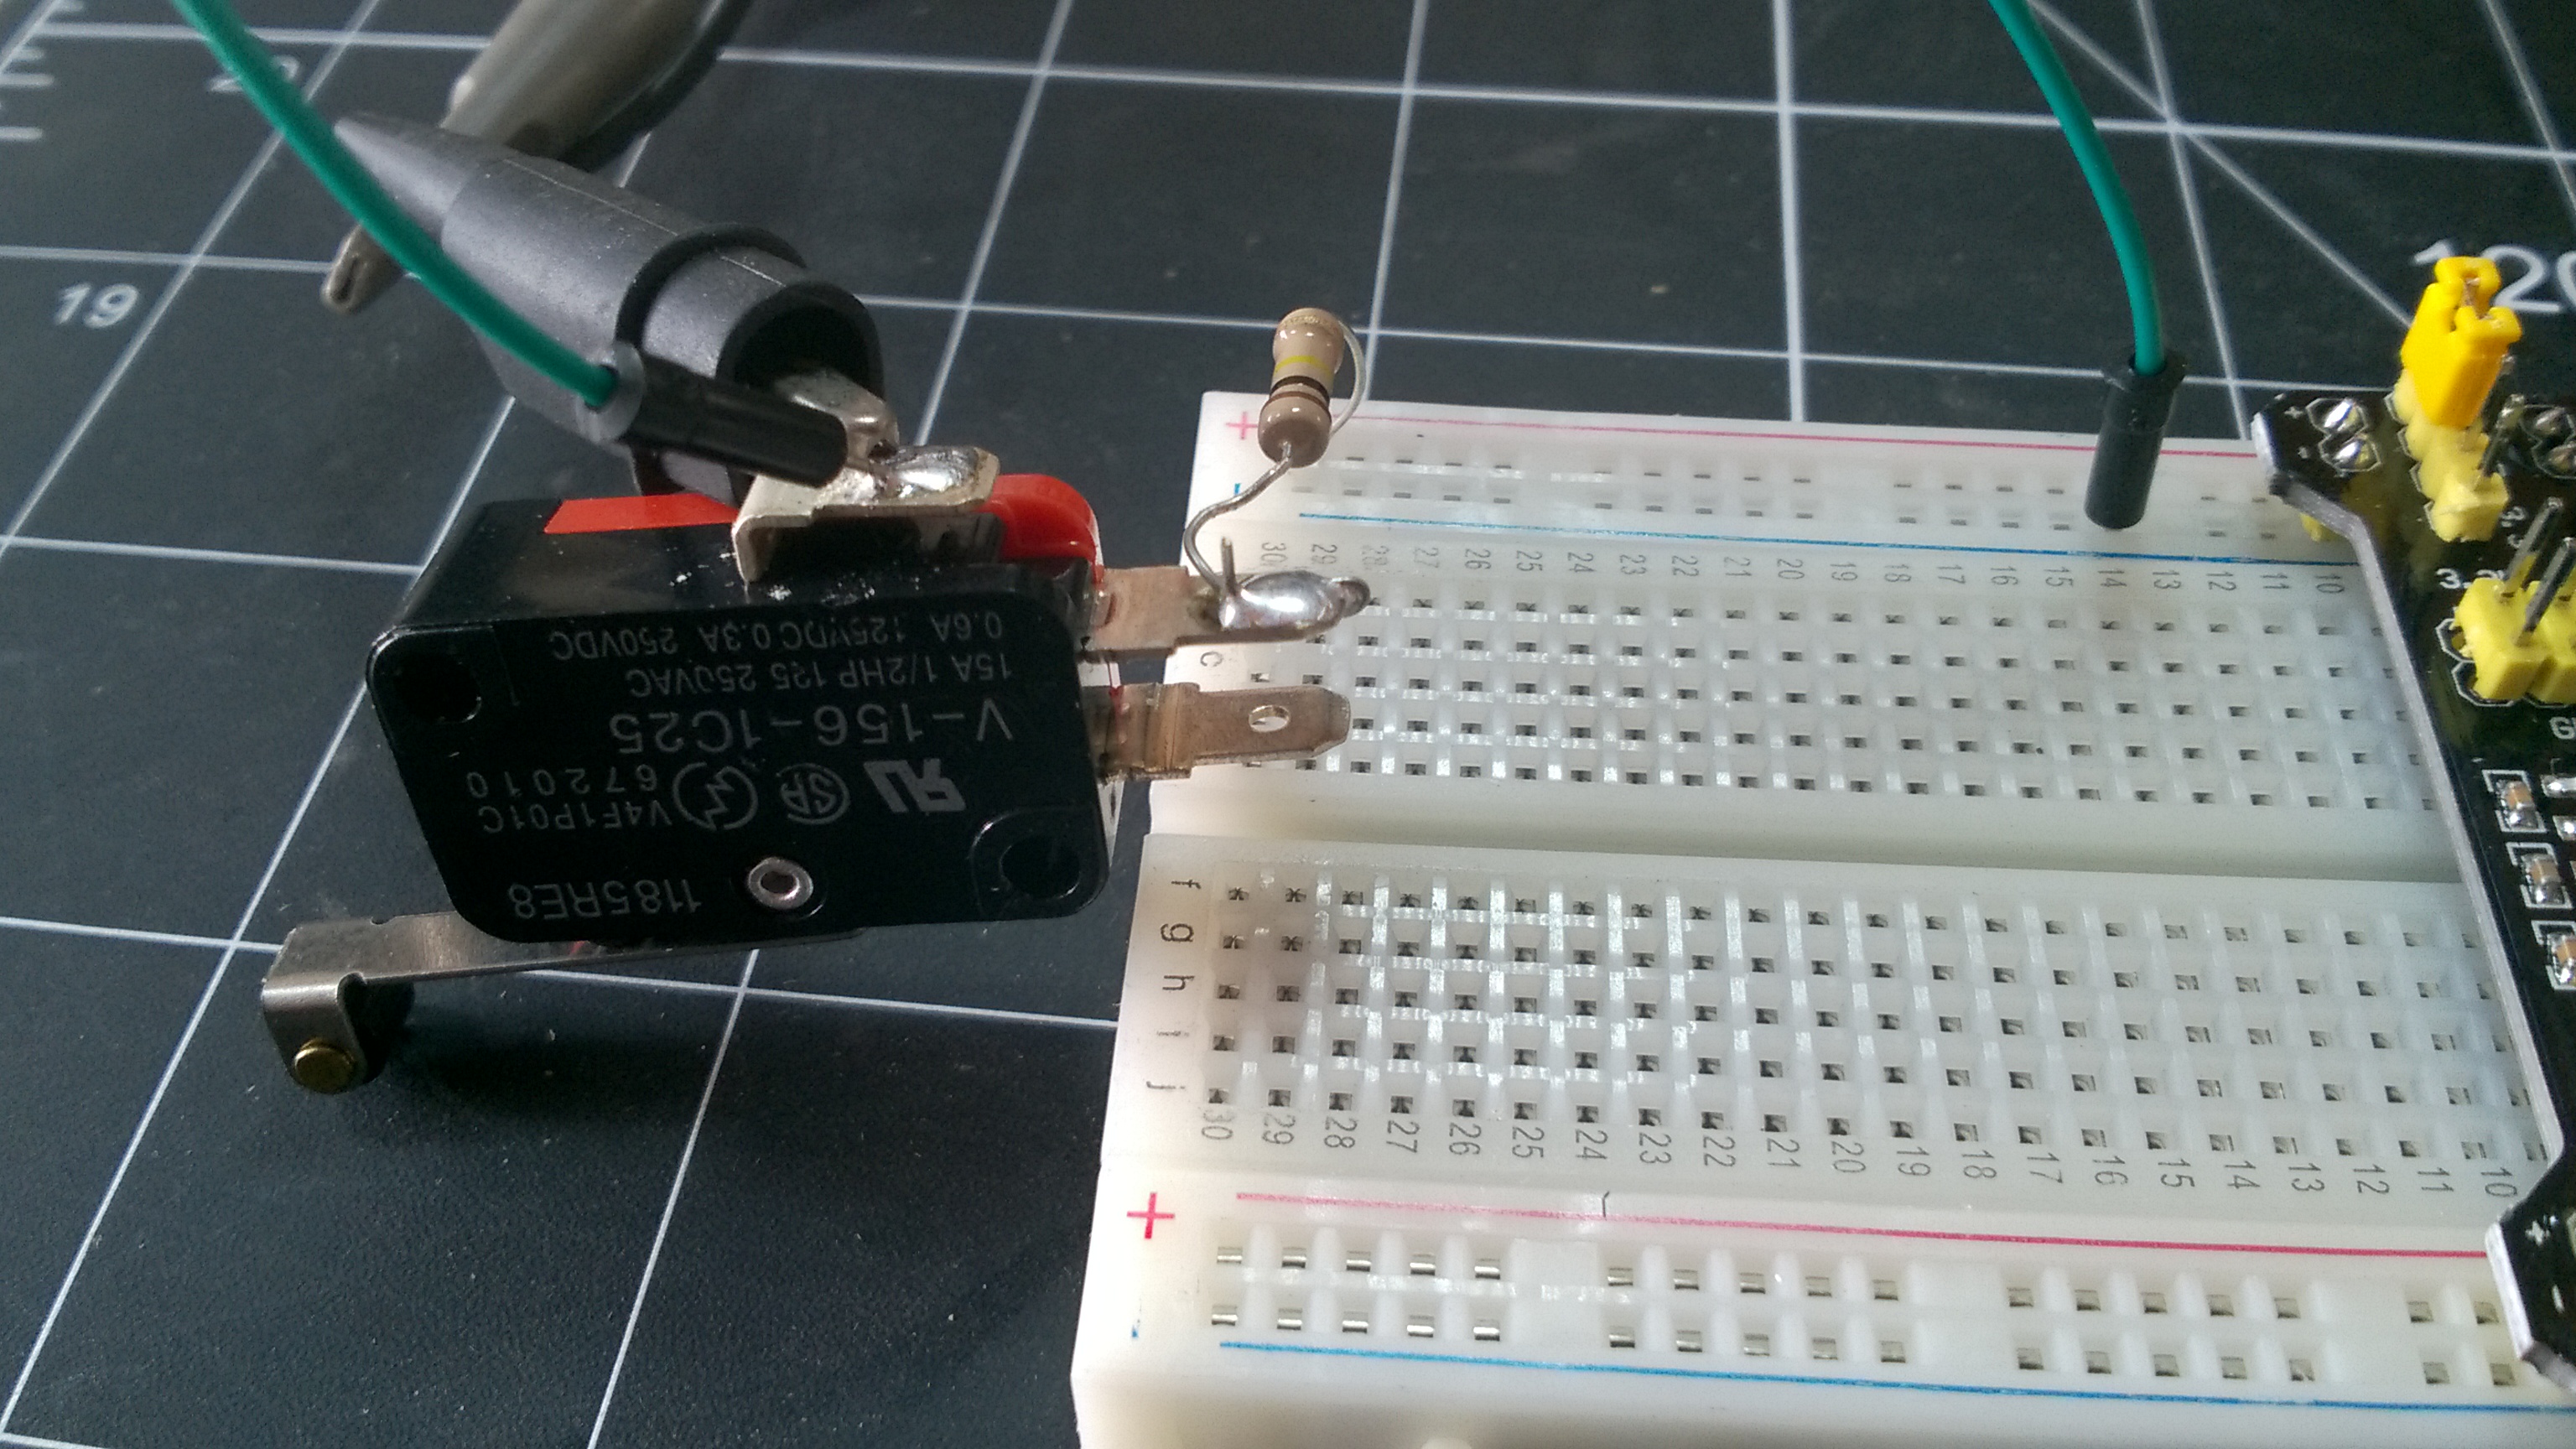
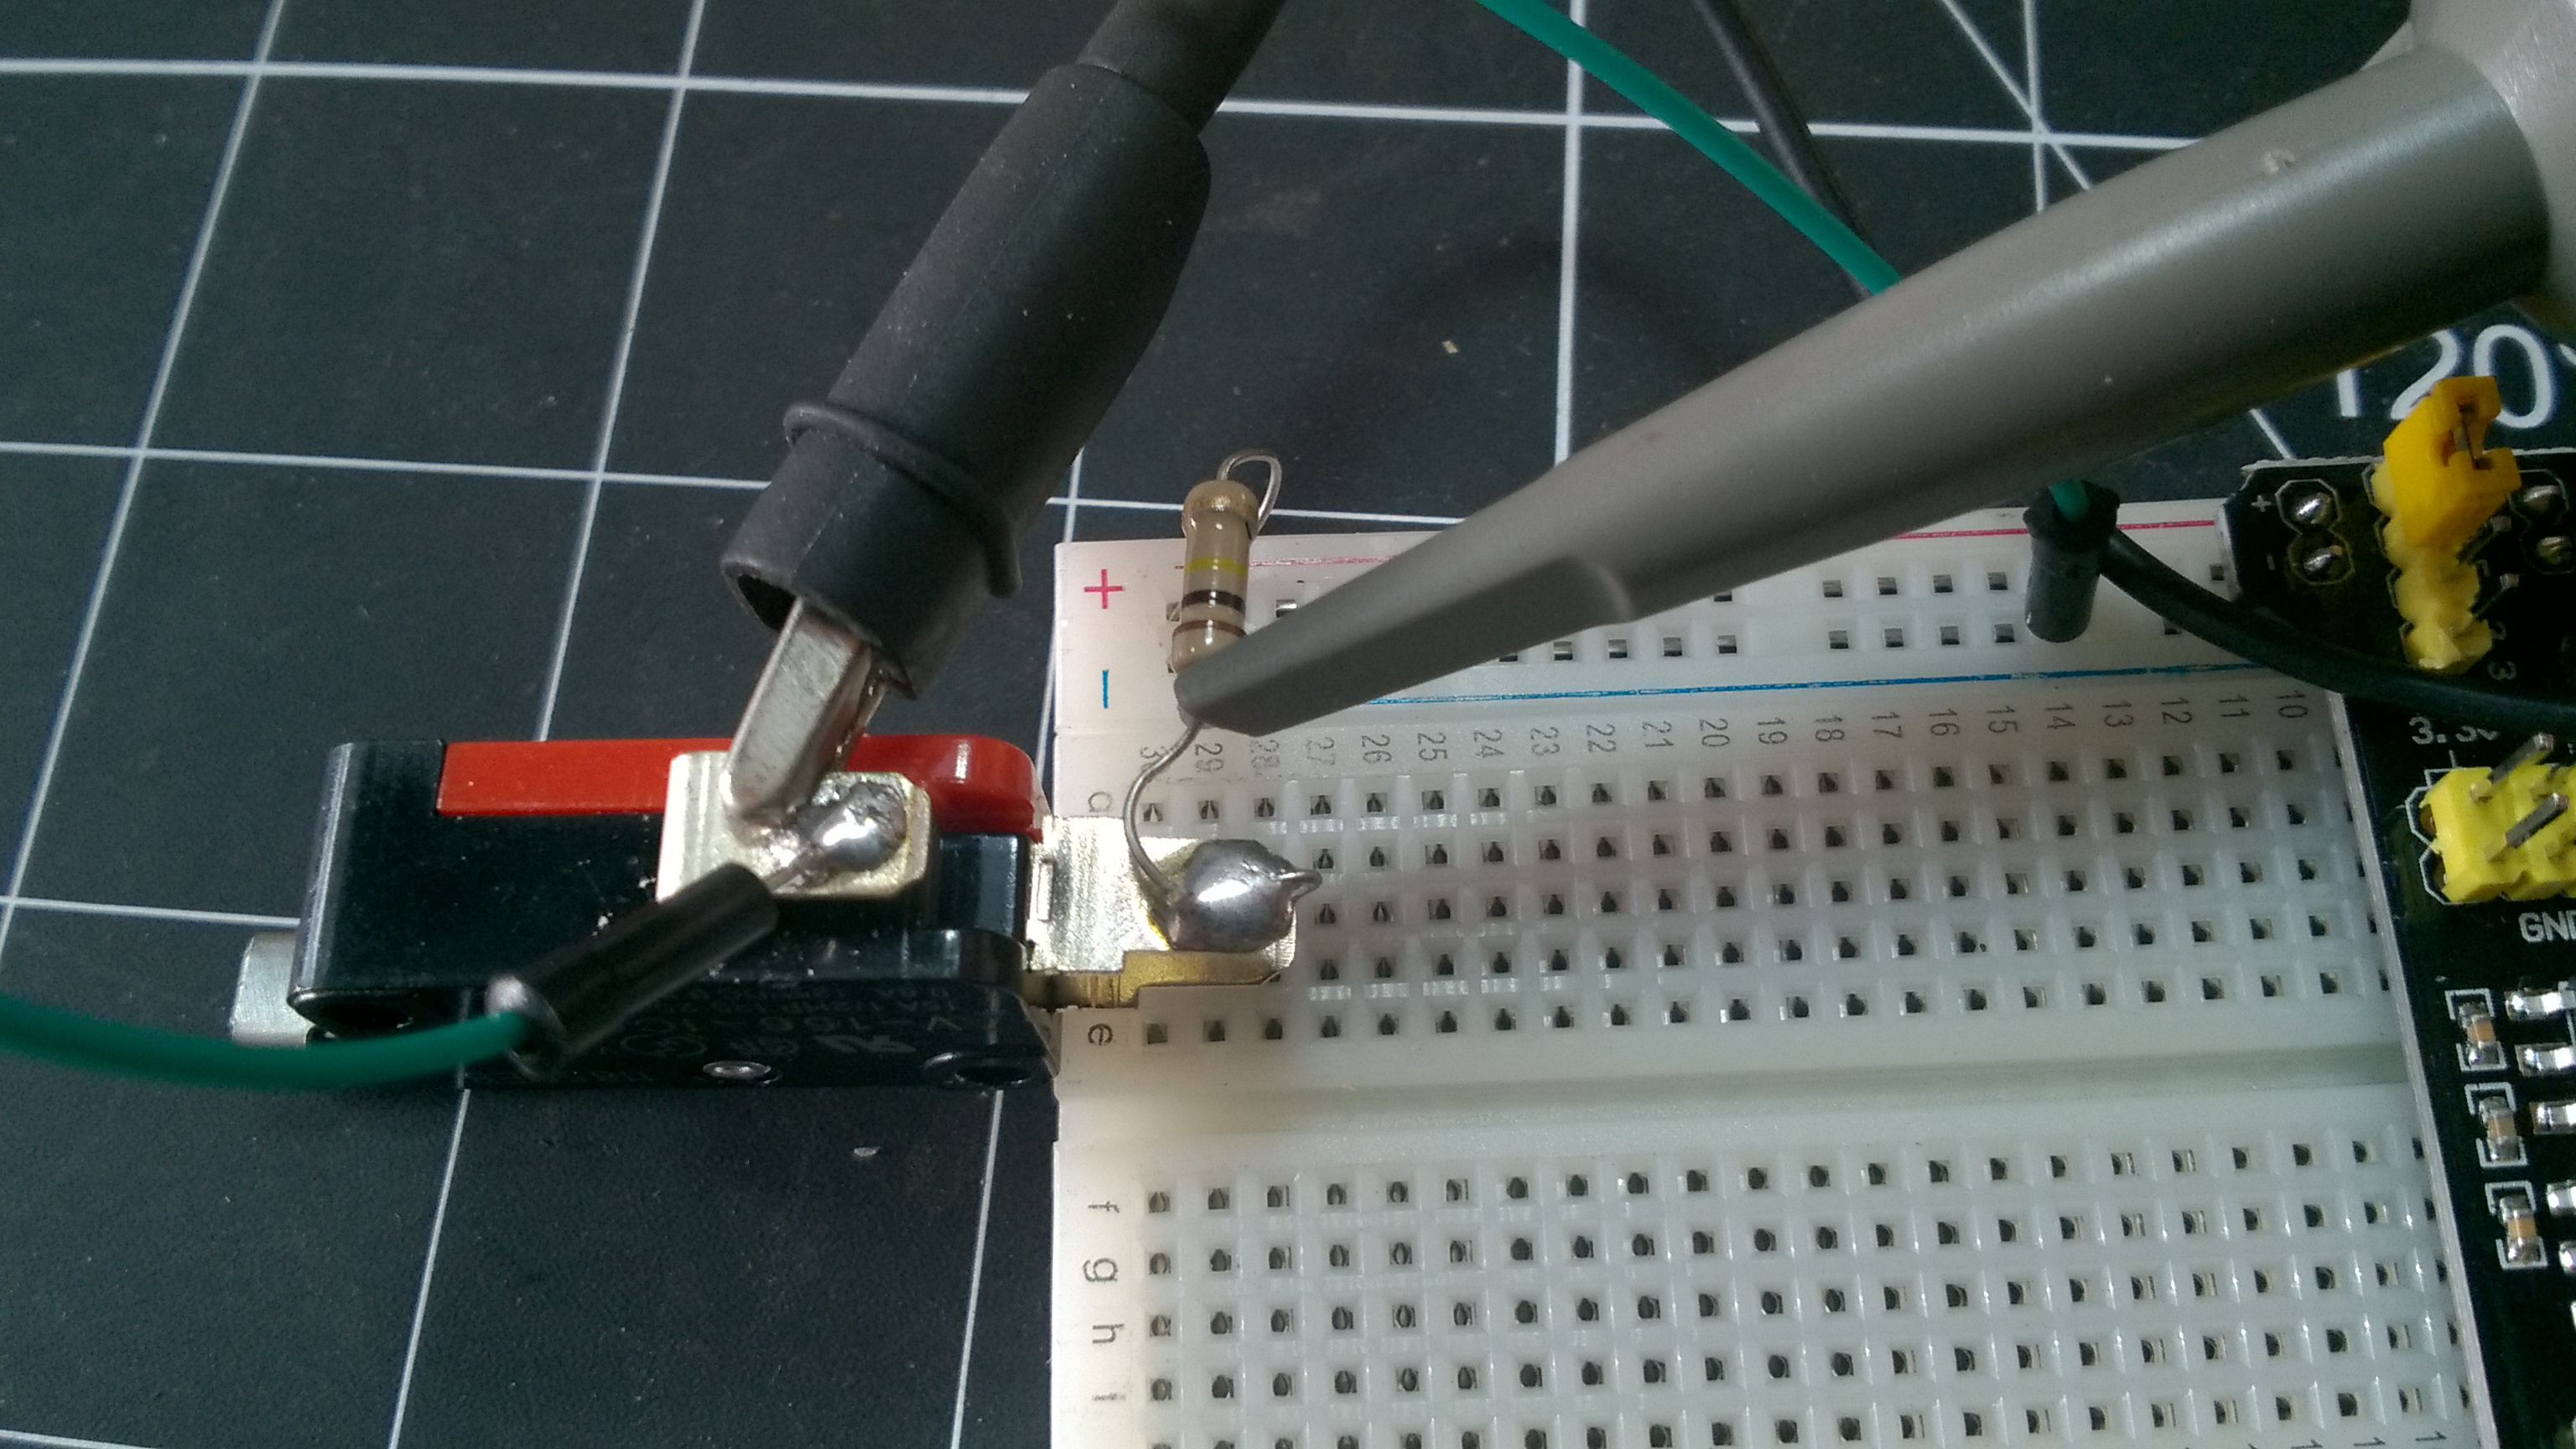
-
Lesson 5
Introduction to
Relays
- Introduction to Power Supplies/Buck
Converters & Noise Supression
|
|
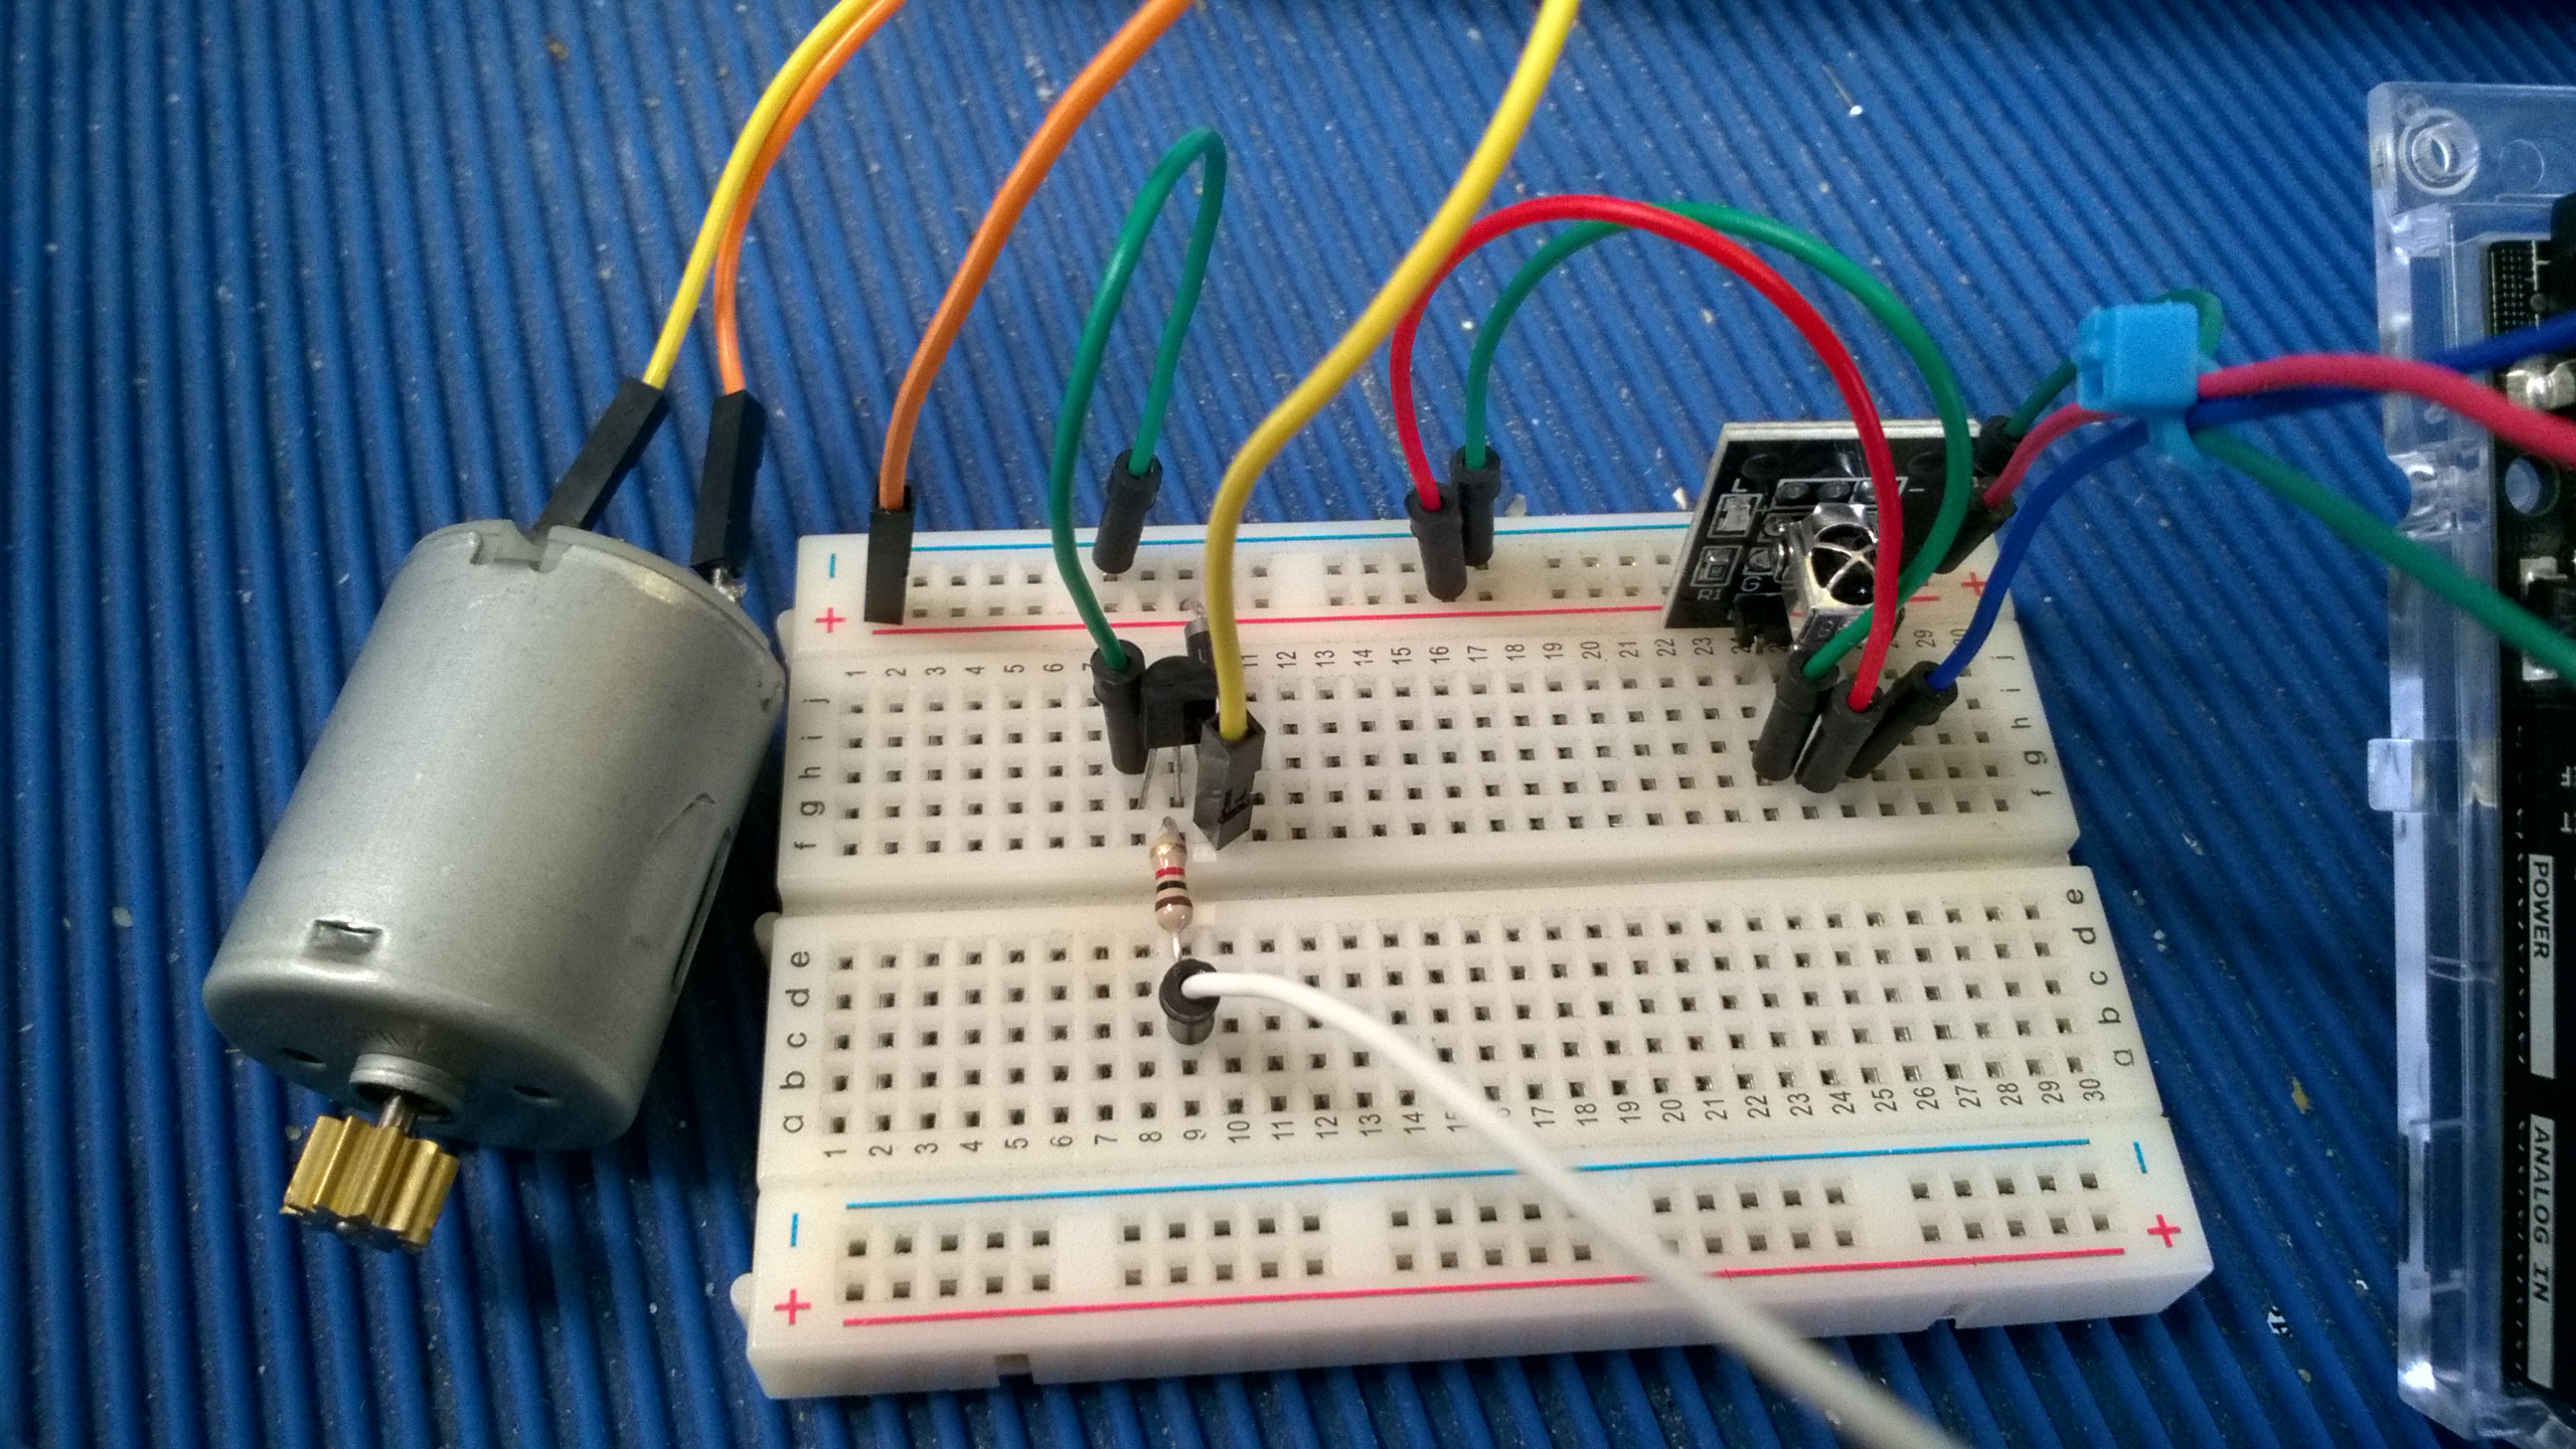
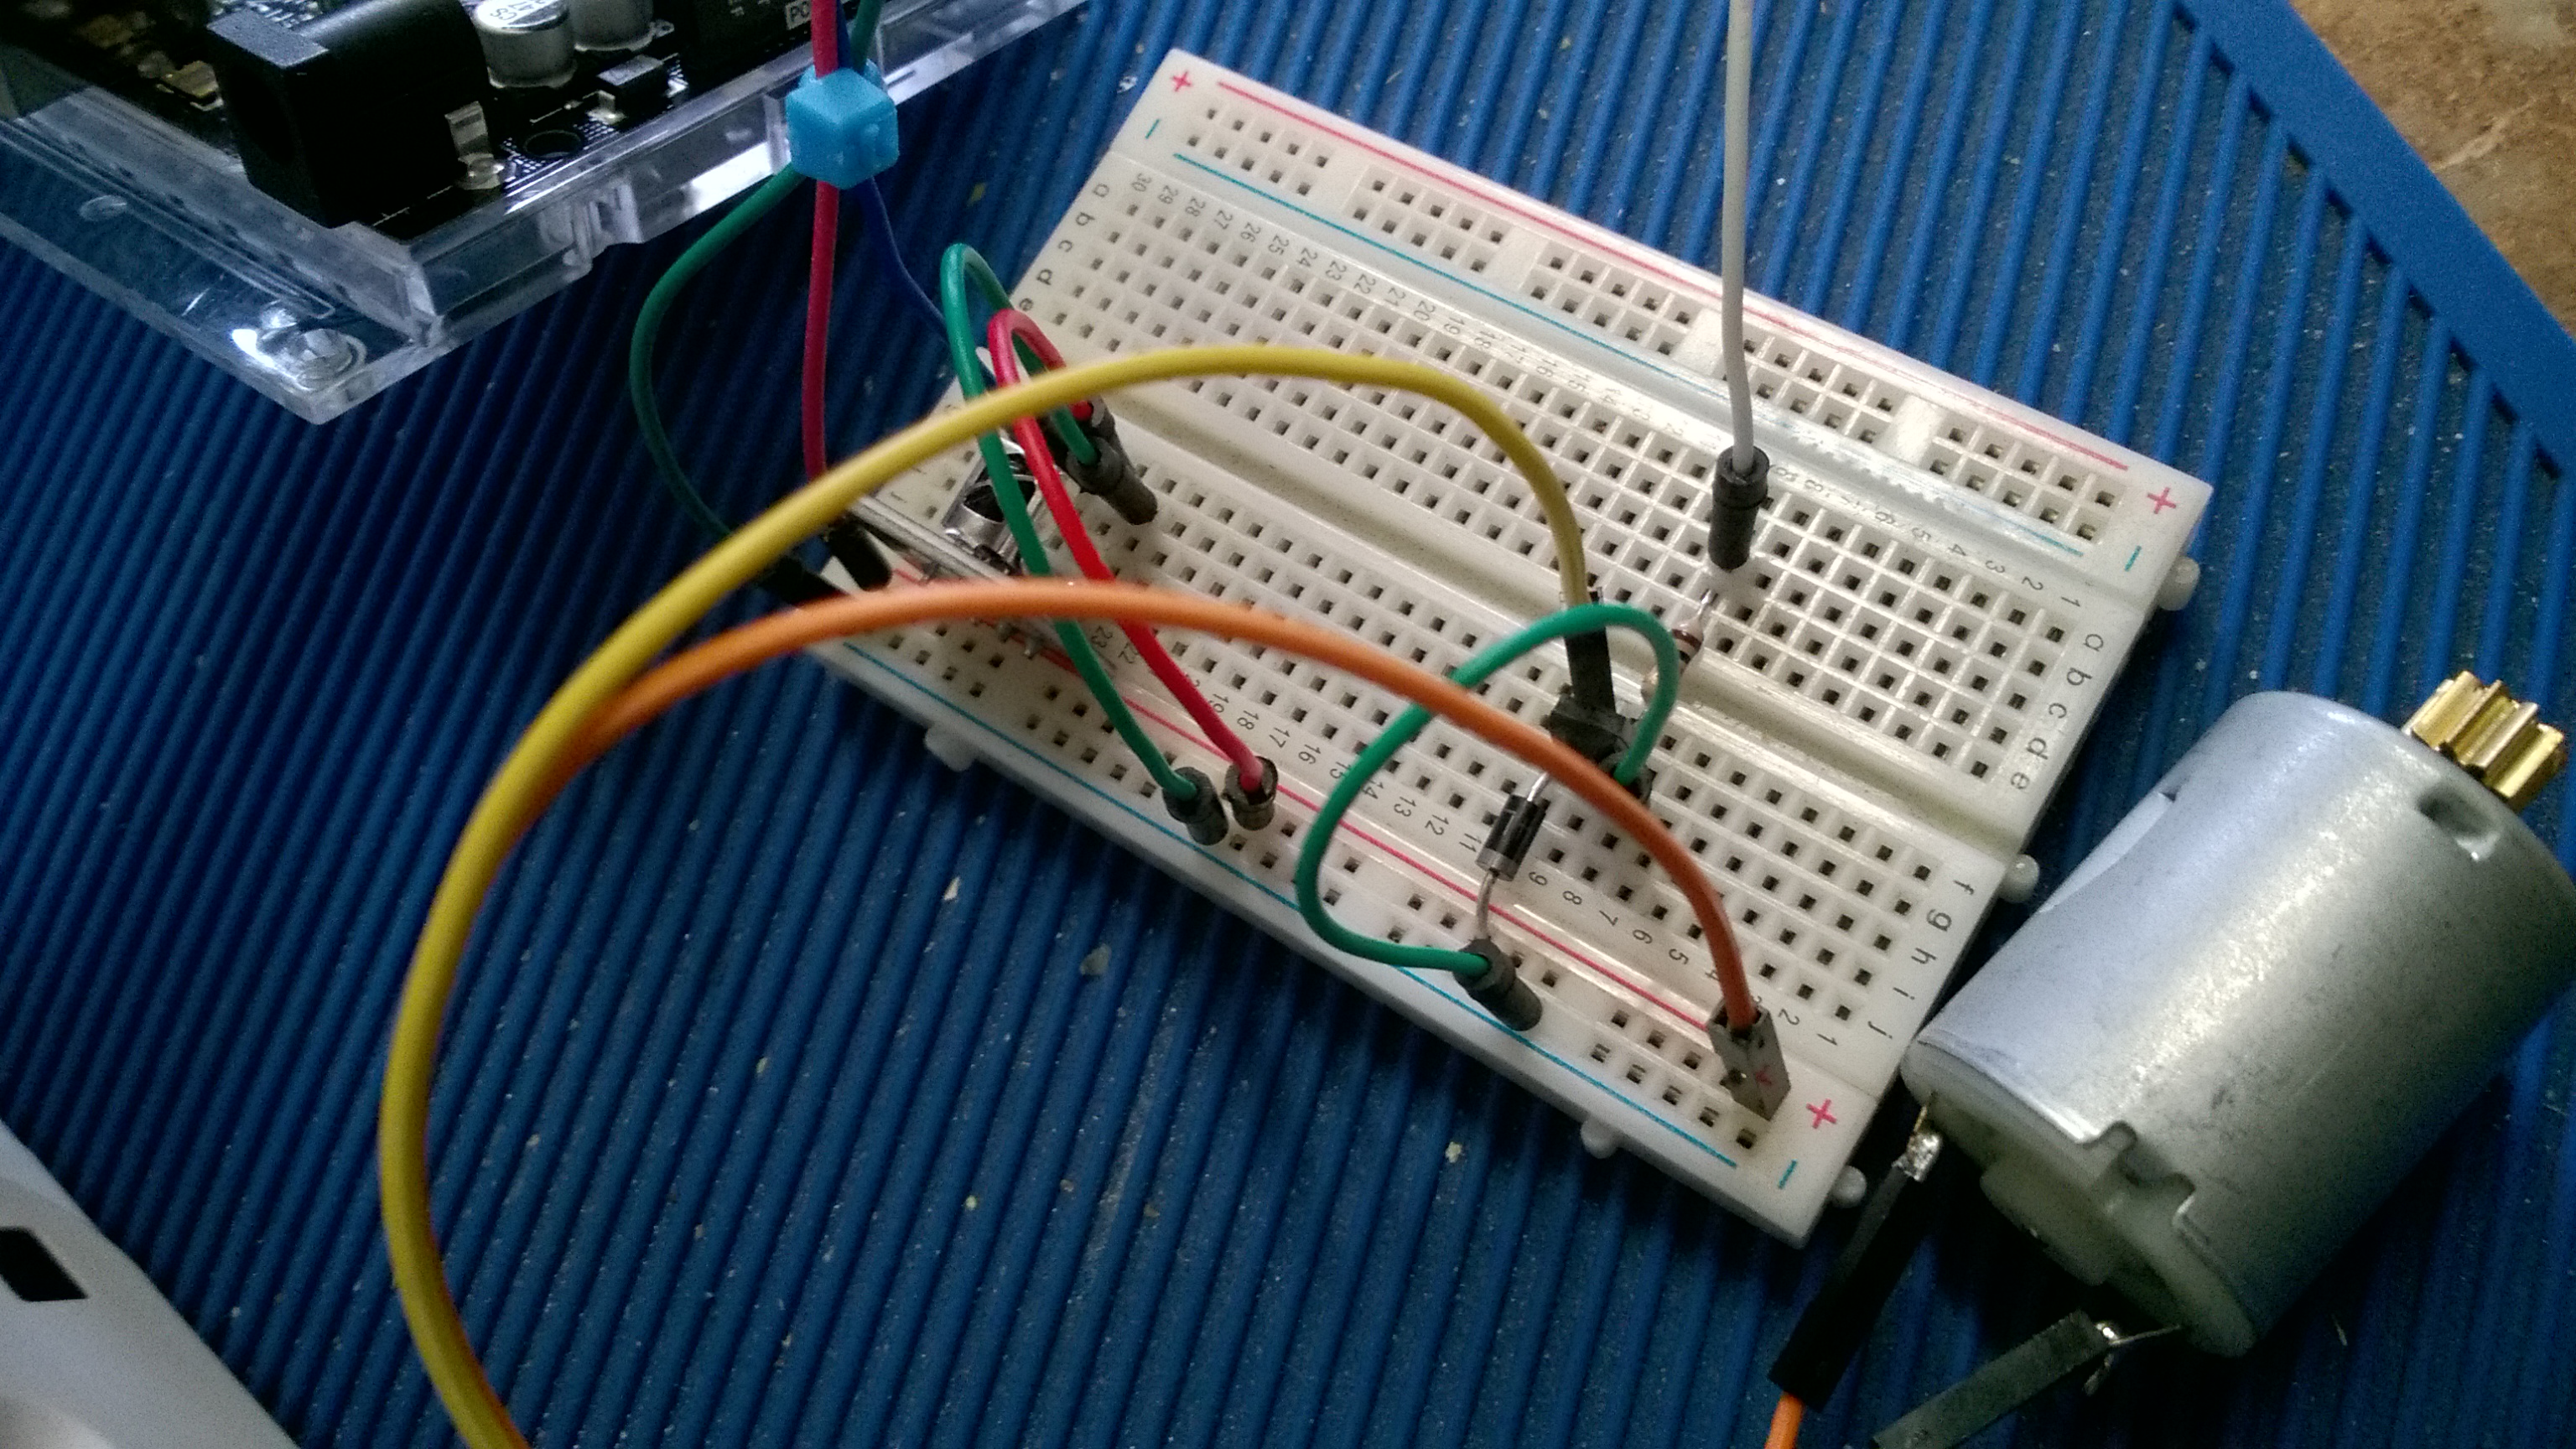
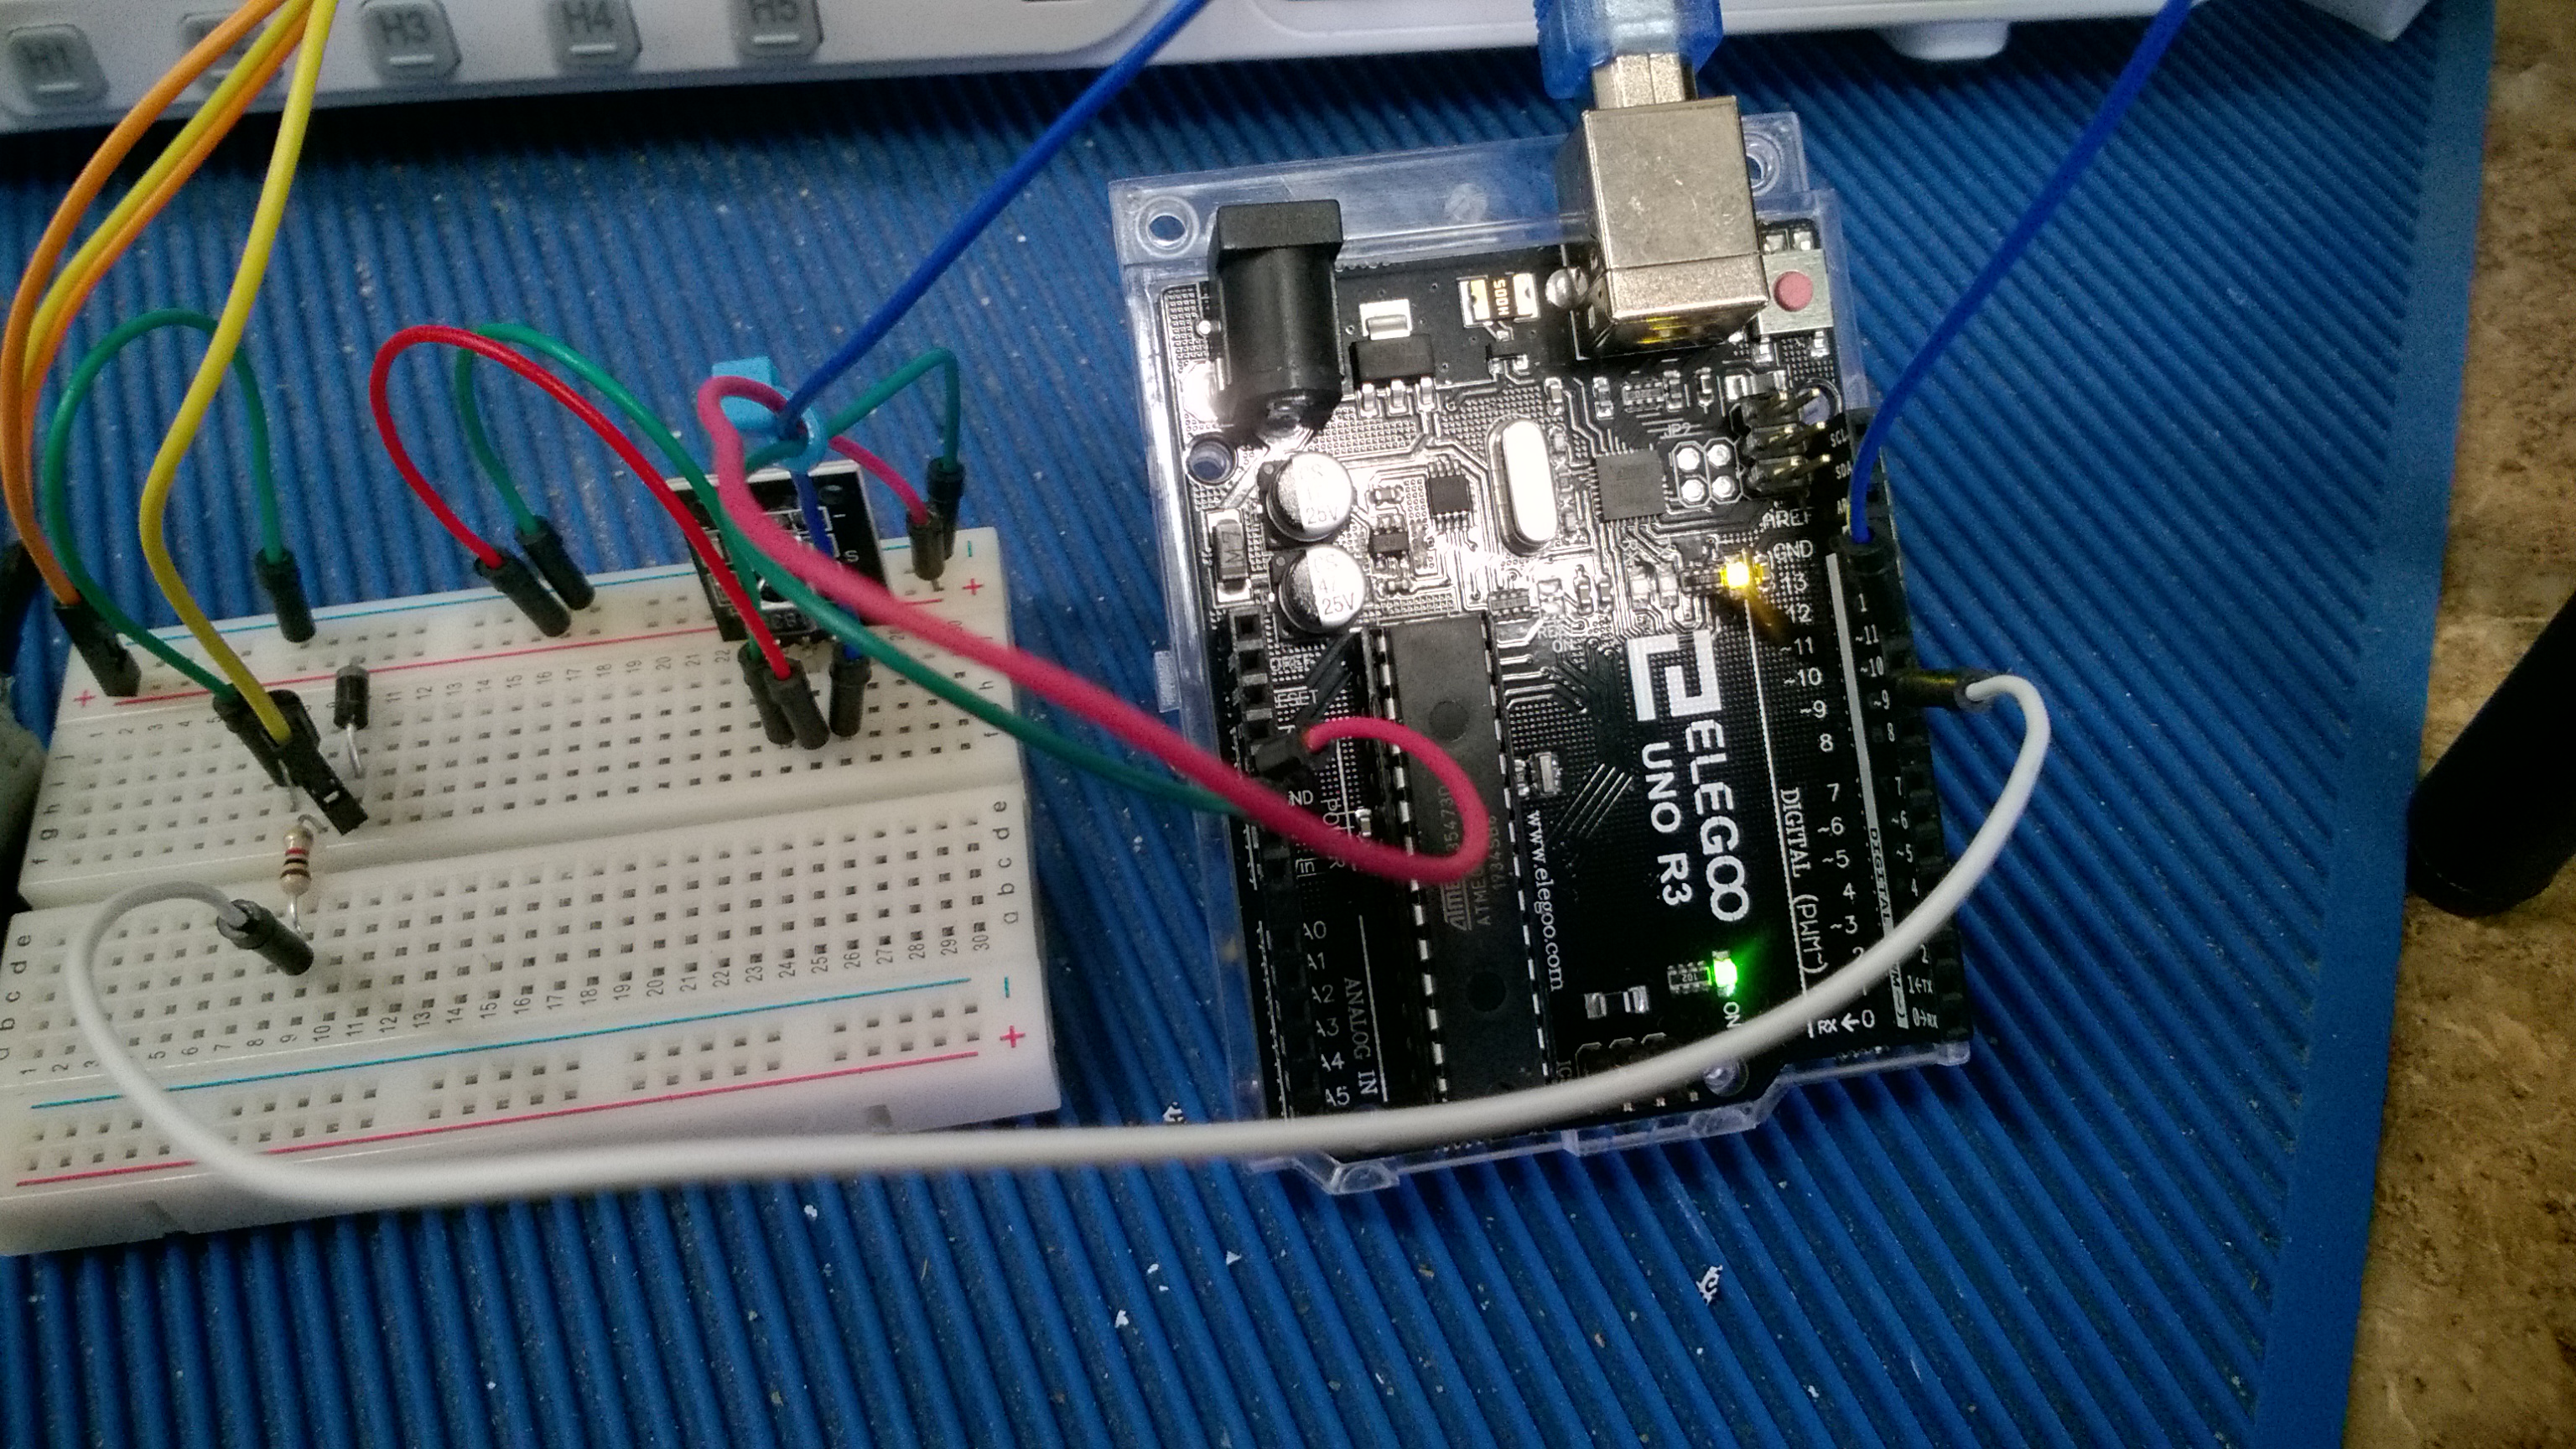
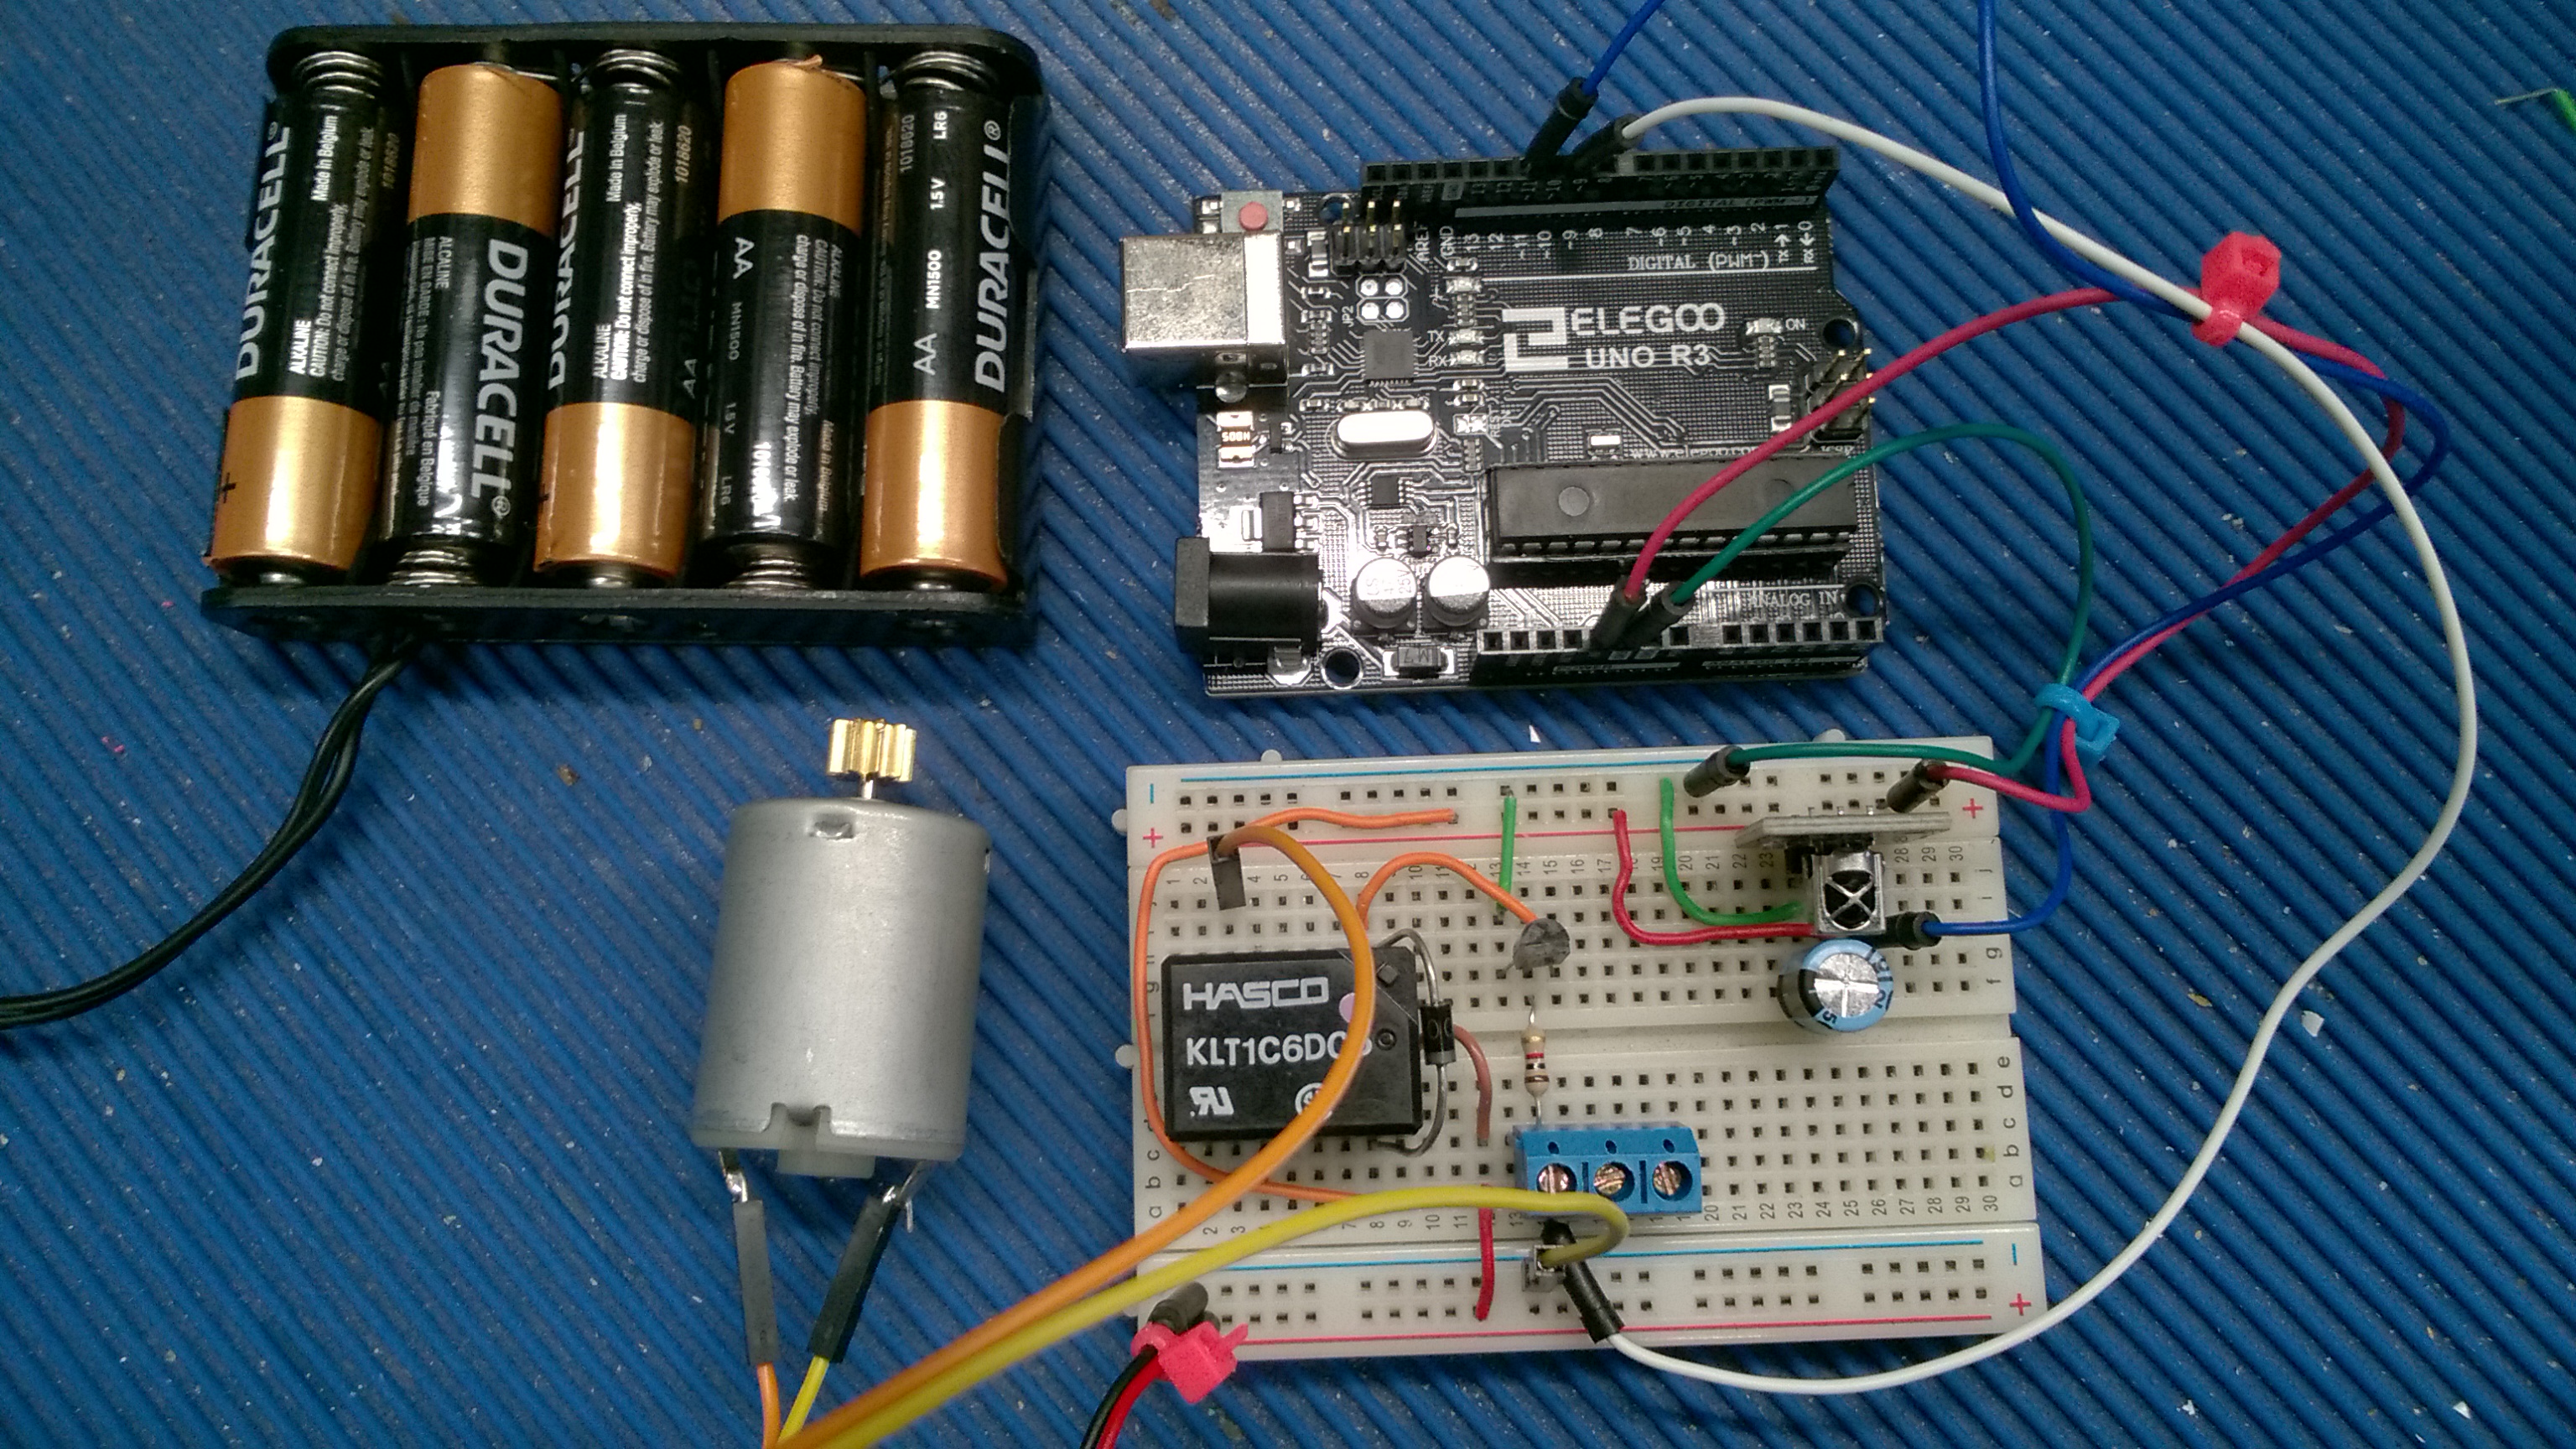
-
Lesson 6
Integrated
Controller
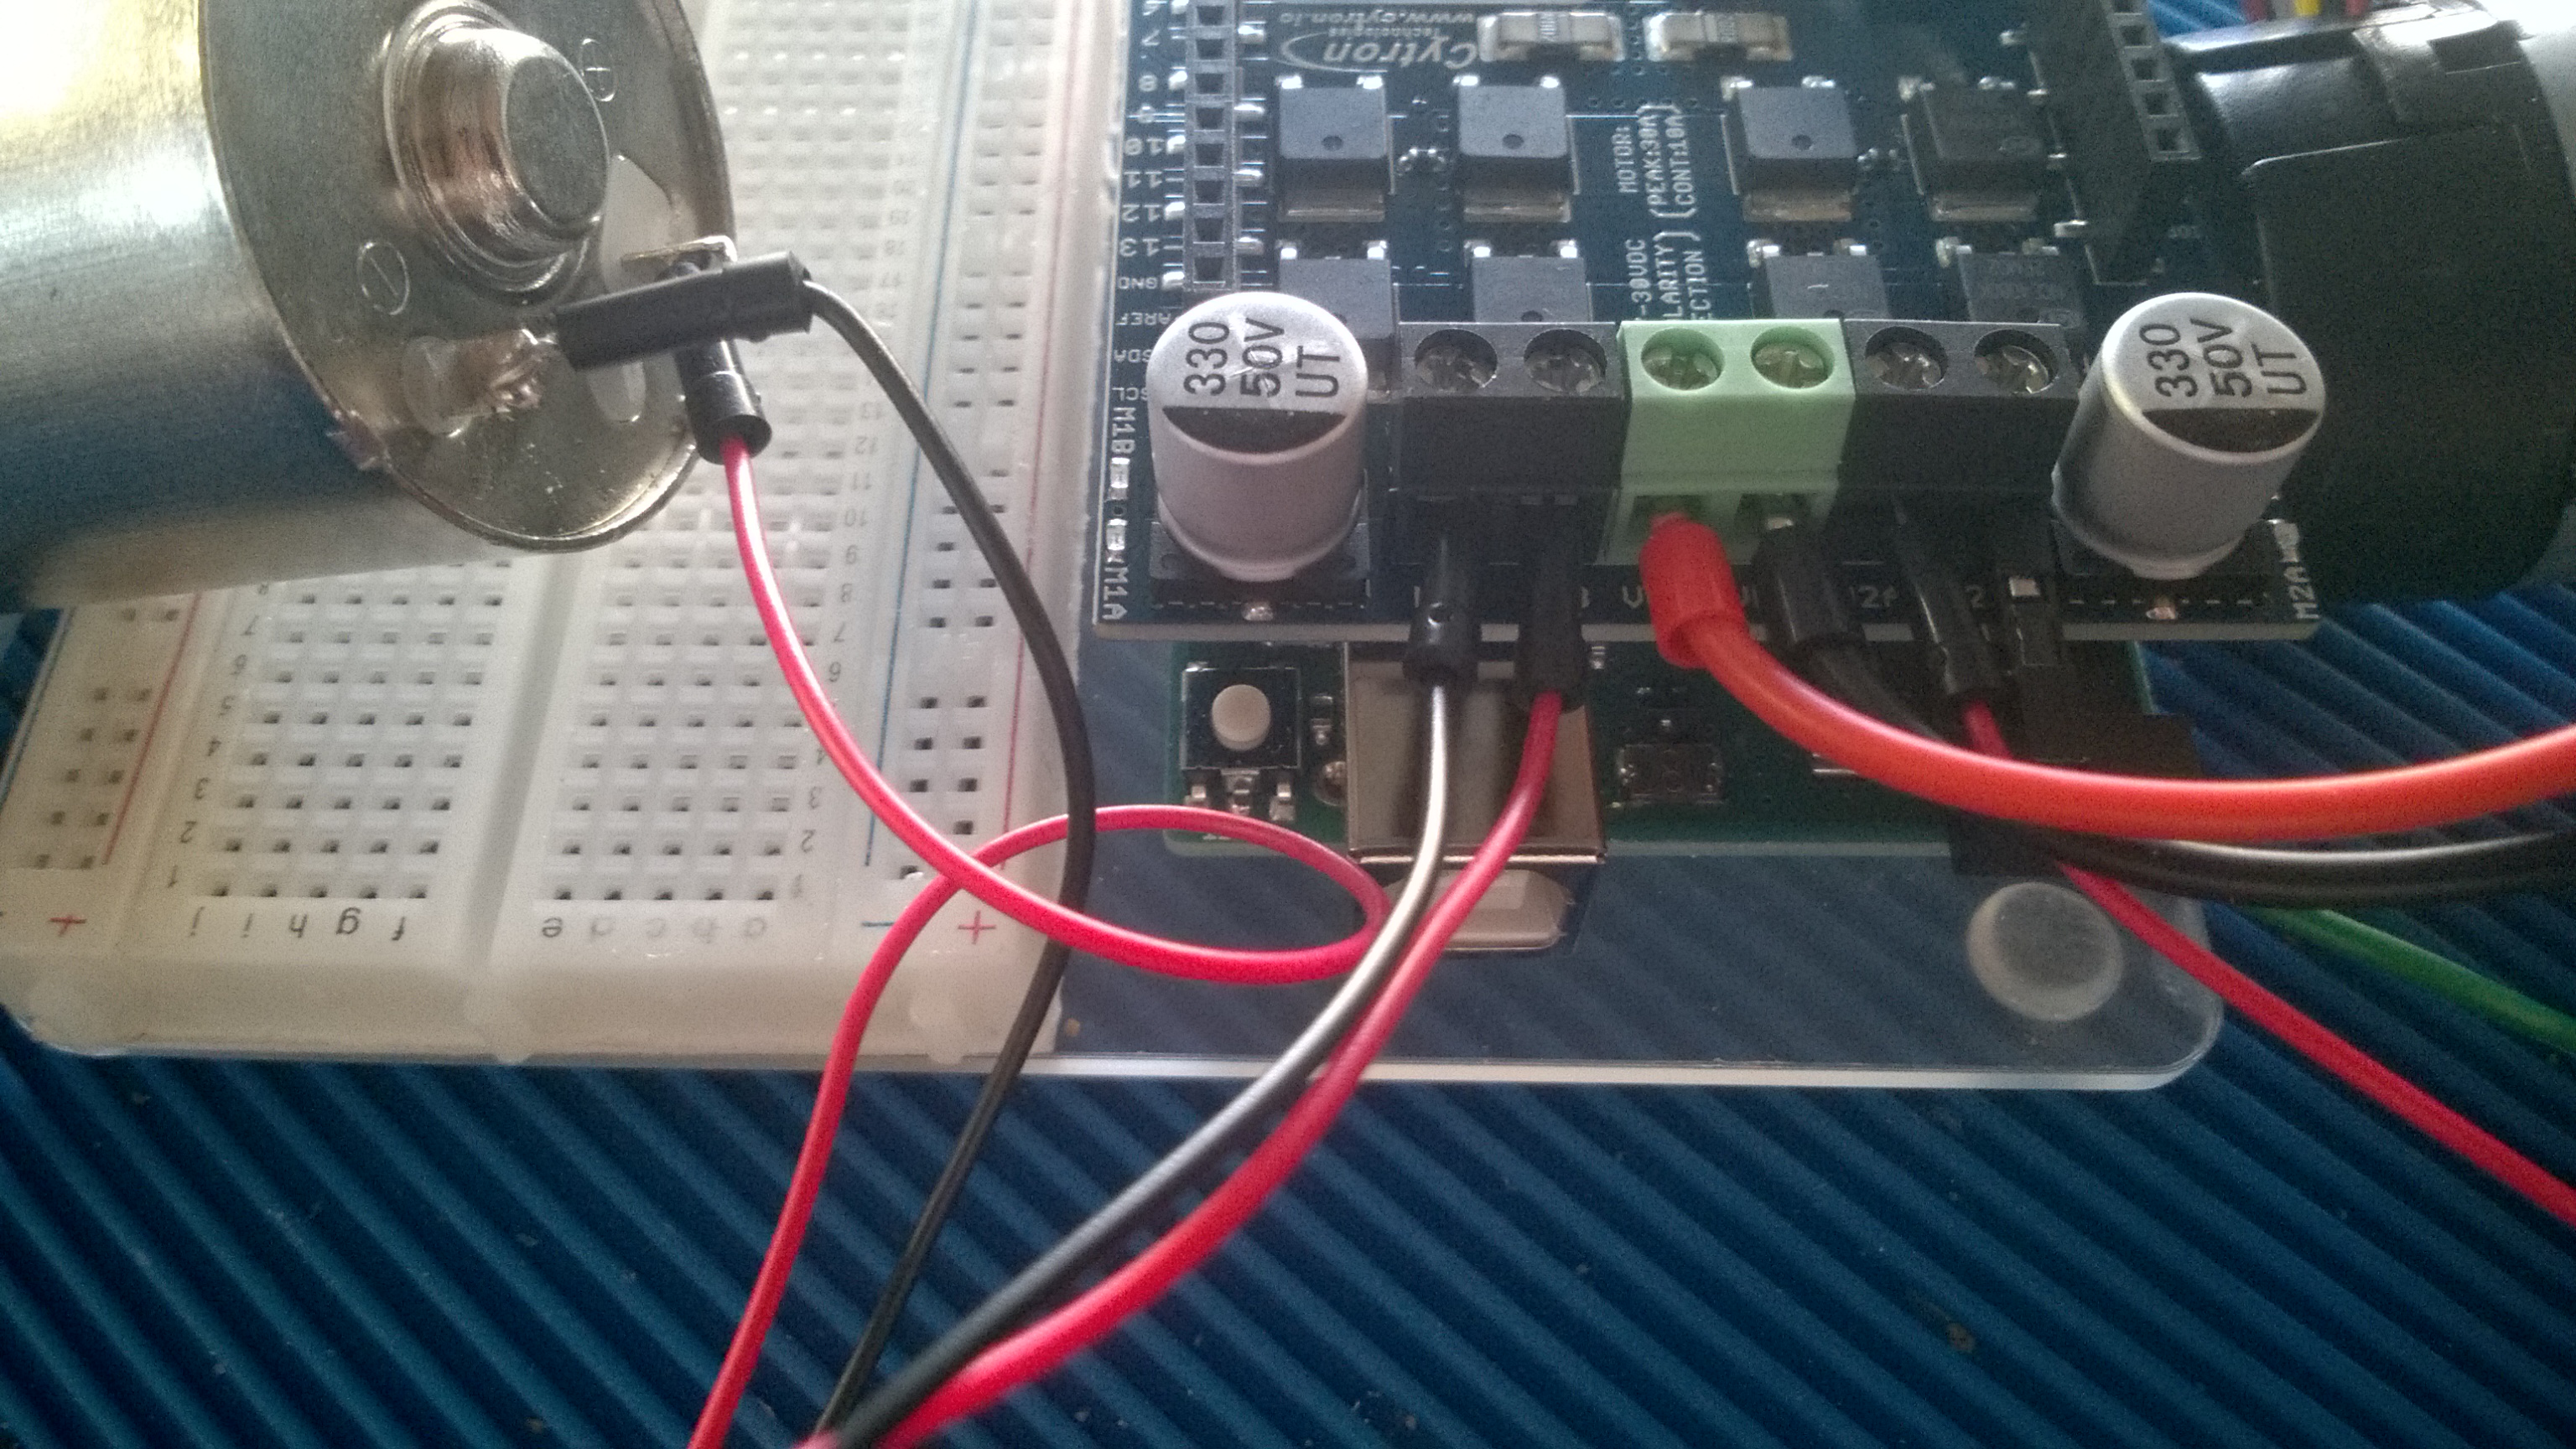
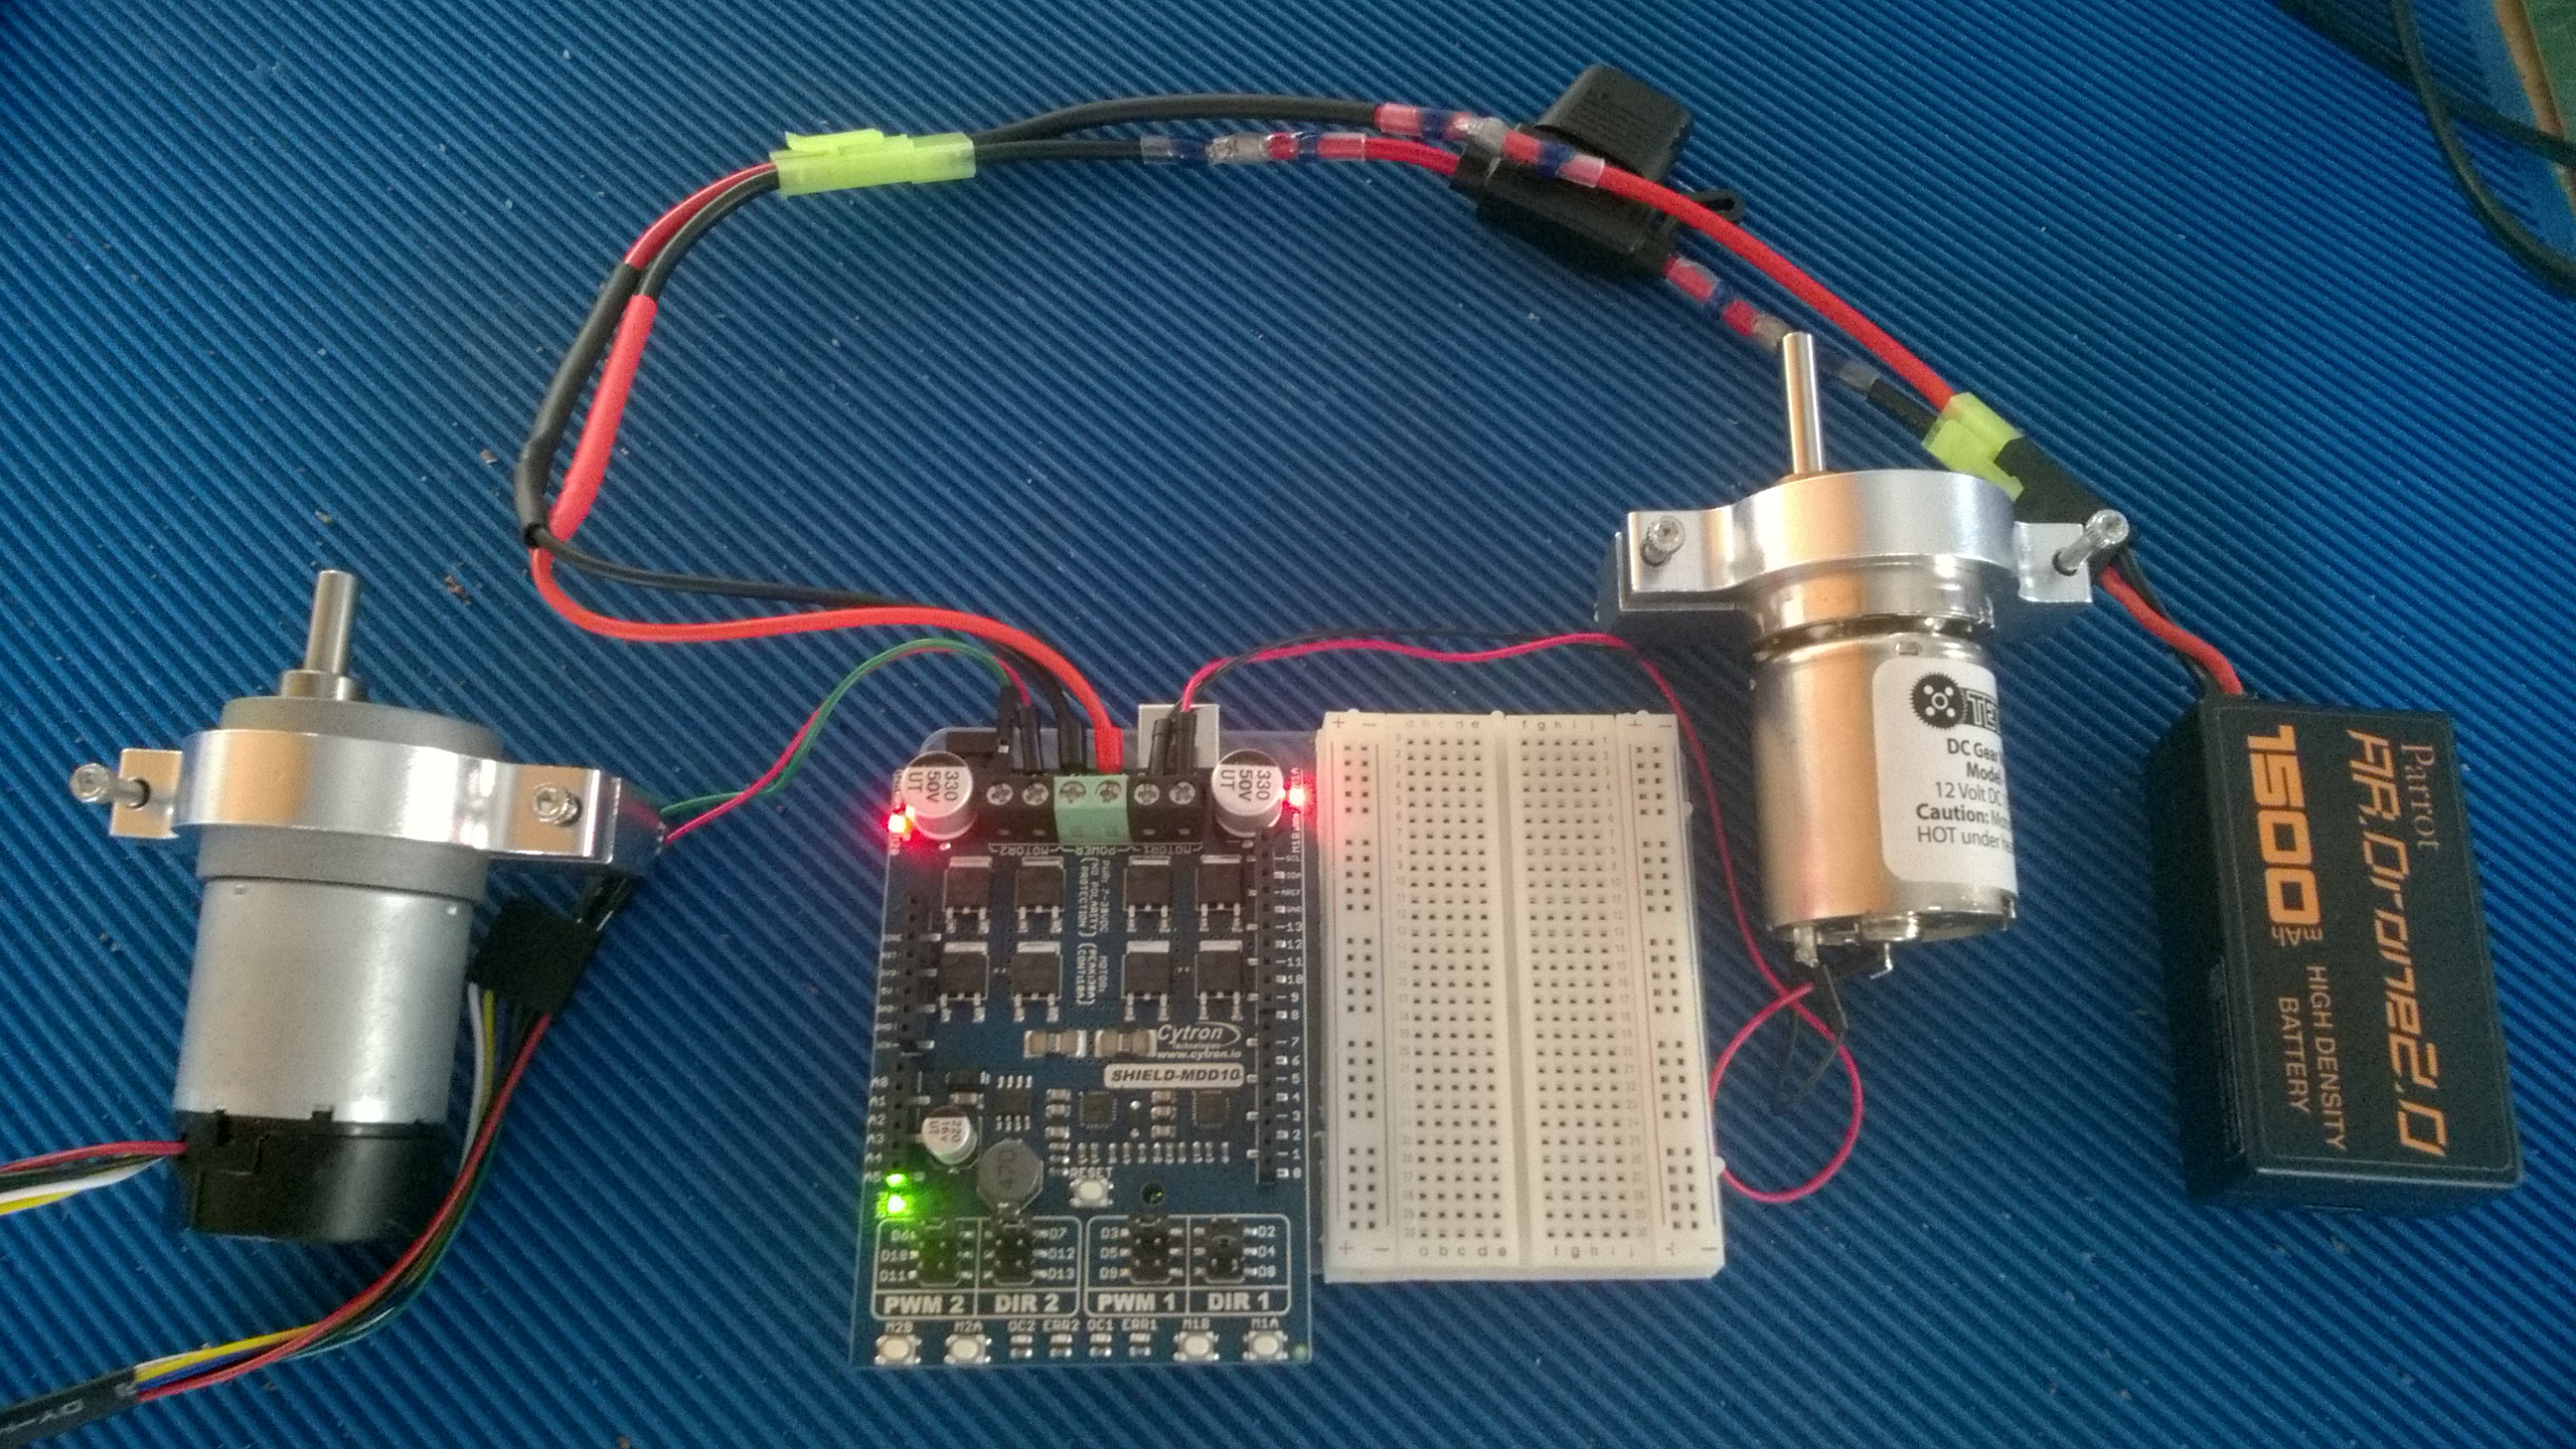
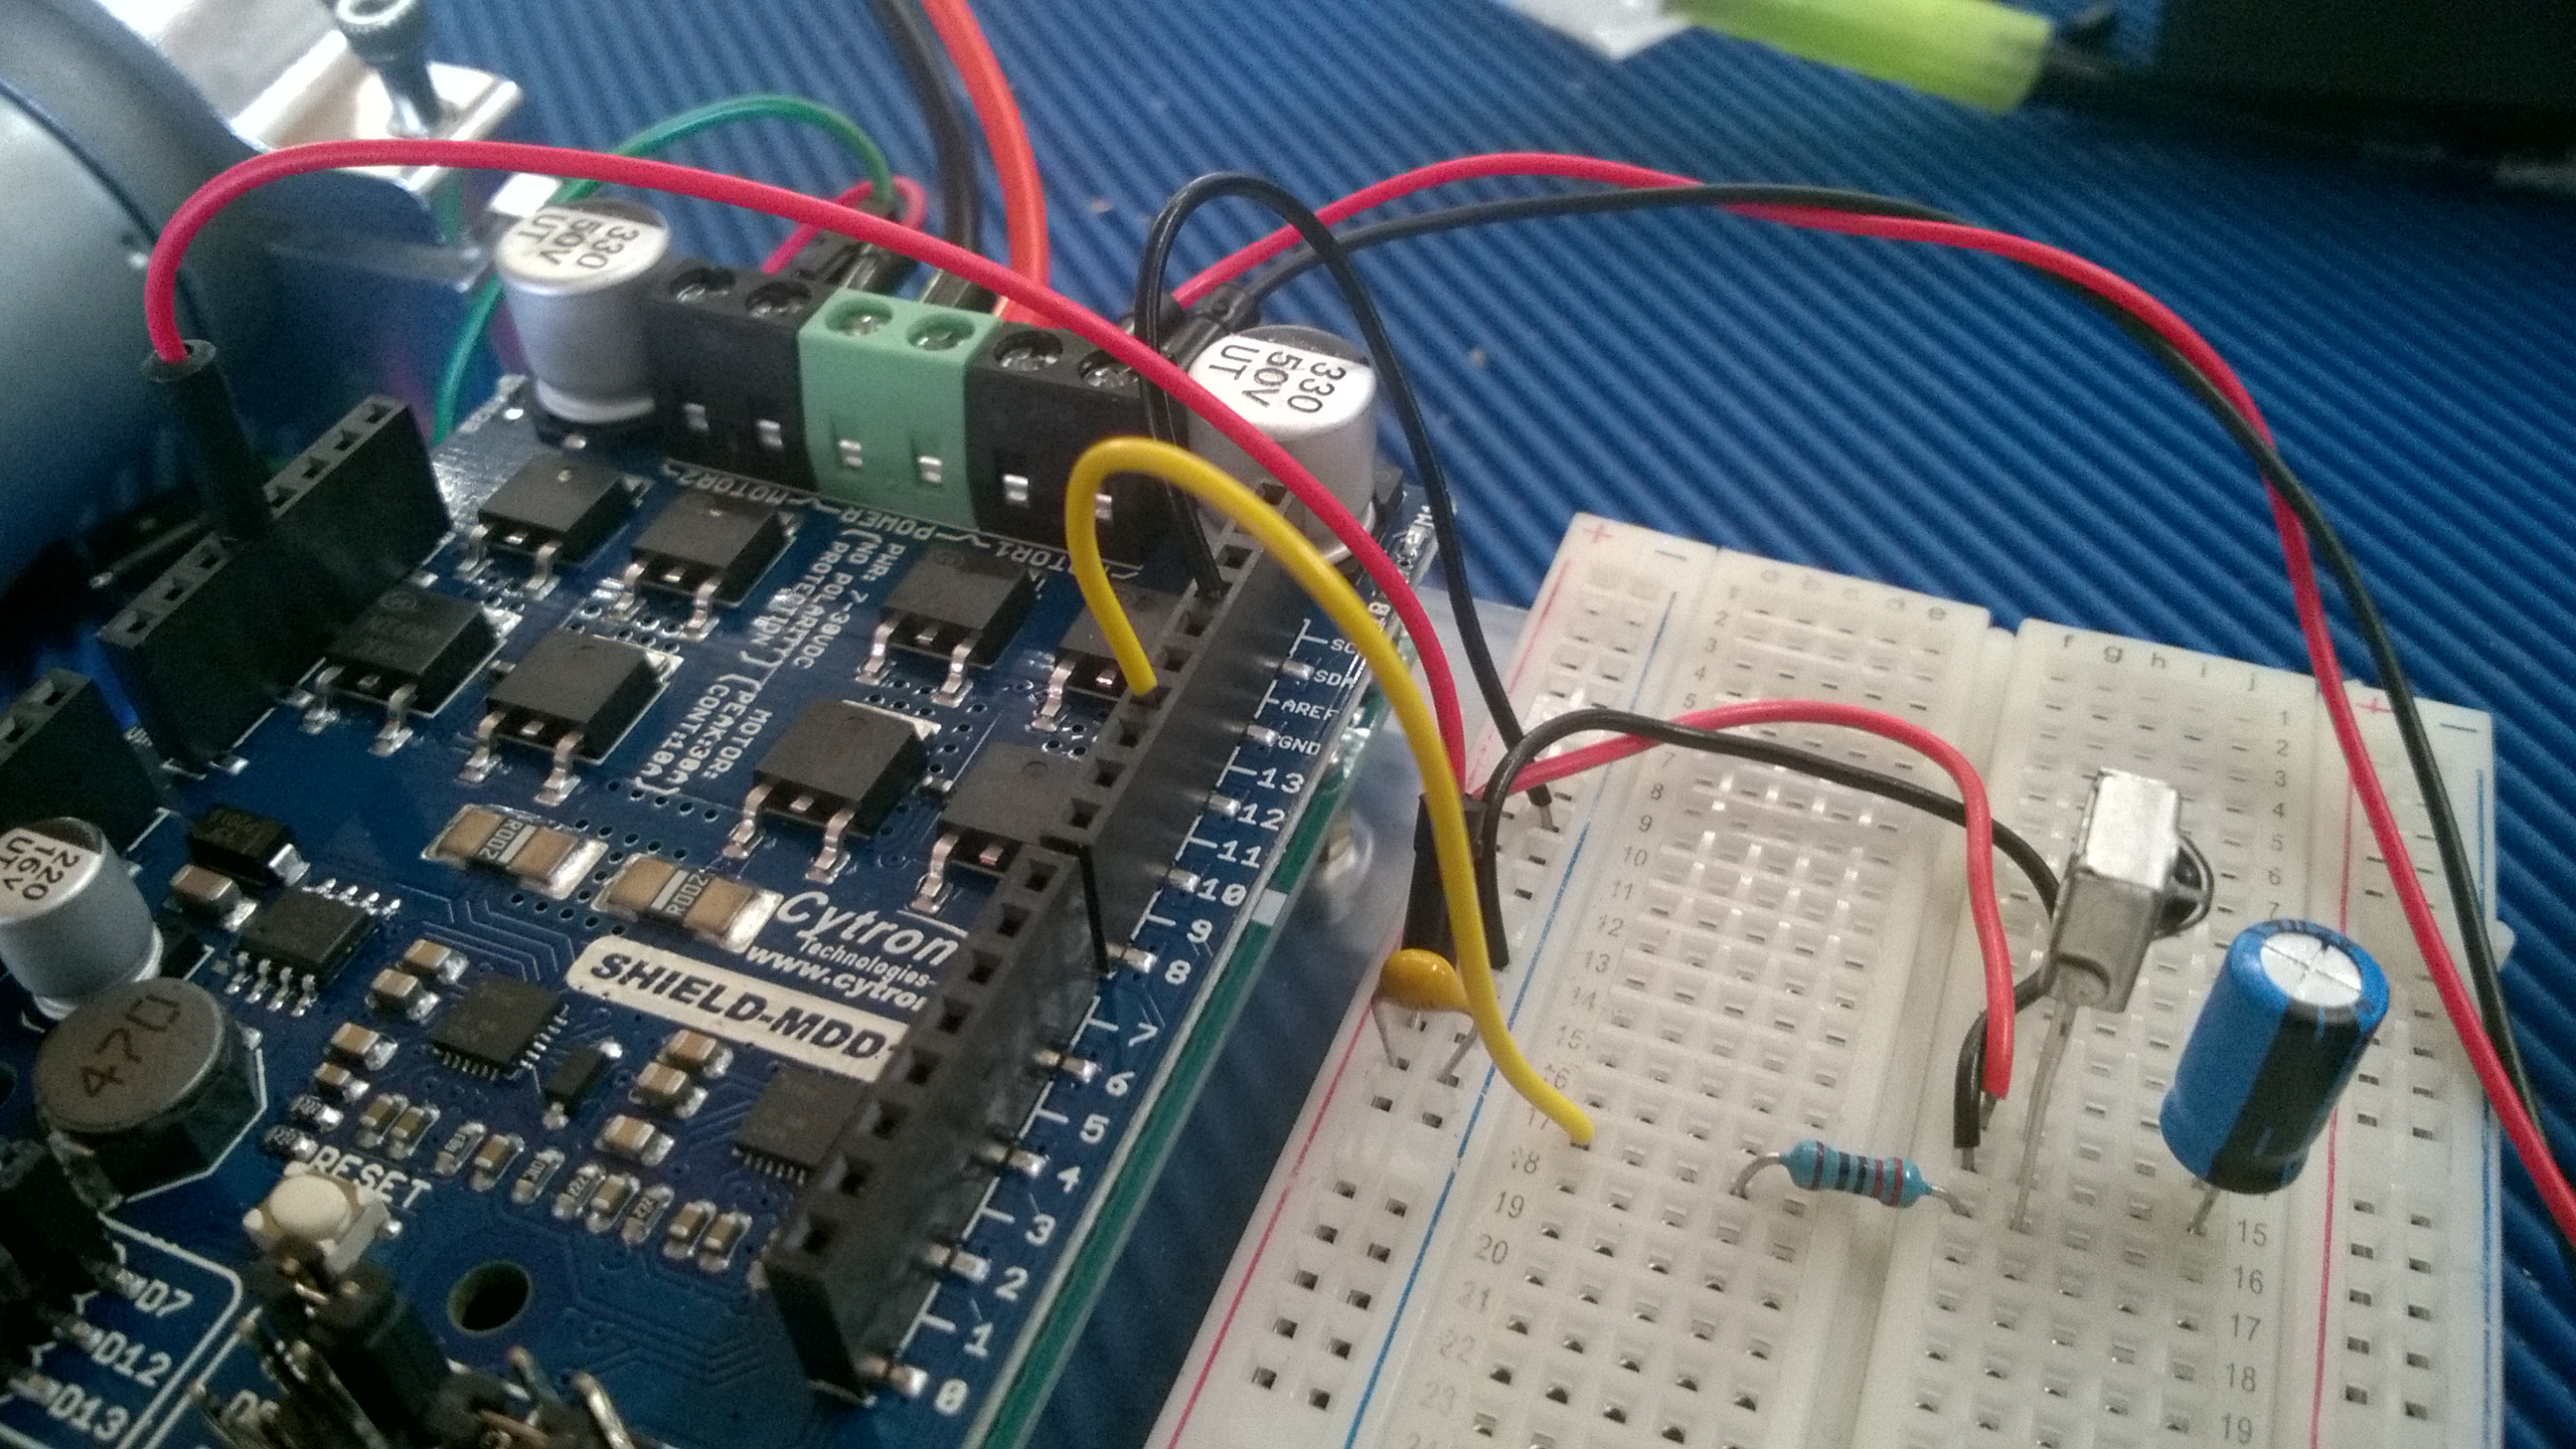
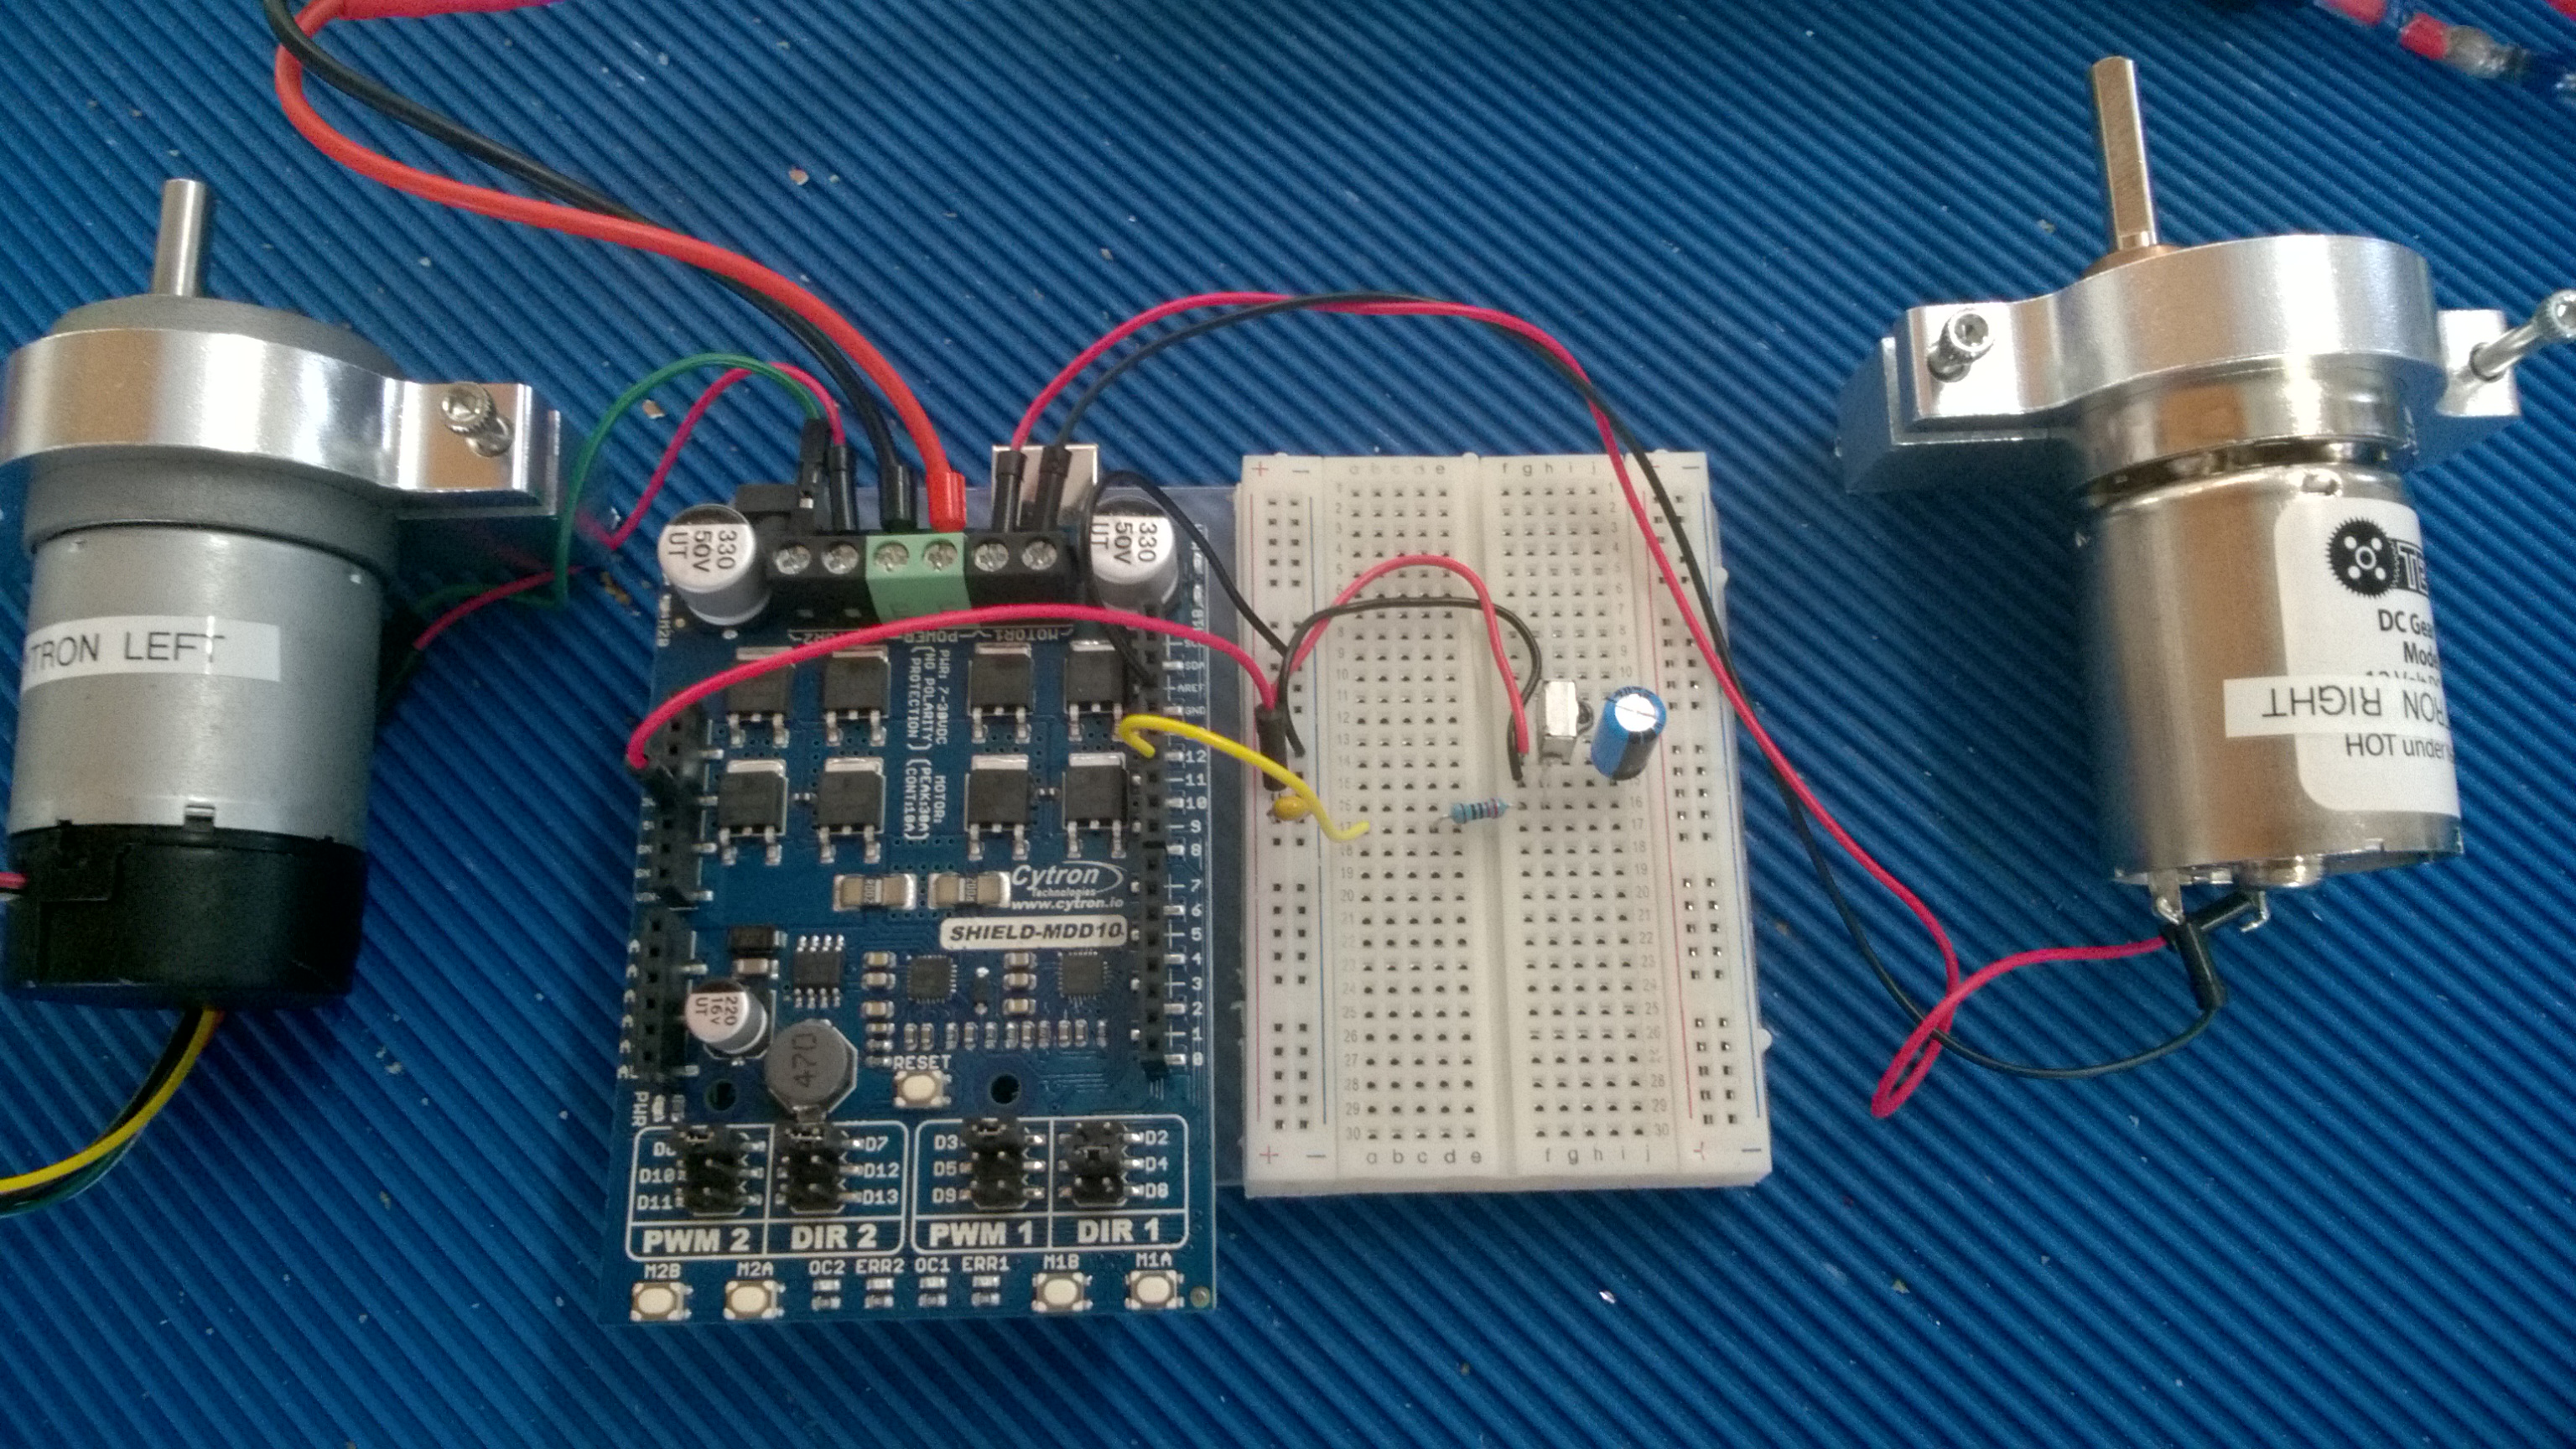
- The Cytron
H-Bridge motor controller shield.
- A complete solution for
the walkers
|
-
A Complete
Walker controller solution: Introducing the
IR
Cytron Arduino Motor Driver Projects
- Let's check out the
Cytron Motor Drive
Shield. This is a Arduino shield
that controls 2 DC brushed motors with a
minimum of effort. Power is supplied by a
1500mAh Li-Ion quad copter battery pack (or
equivalent). Power from this battery powers
the Arduino also.
- Hook up 6 wires and build your IR
circuit and the hardware is ready to go!
- We will add our IR motor controller
circuit and code to create a complete
Critter Controller system for dual motor
walkers.
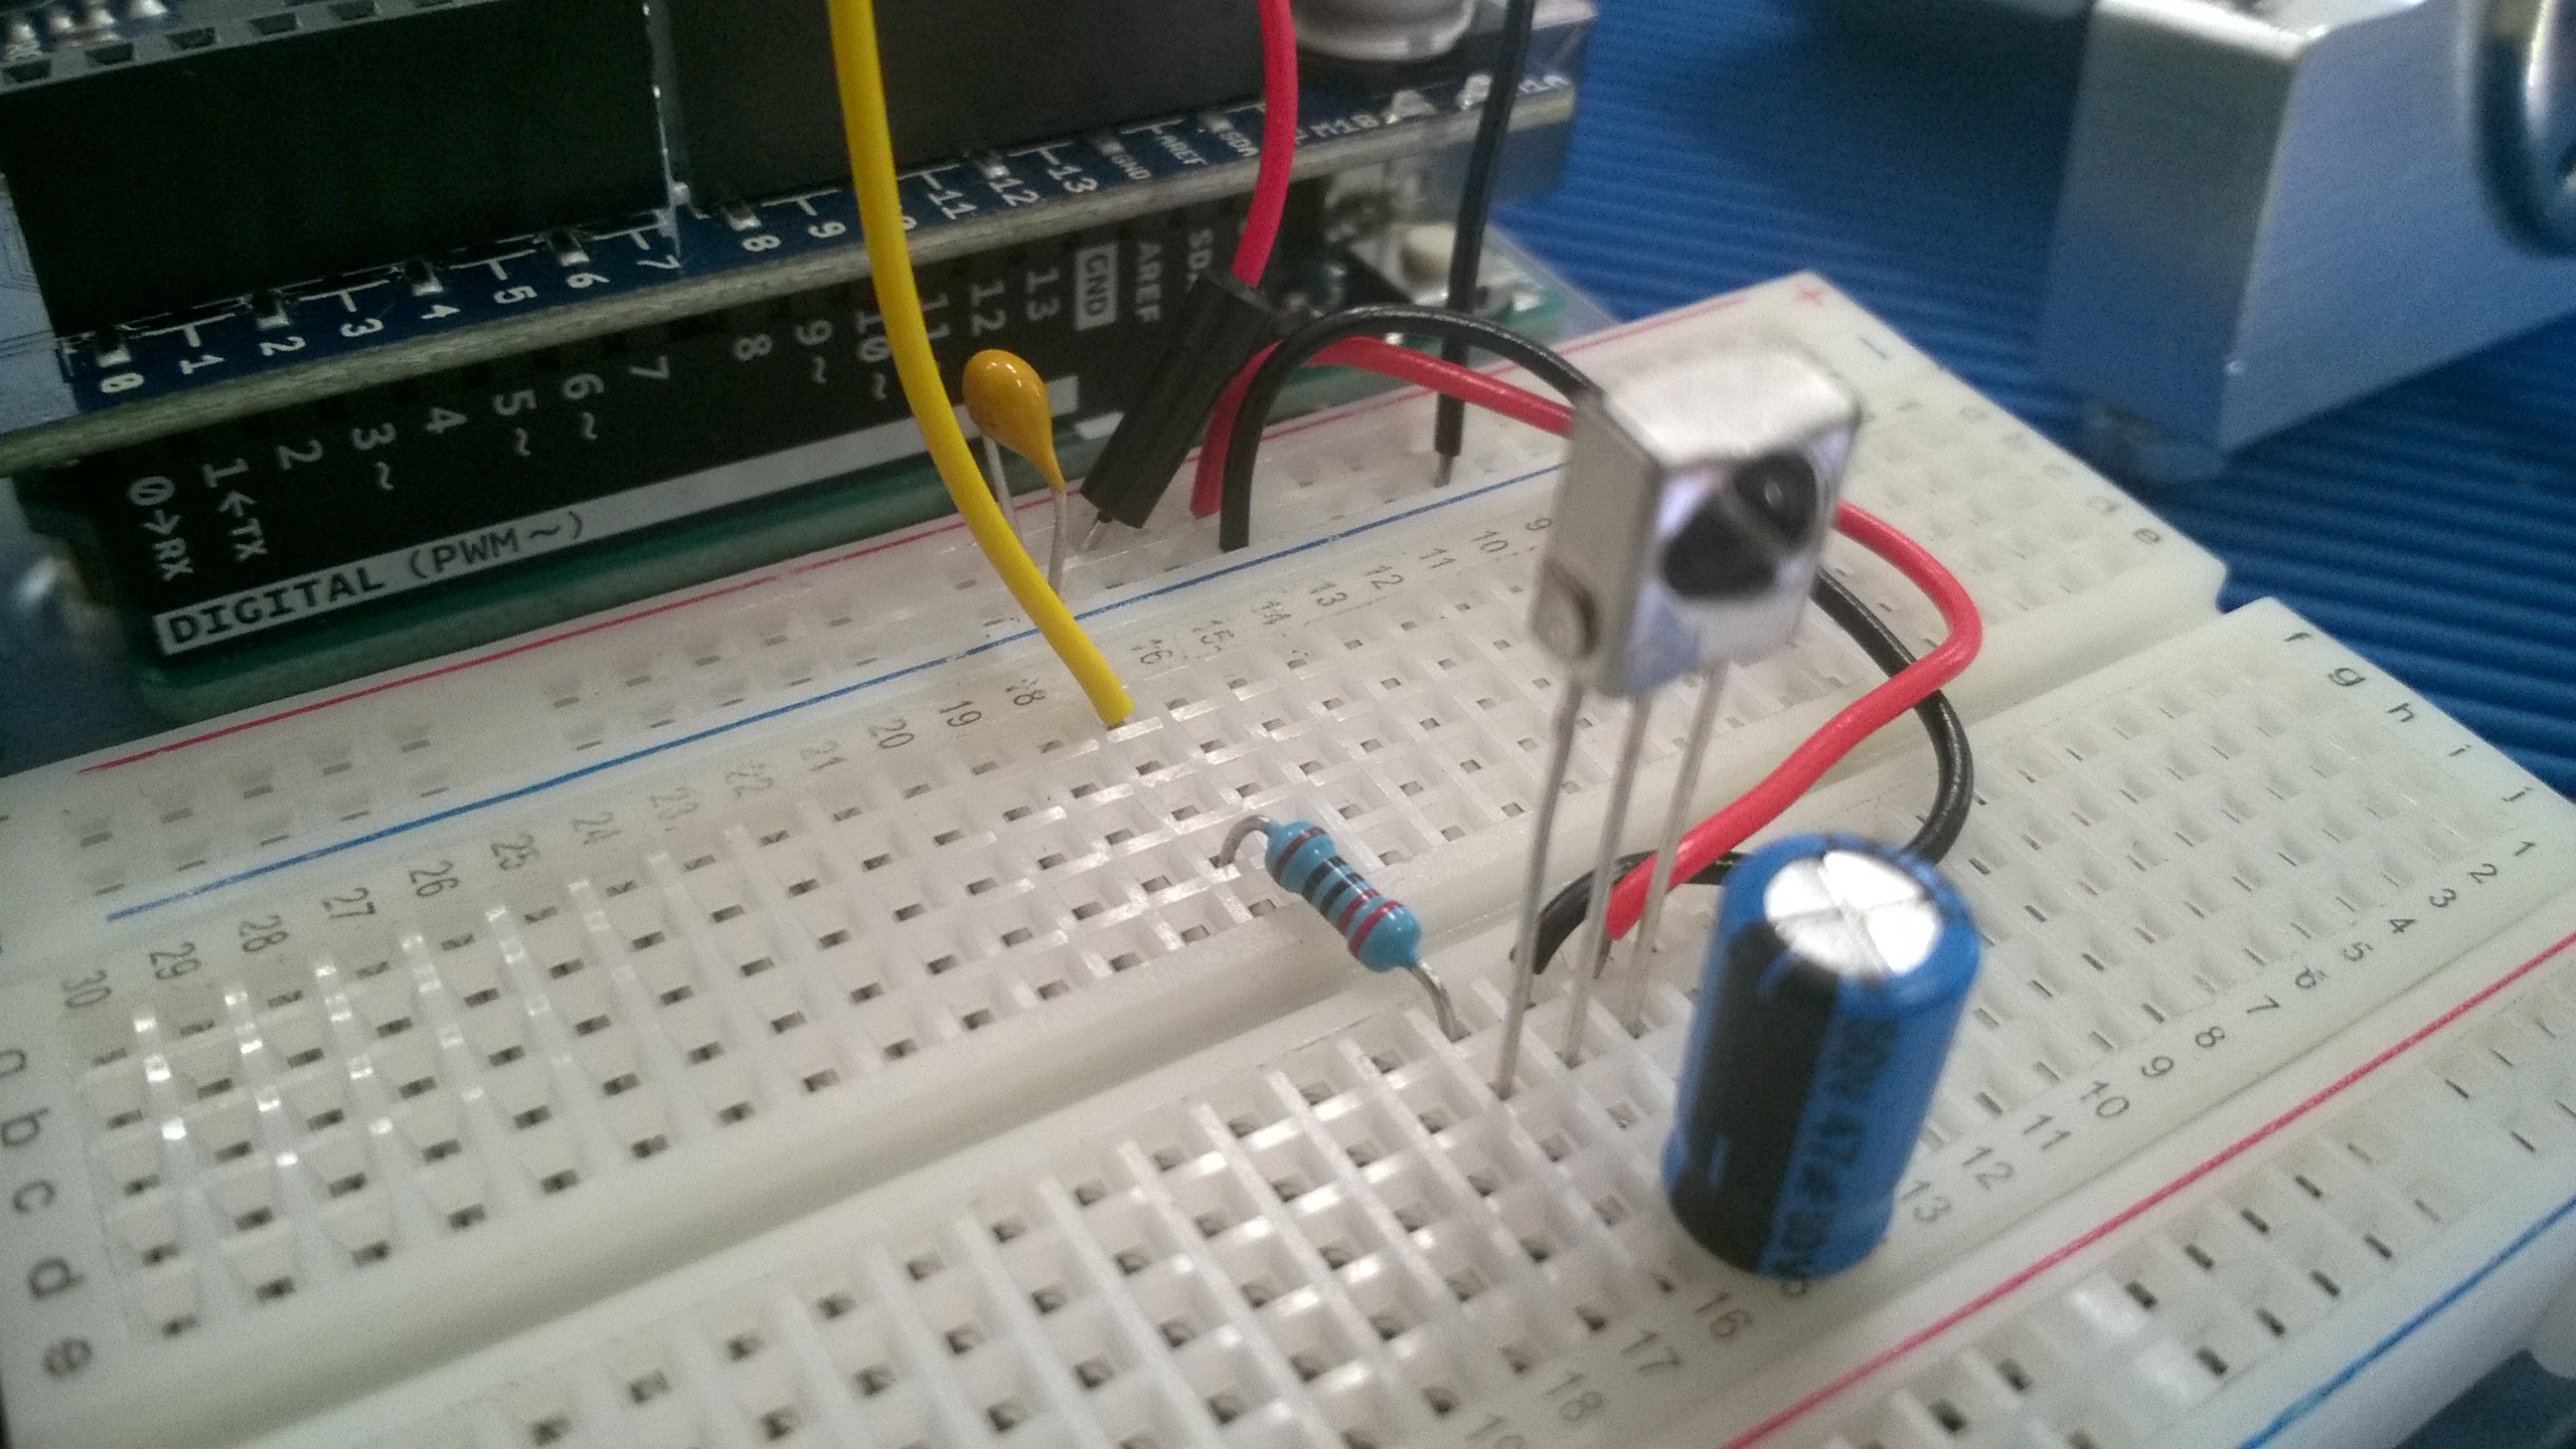
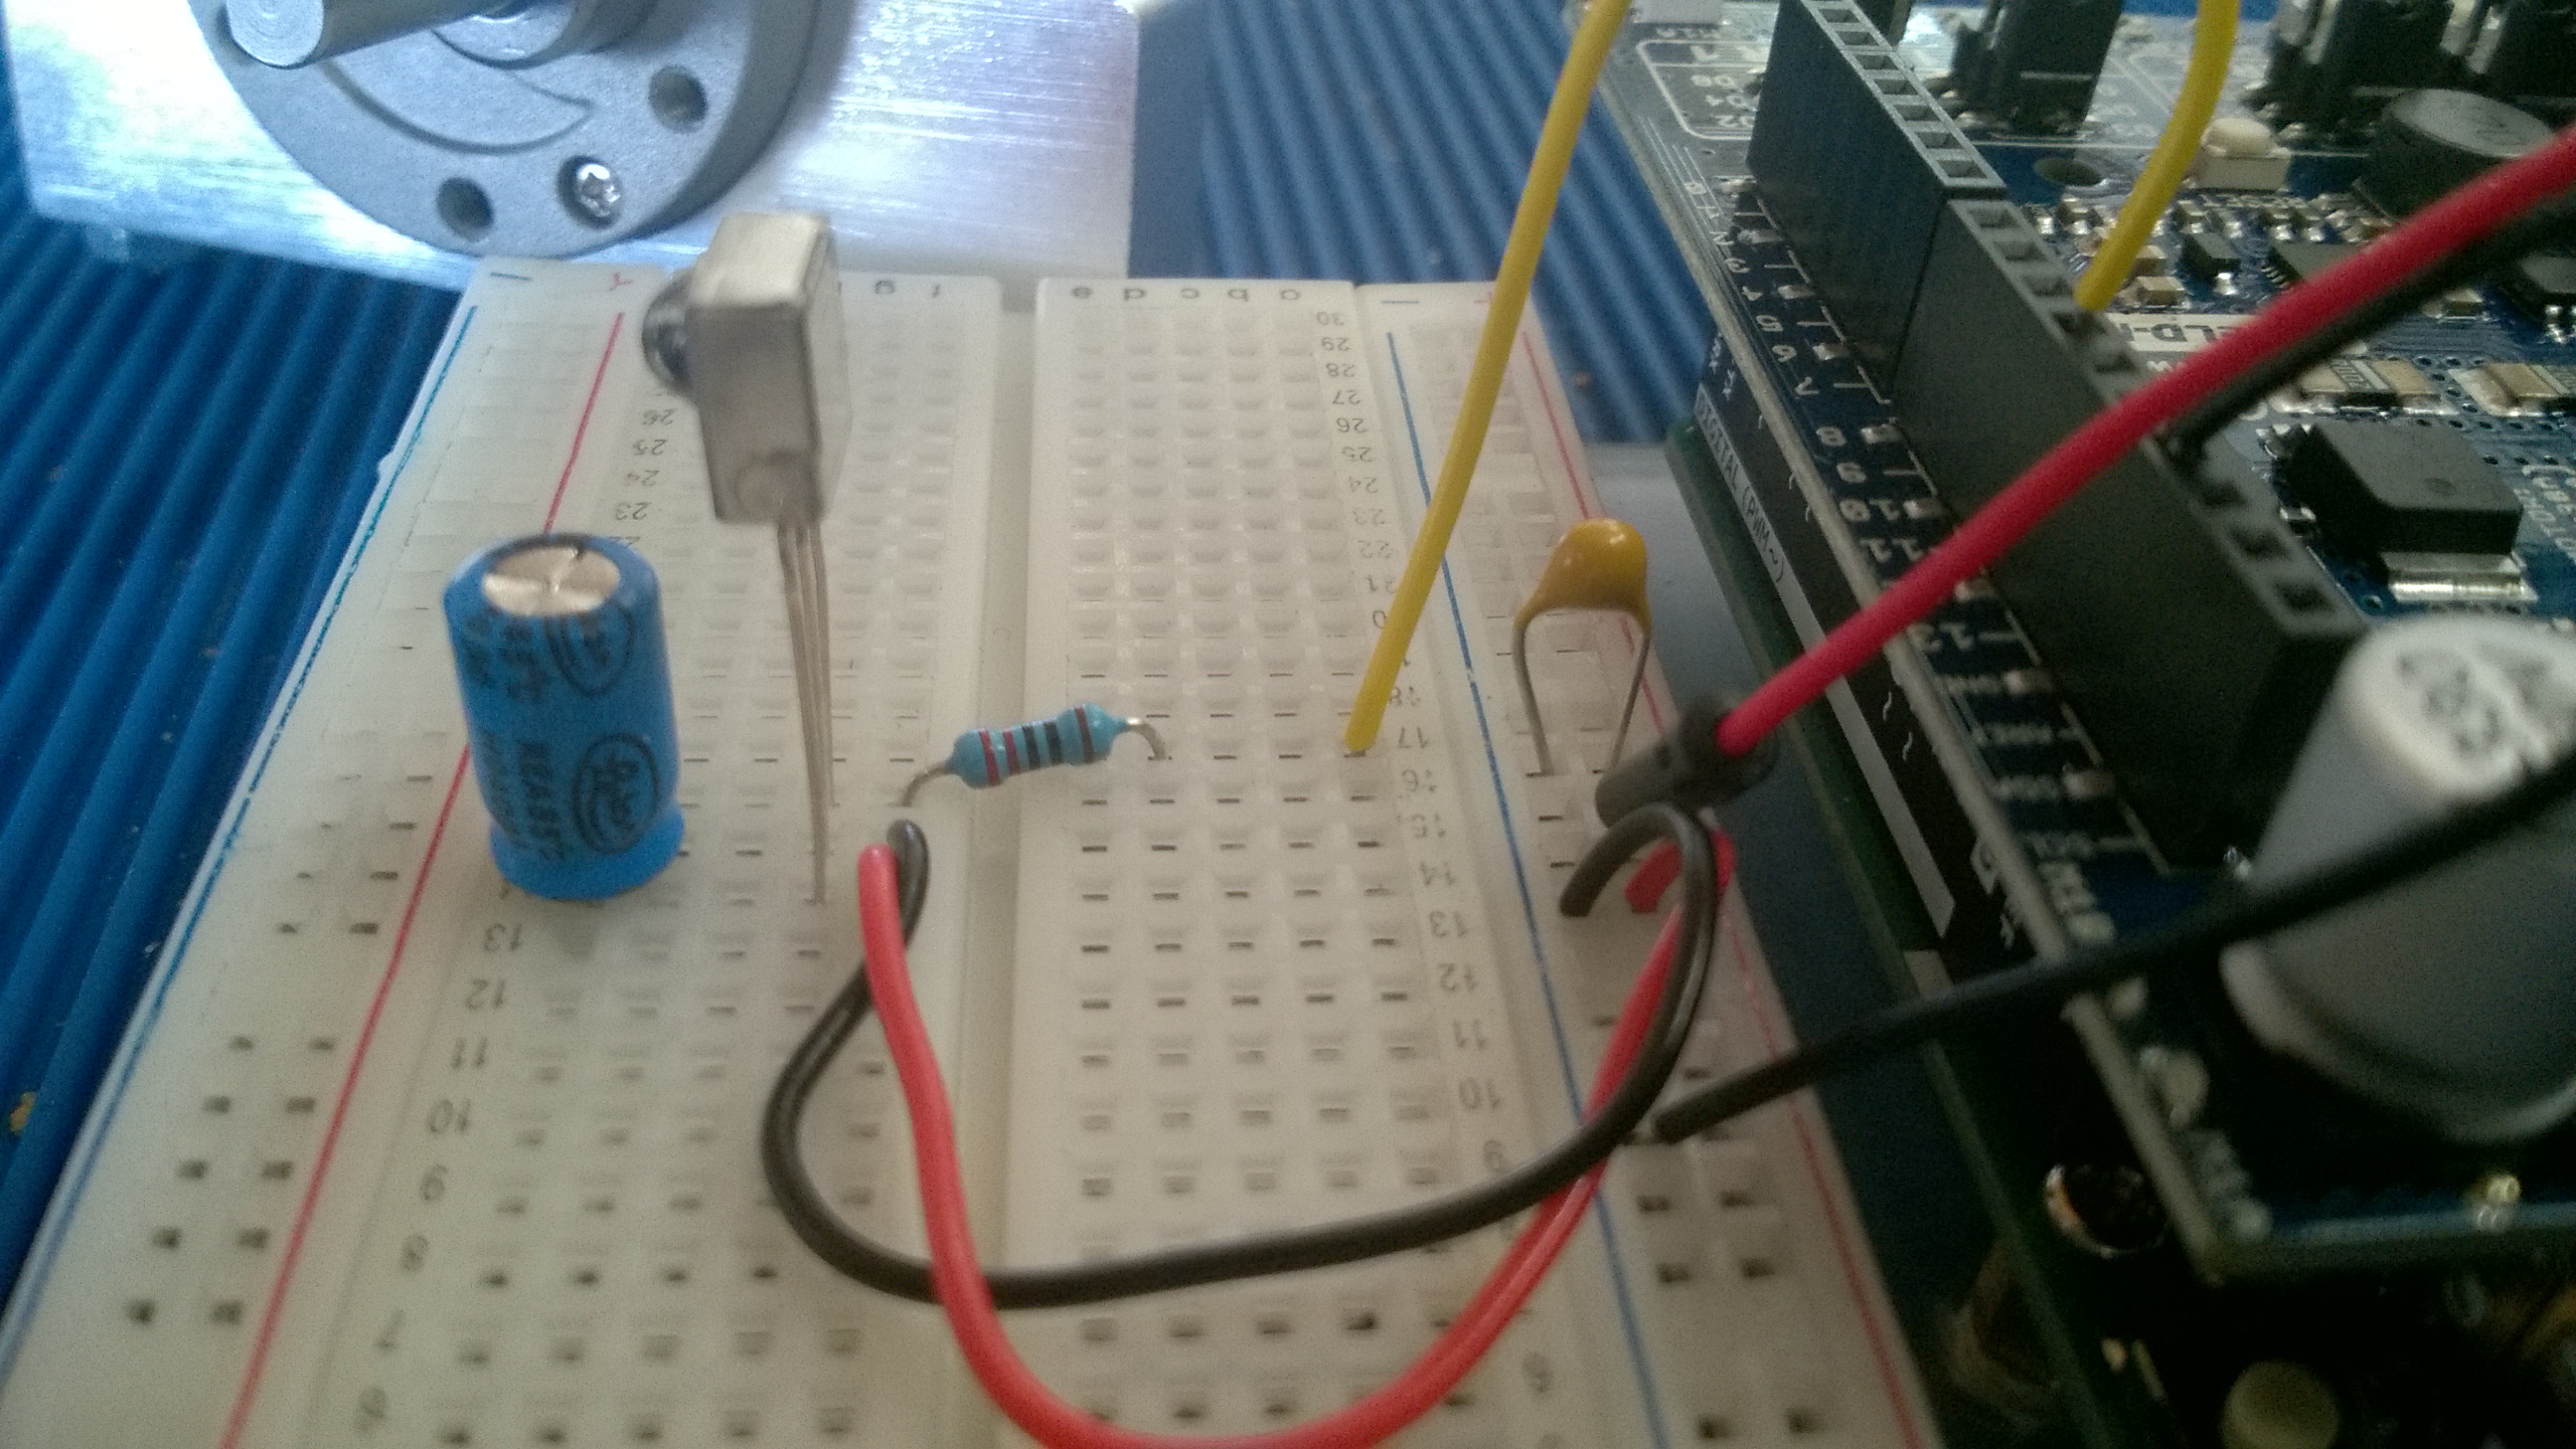
- Parts:
- Arduino UNO or equivalent
-
IR Receiver
- 220 ohm resistor
- 47uF electrolytic capacitor
- .1 uF (#104) ceramic capacitor
- 2 DC Brushed motors (no encoder
needed)
- IR Receiver OUTPUT connects to UNO
Pin#11.
- IR Power and Ground to 5V on UNO and
ground to UNO
- Place a 47uF capacitor across the IR V+
and V- power pins. This eliminates EMI that
can affect the sensor. Be sure the + lead is
connected to the V+ pin.
- Connect the 220 ohm resistor from the IR
OUTPUT pin and Pin #11 on the UNO. This
limits current on the IR sensor.
- Place the .1uF across the 5V+ and Ground
on the breadboard. This blocks high
frequency noise on the power line coming
from the UNO.
-
Programming & Downloads and Images
-
Lesson 6 download
(code and images)
|
-
Lesson 7
Introduction to
power sources:
|
-
A Overview
of AC to DC Conversion
- Please look at my notes
here
as we discuss these topics. We
will discover the techniques used to
distribute power to our home, and explore
how AC current is changed into DC current.
-
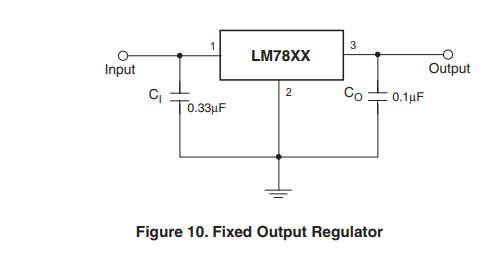
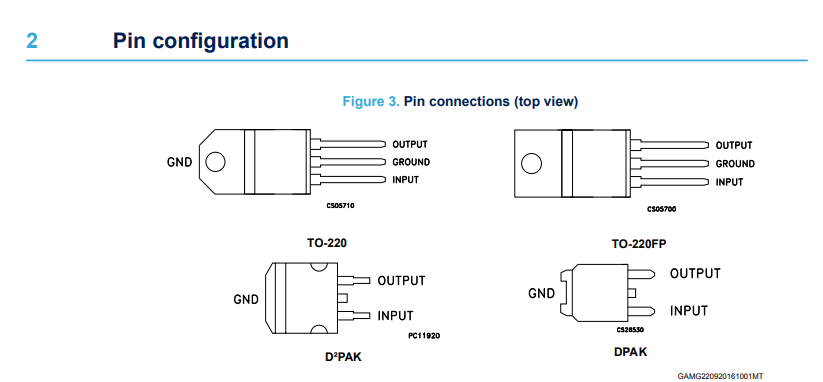
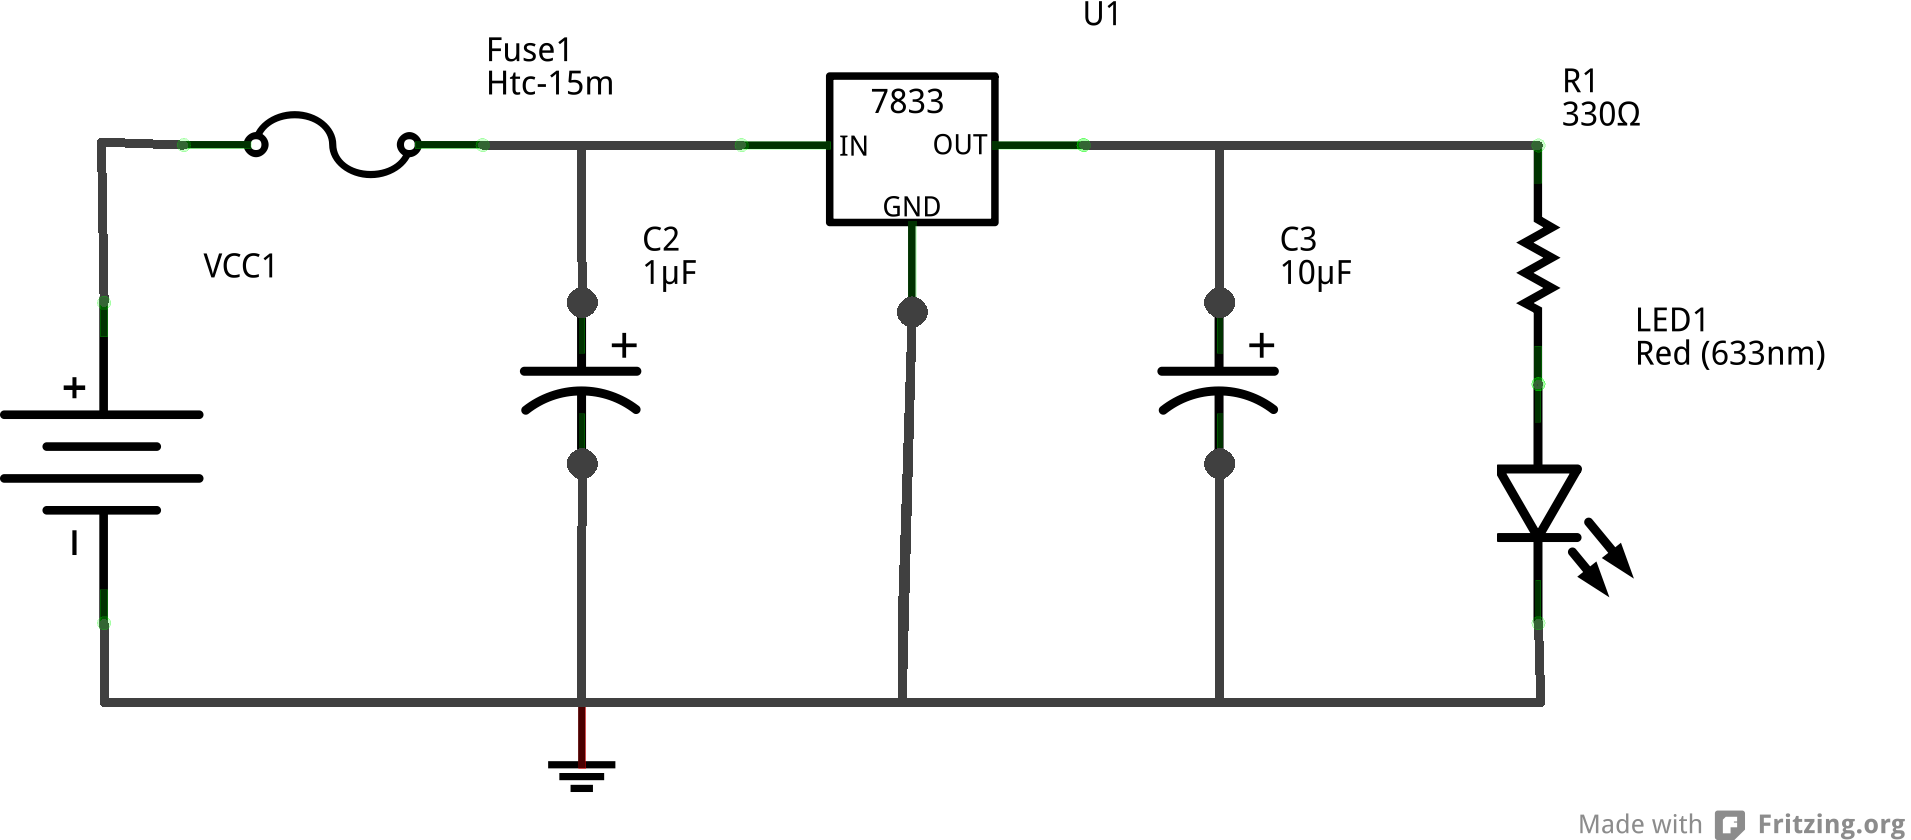
Buck Converters
-
1-We will examine a
typical DC-DC converter
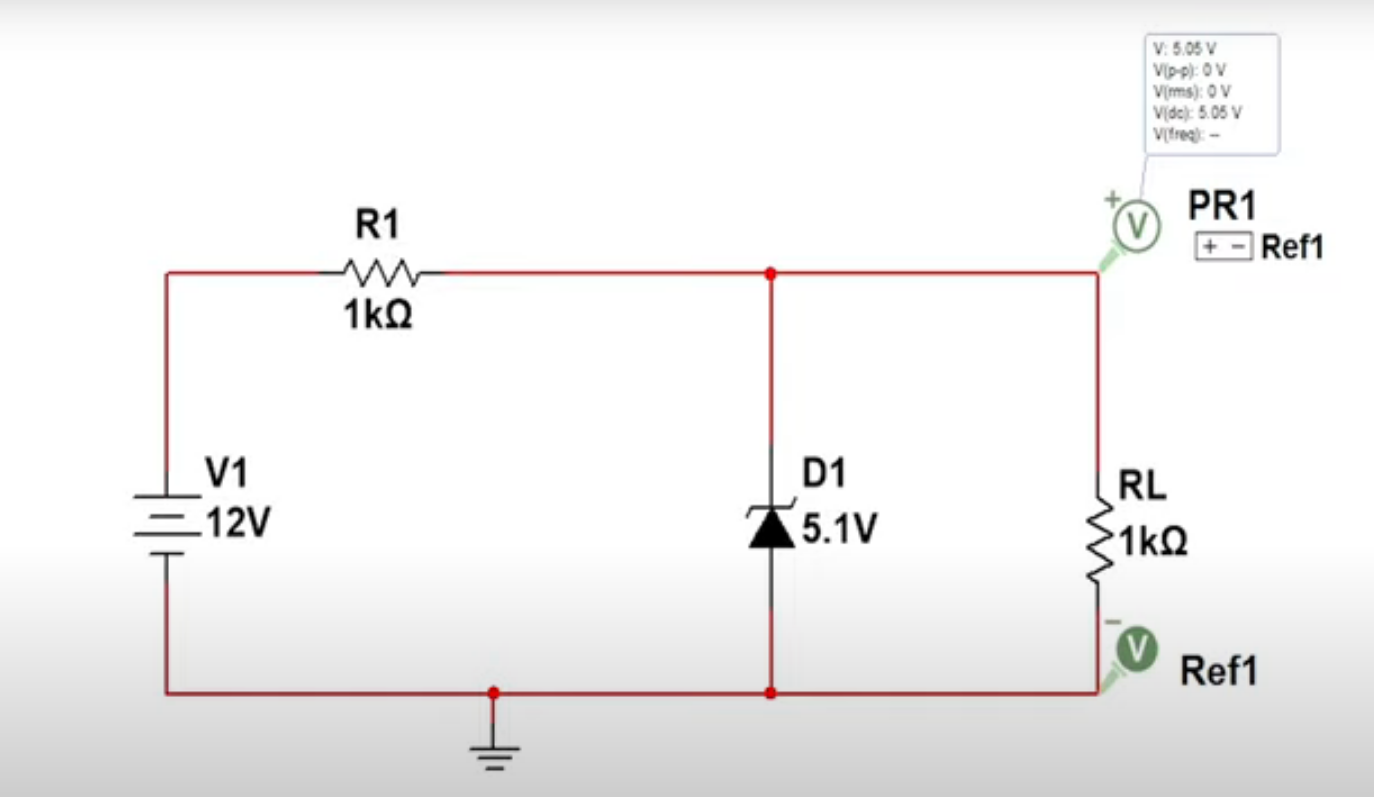
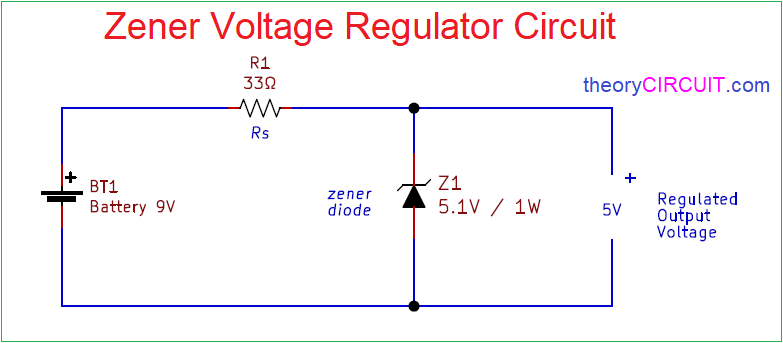
- Voltage Regulators
- Diodes
- Zener Diodes
|
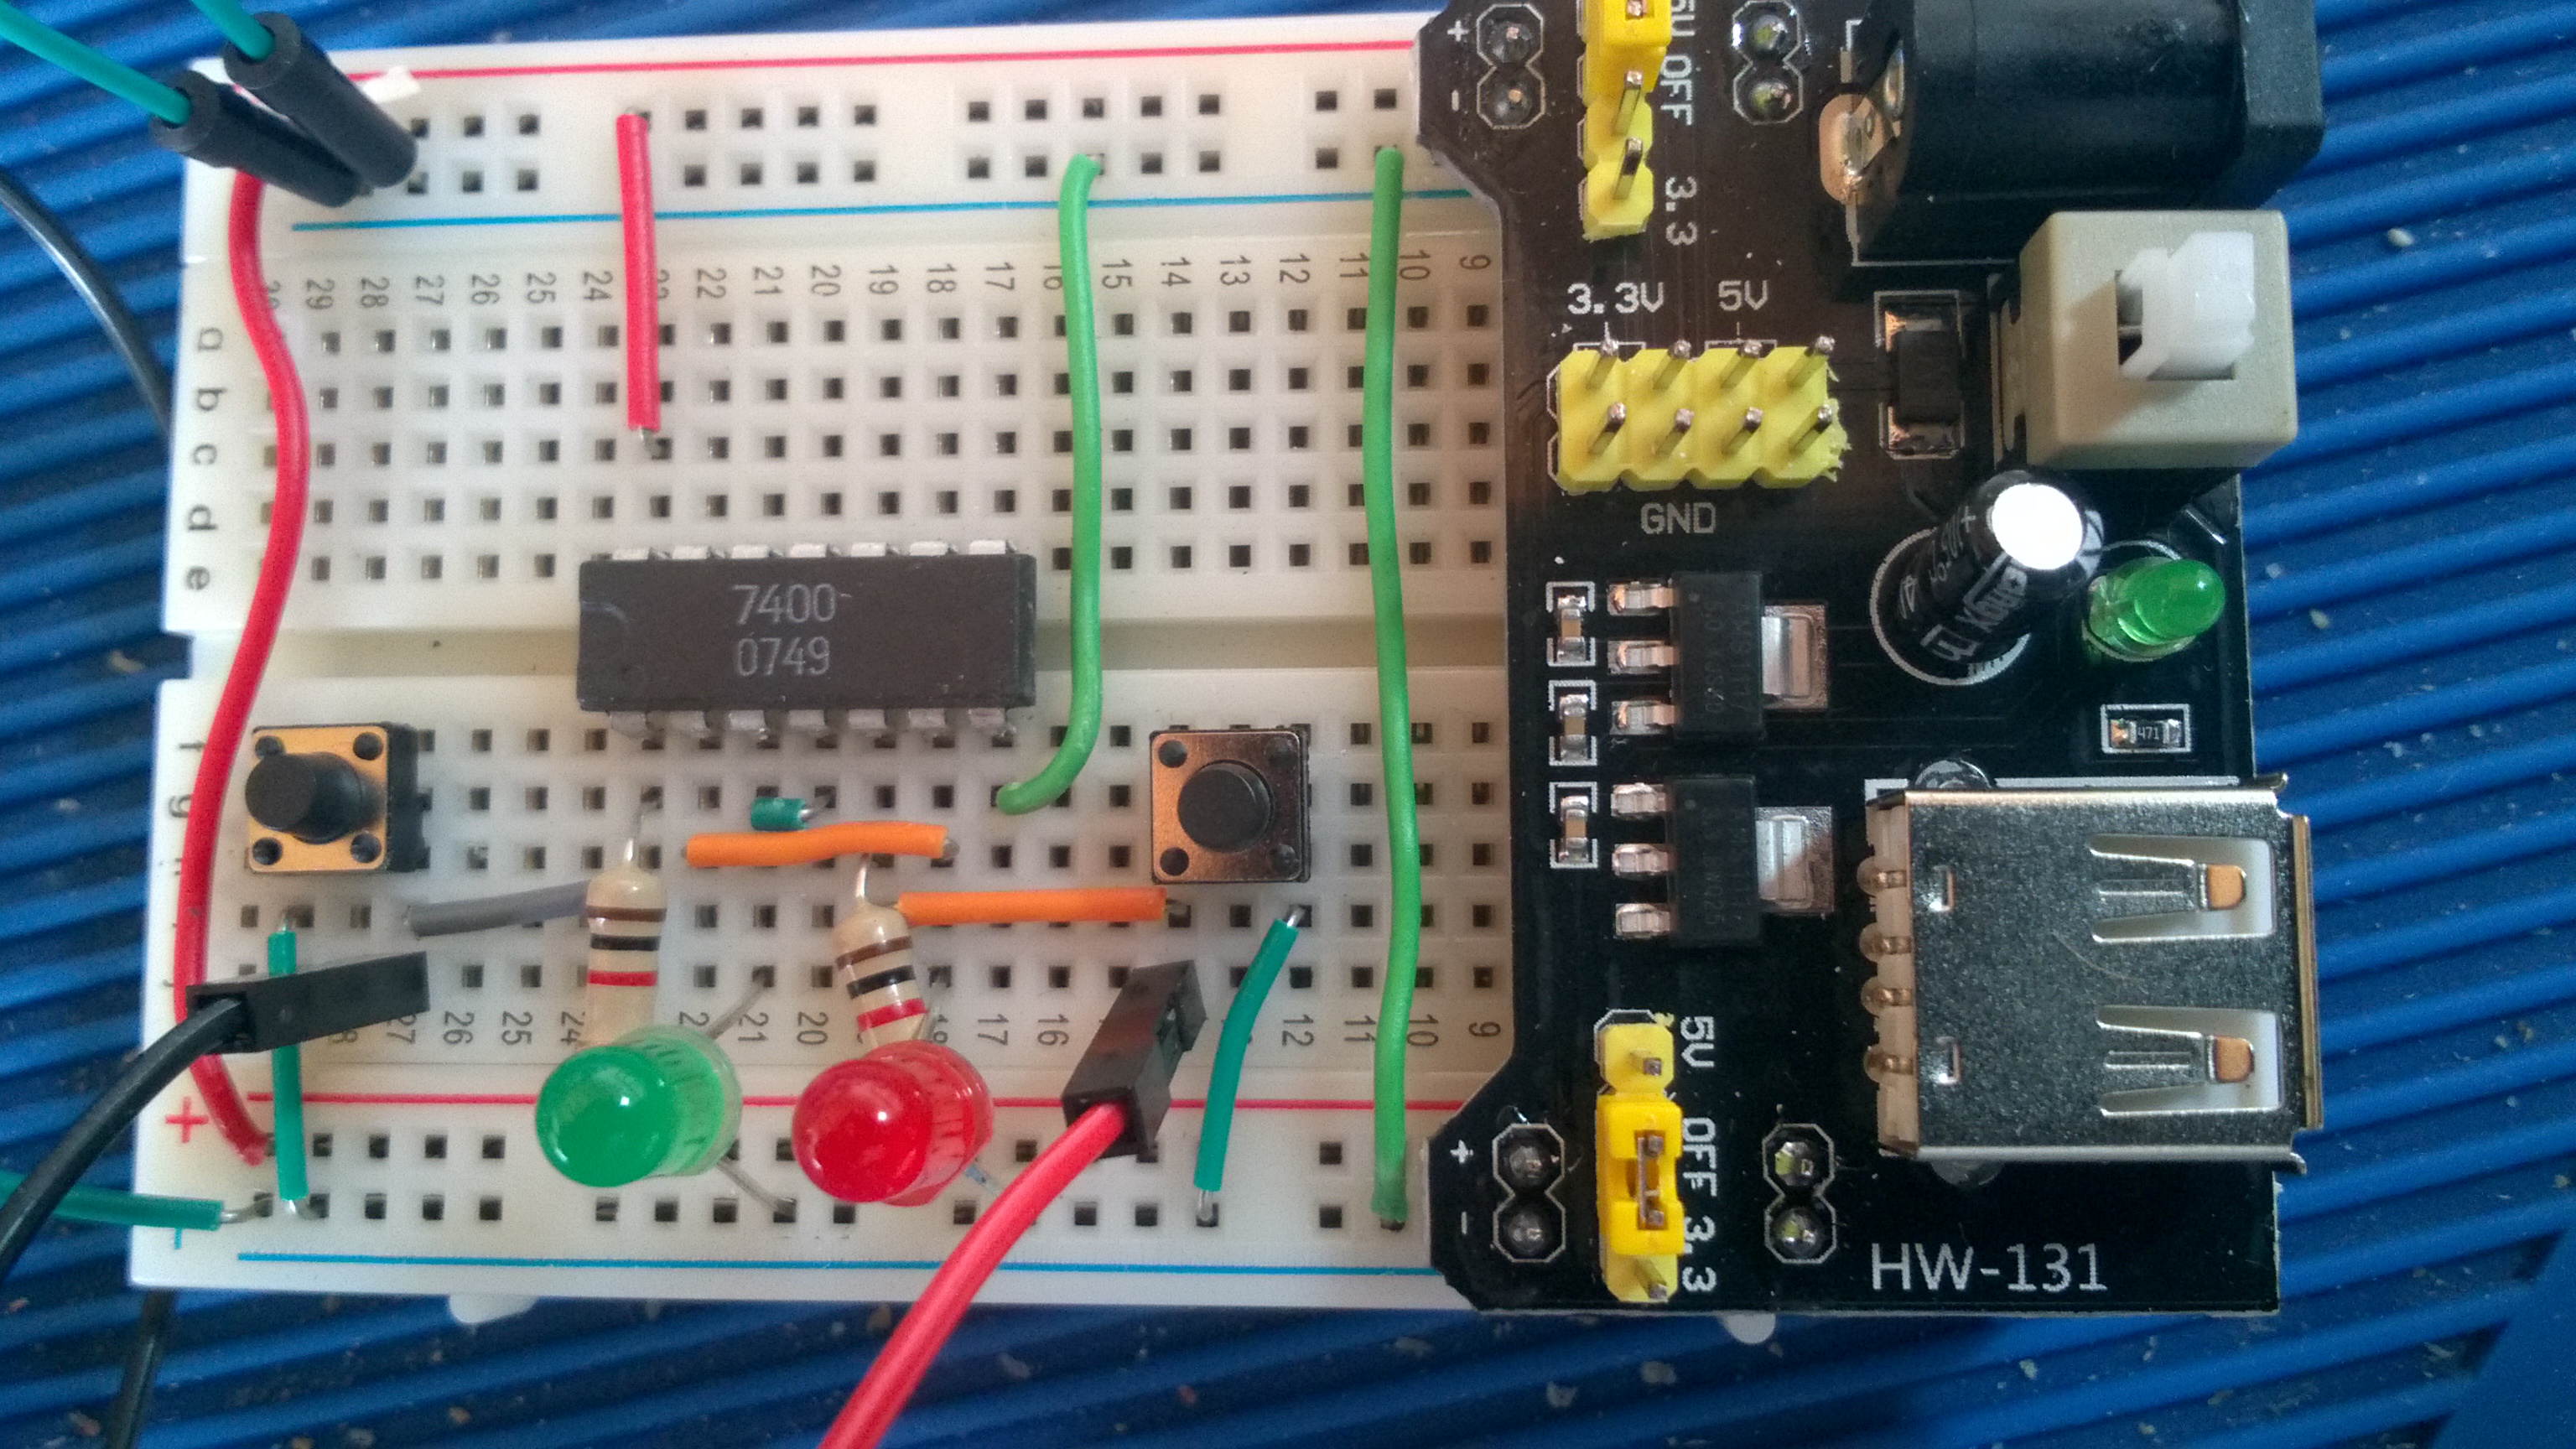
-
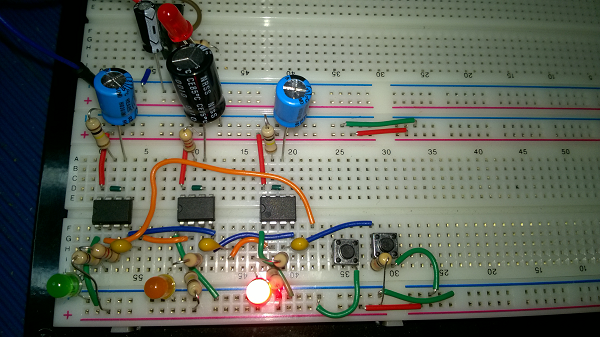
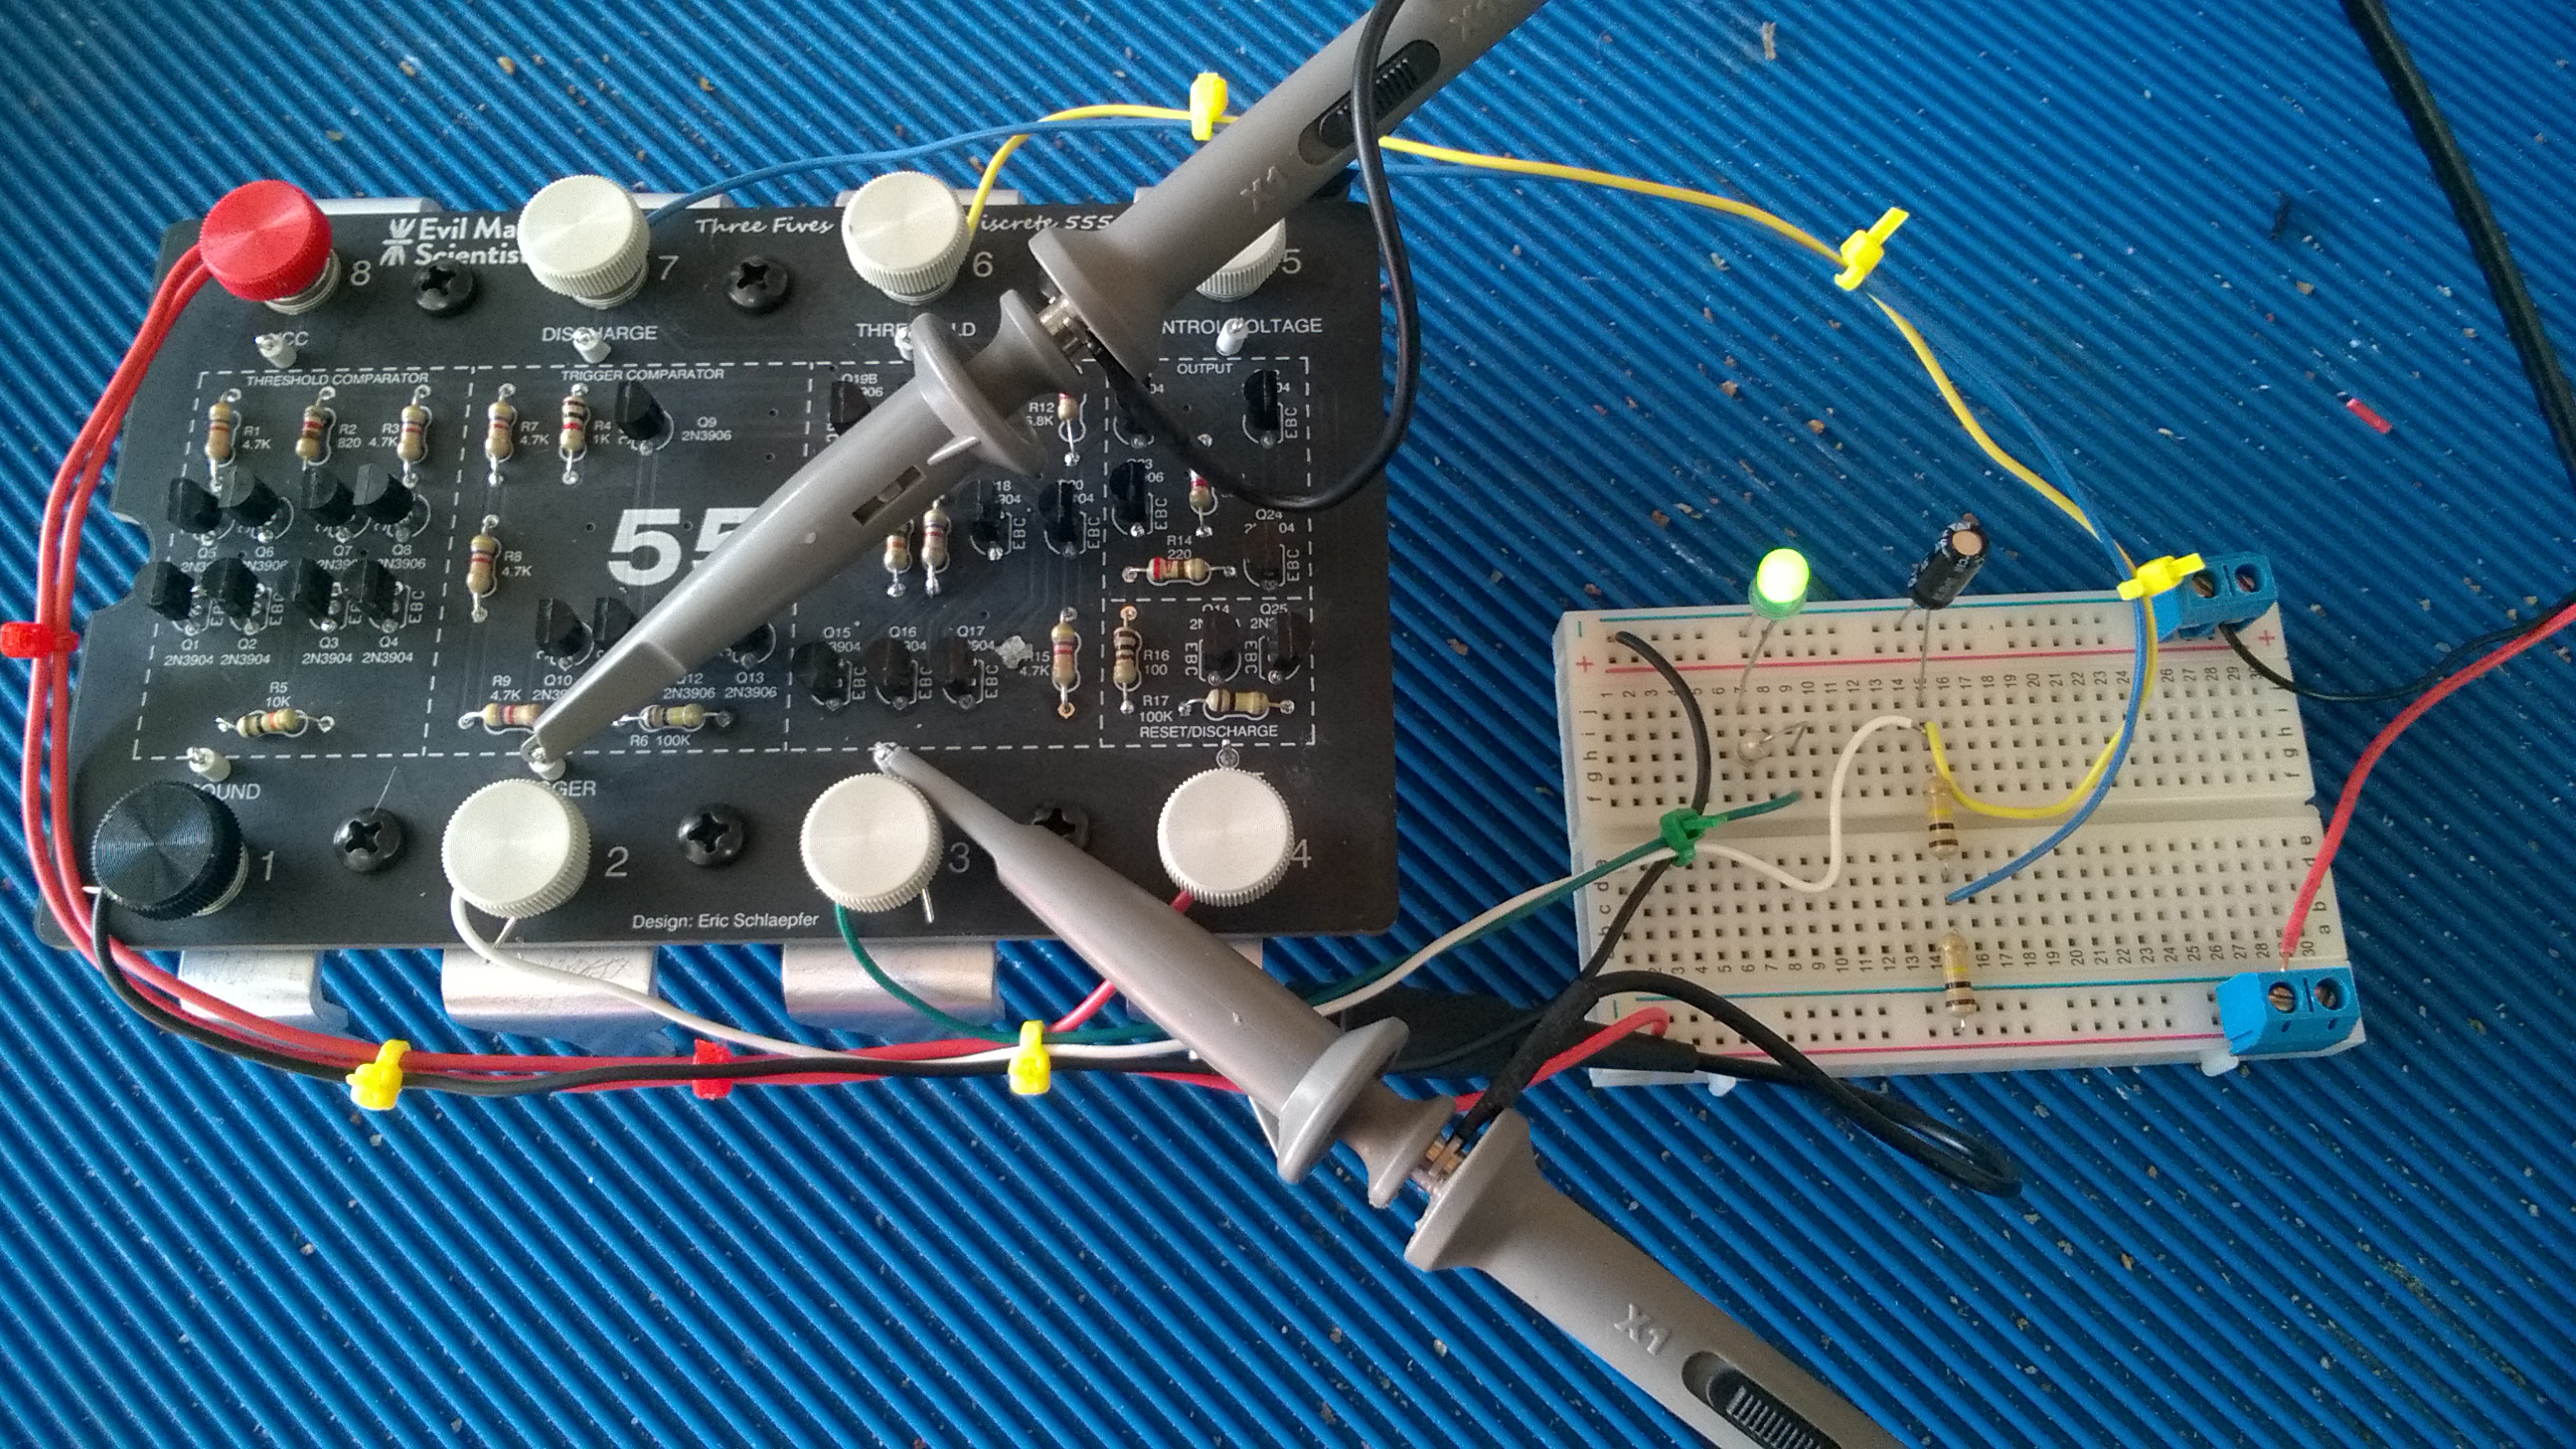
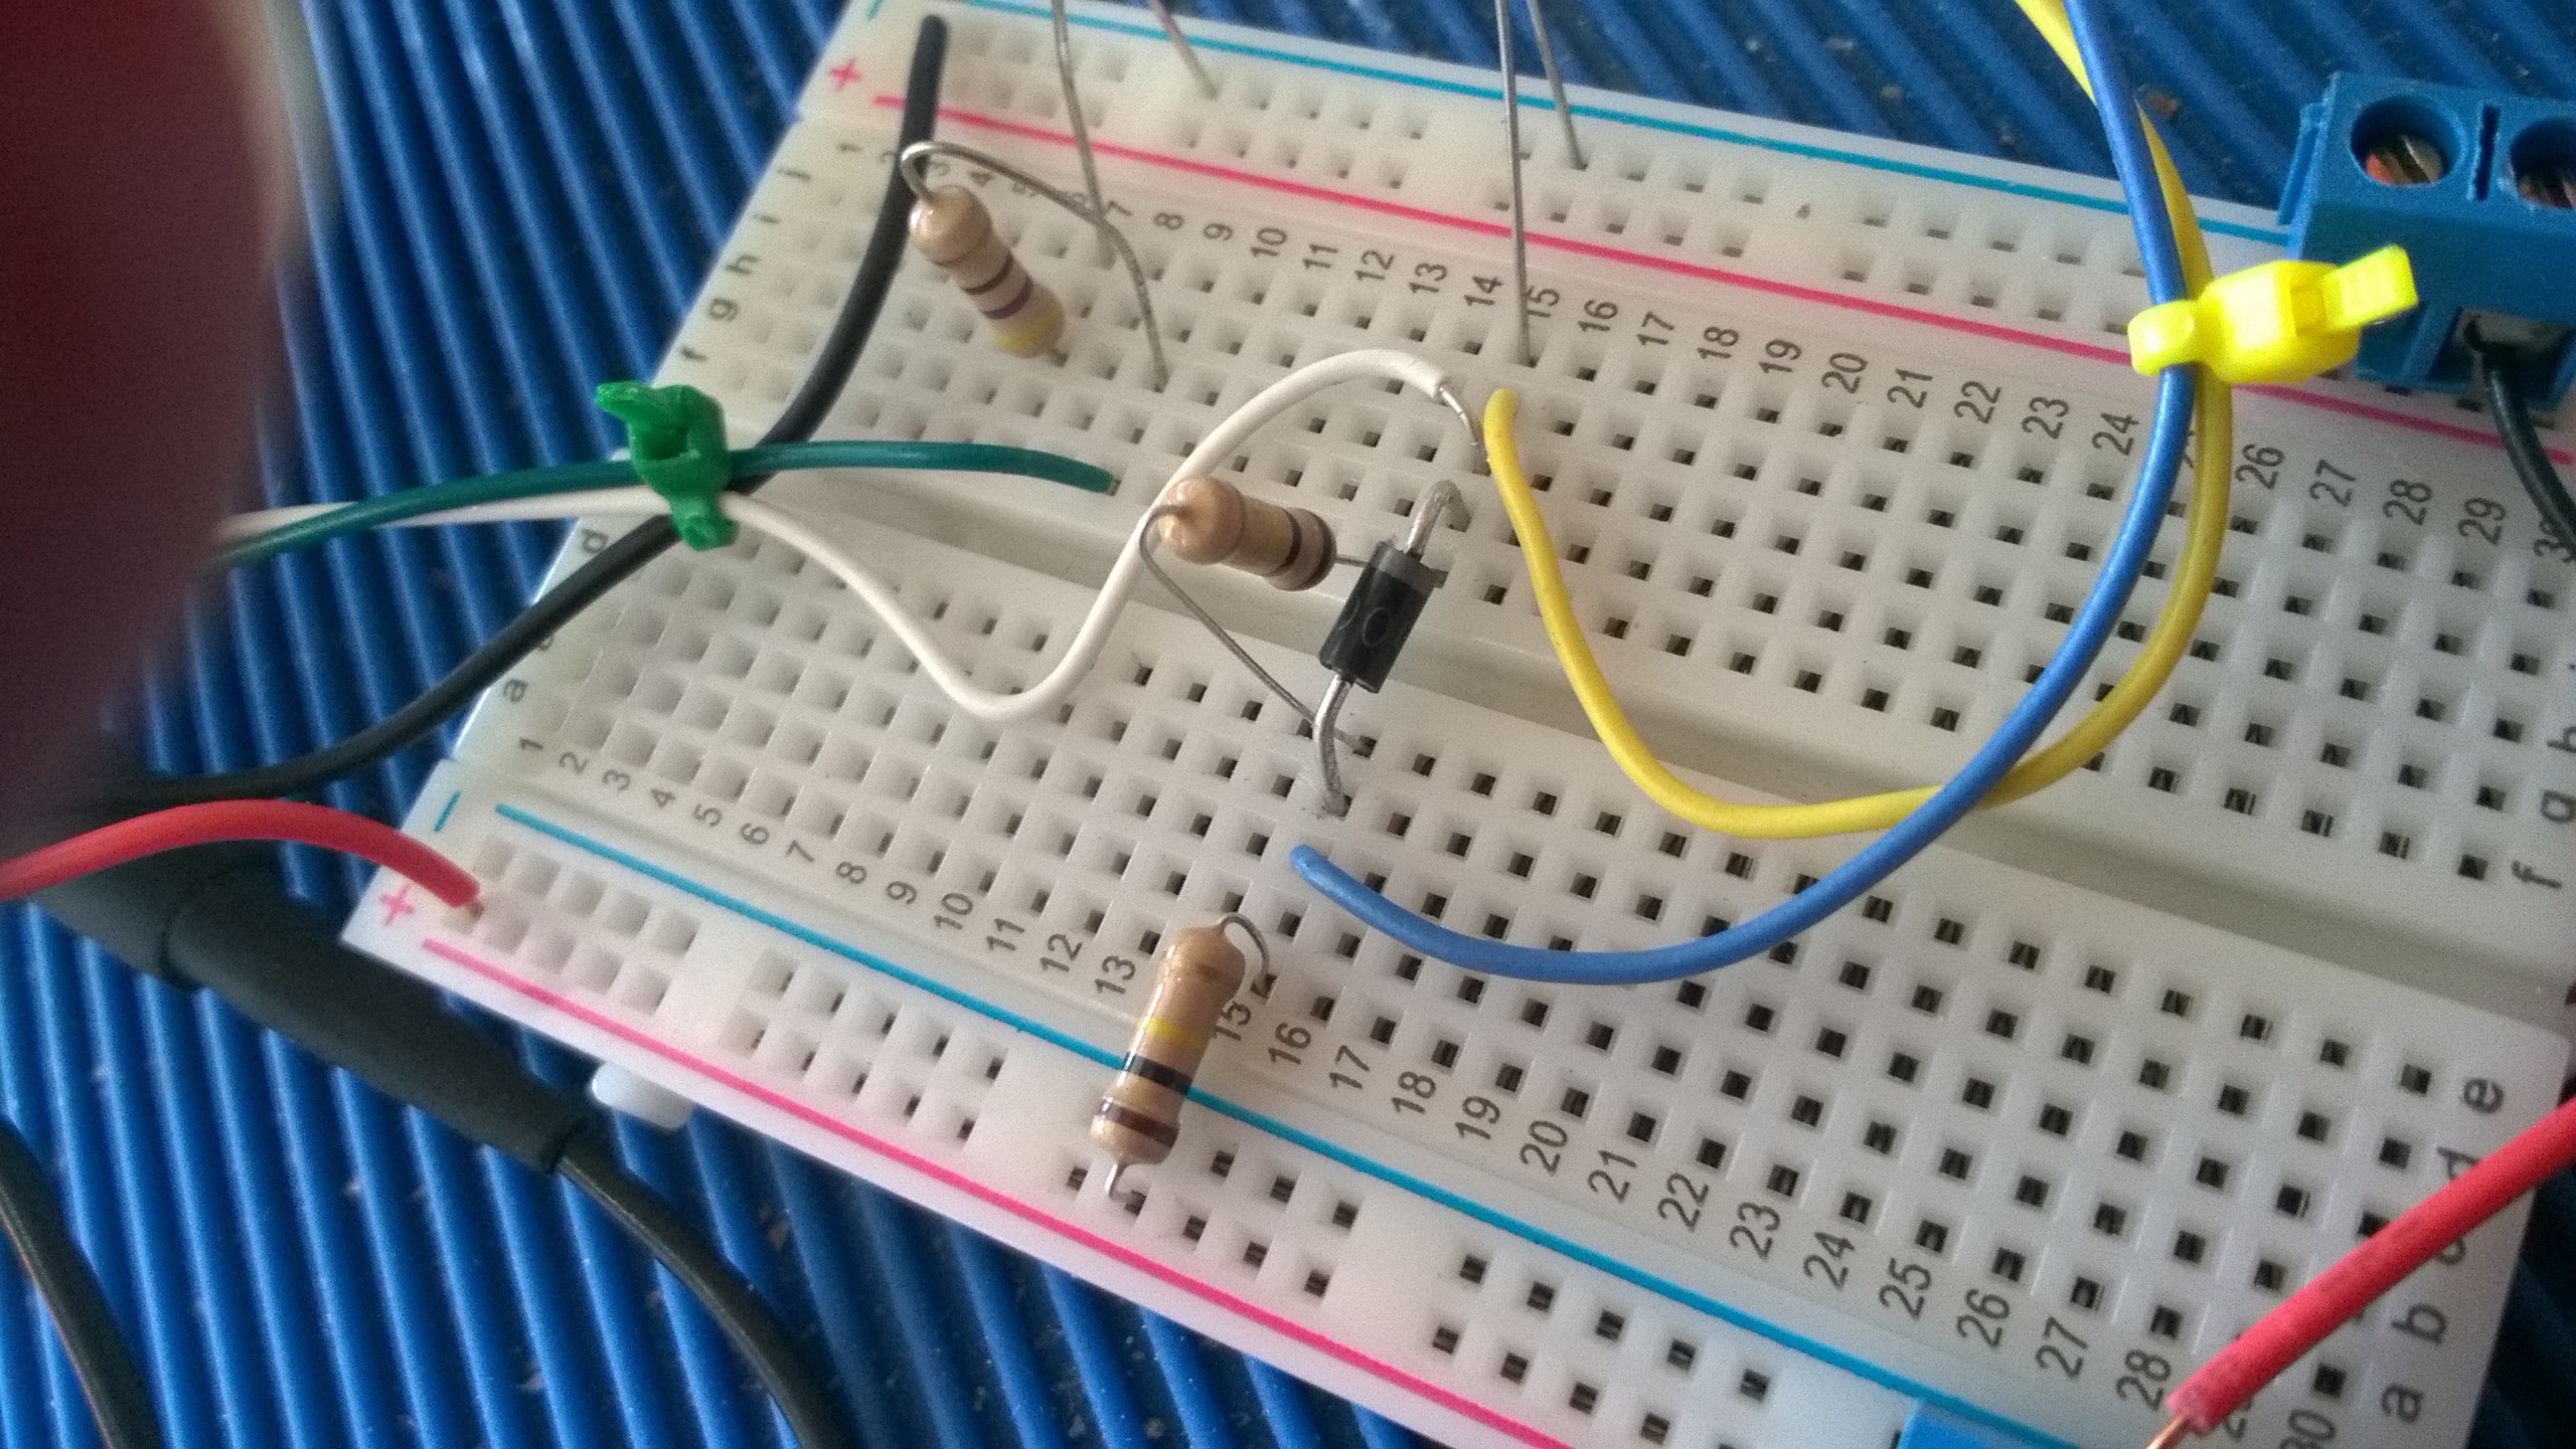
Lesson 8
Introduction to
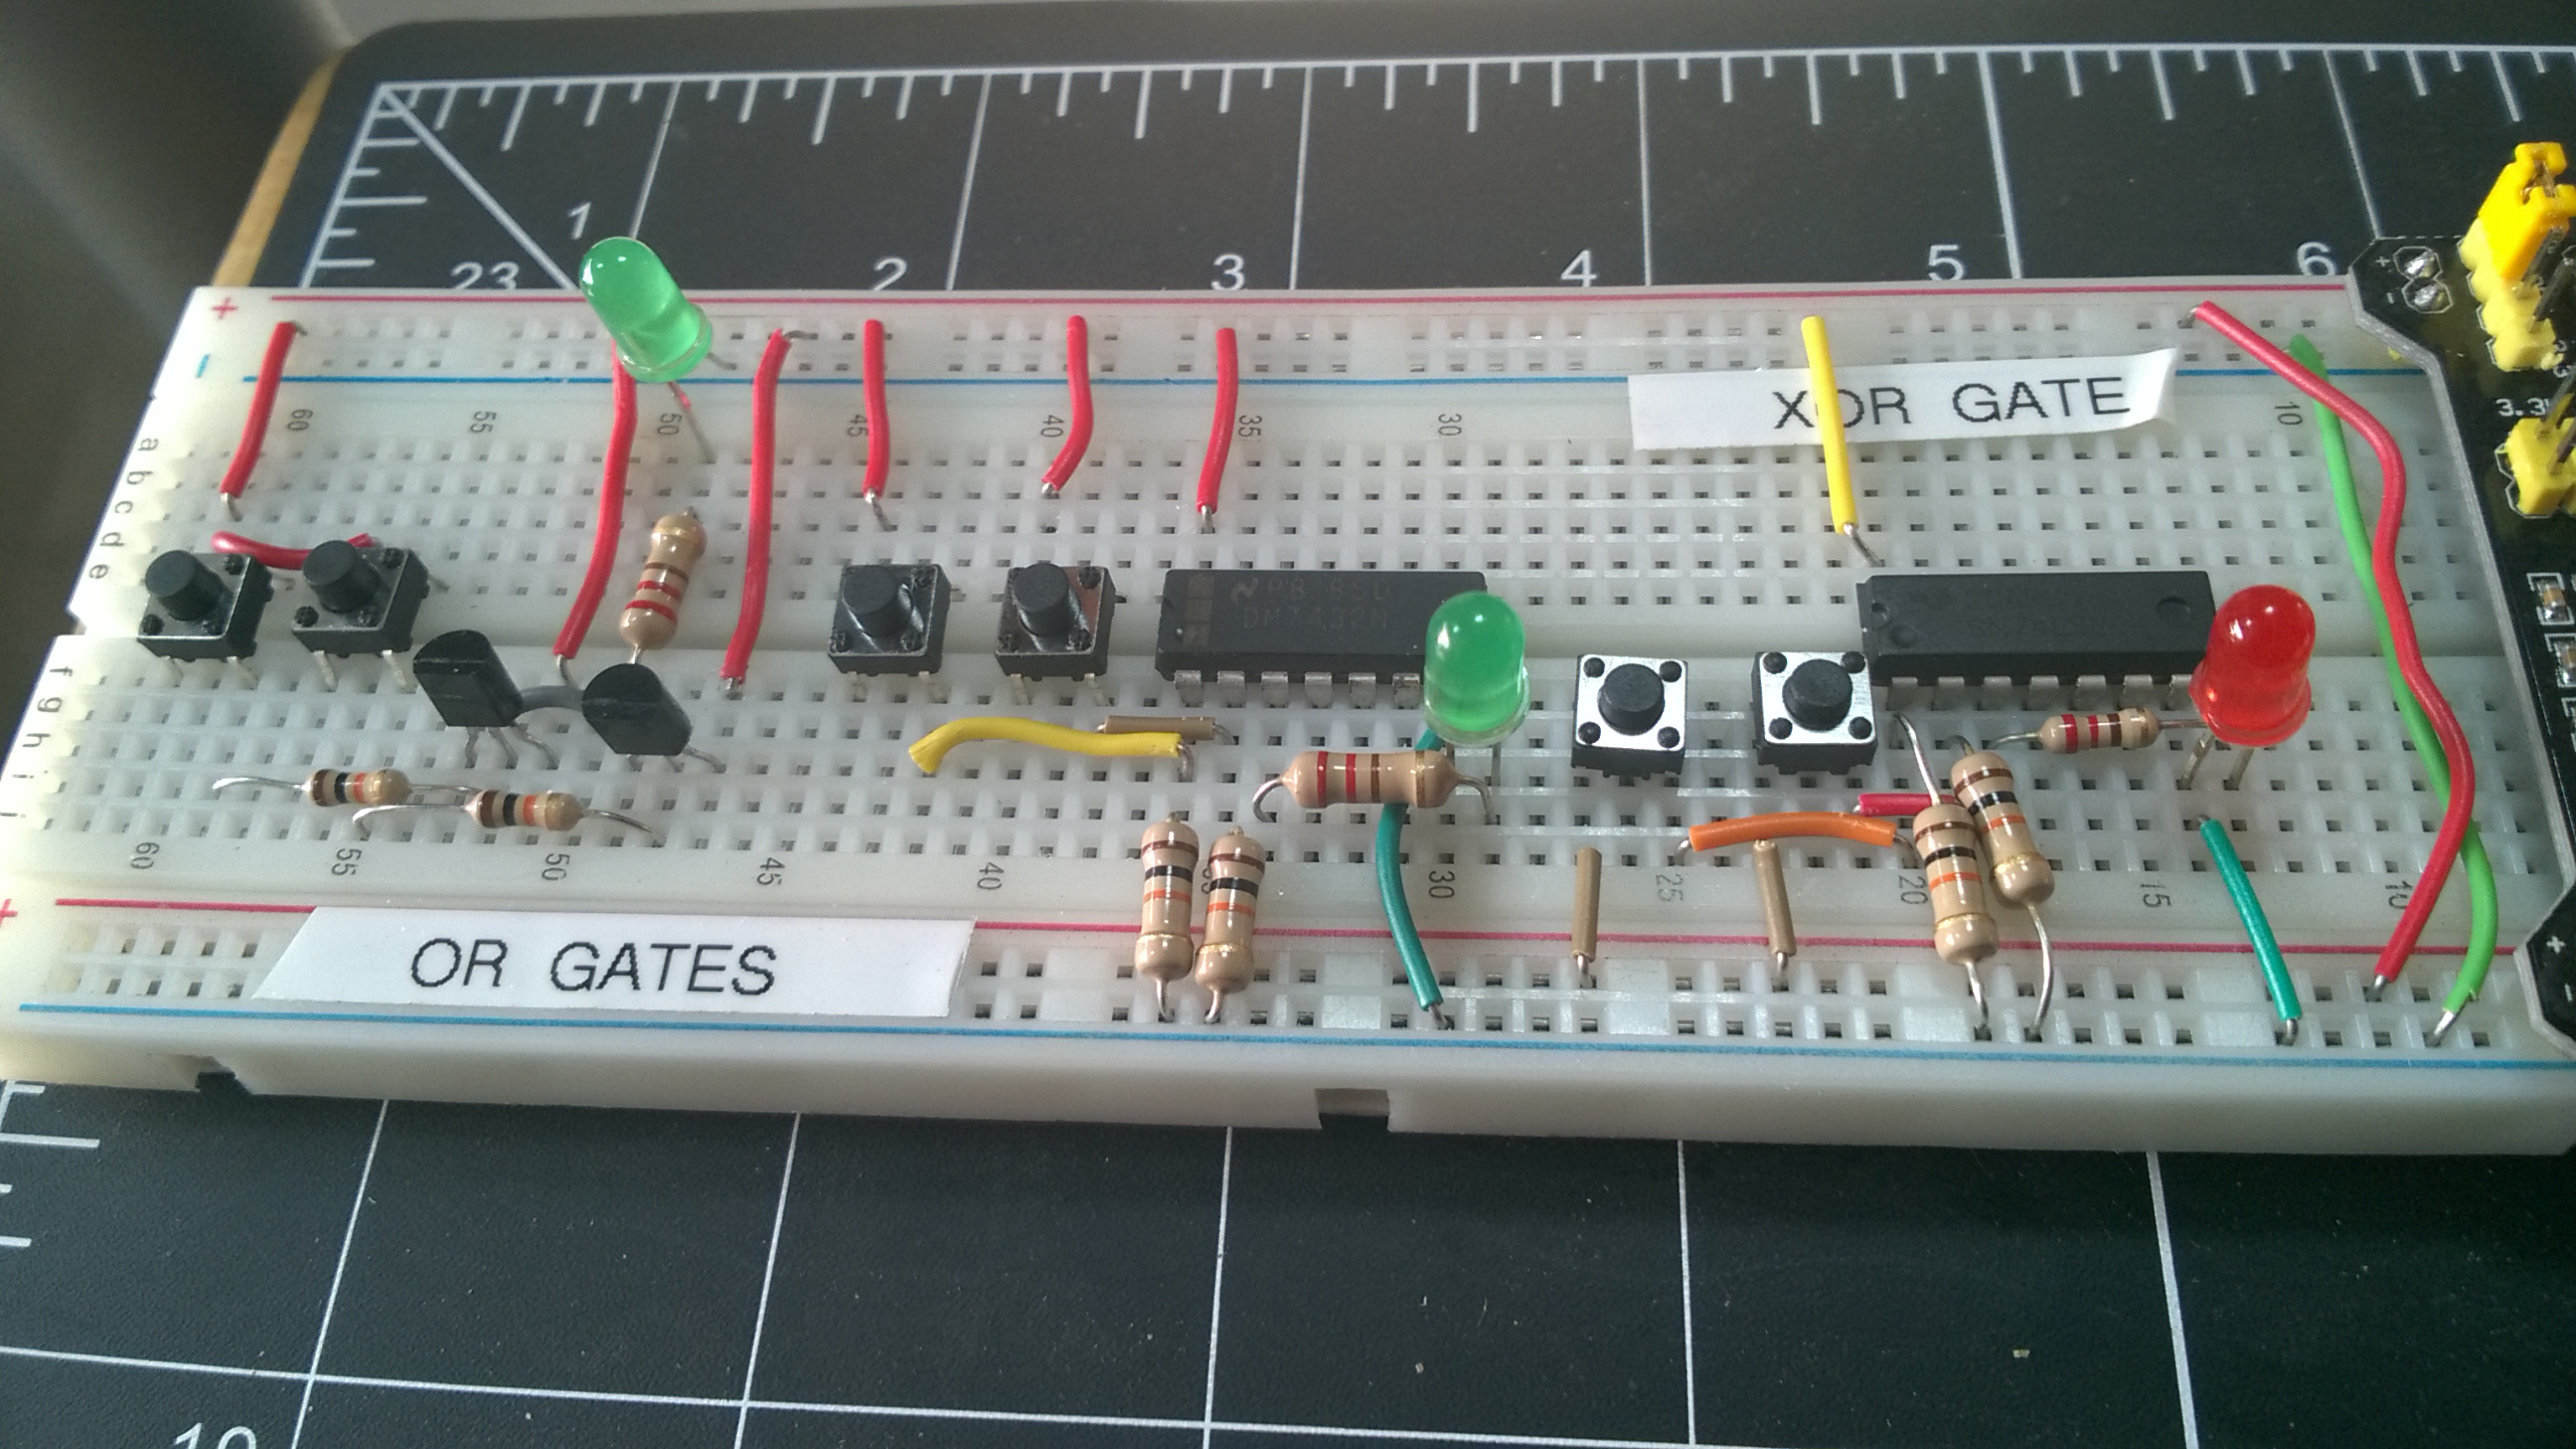
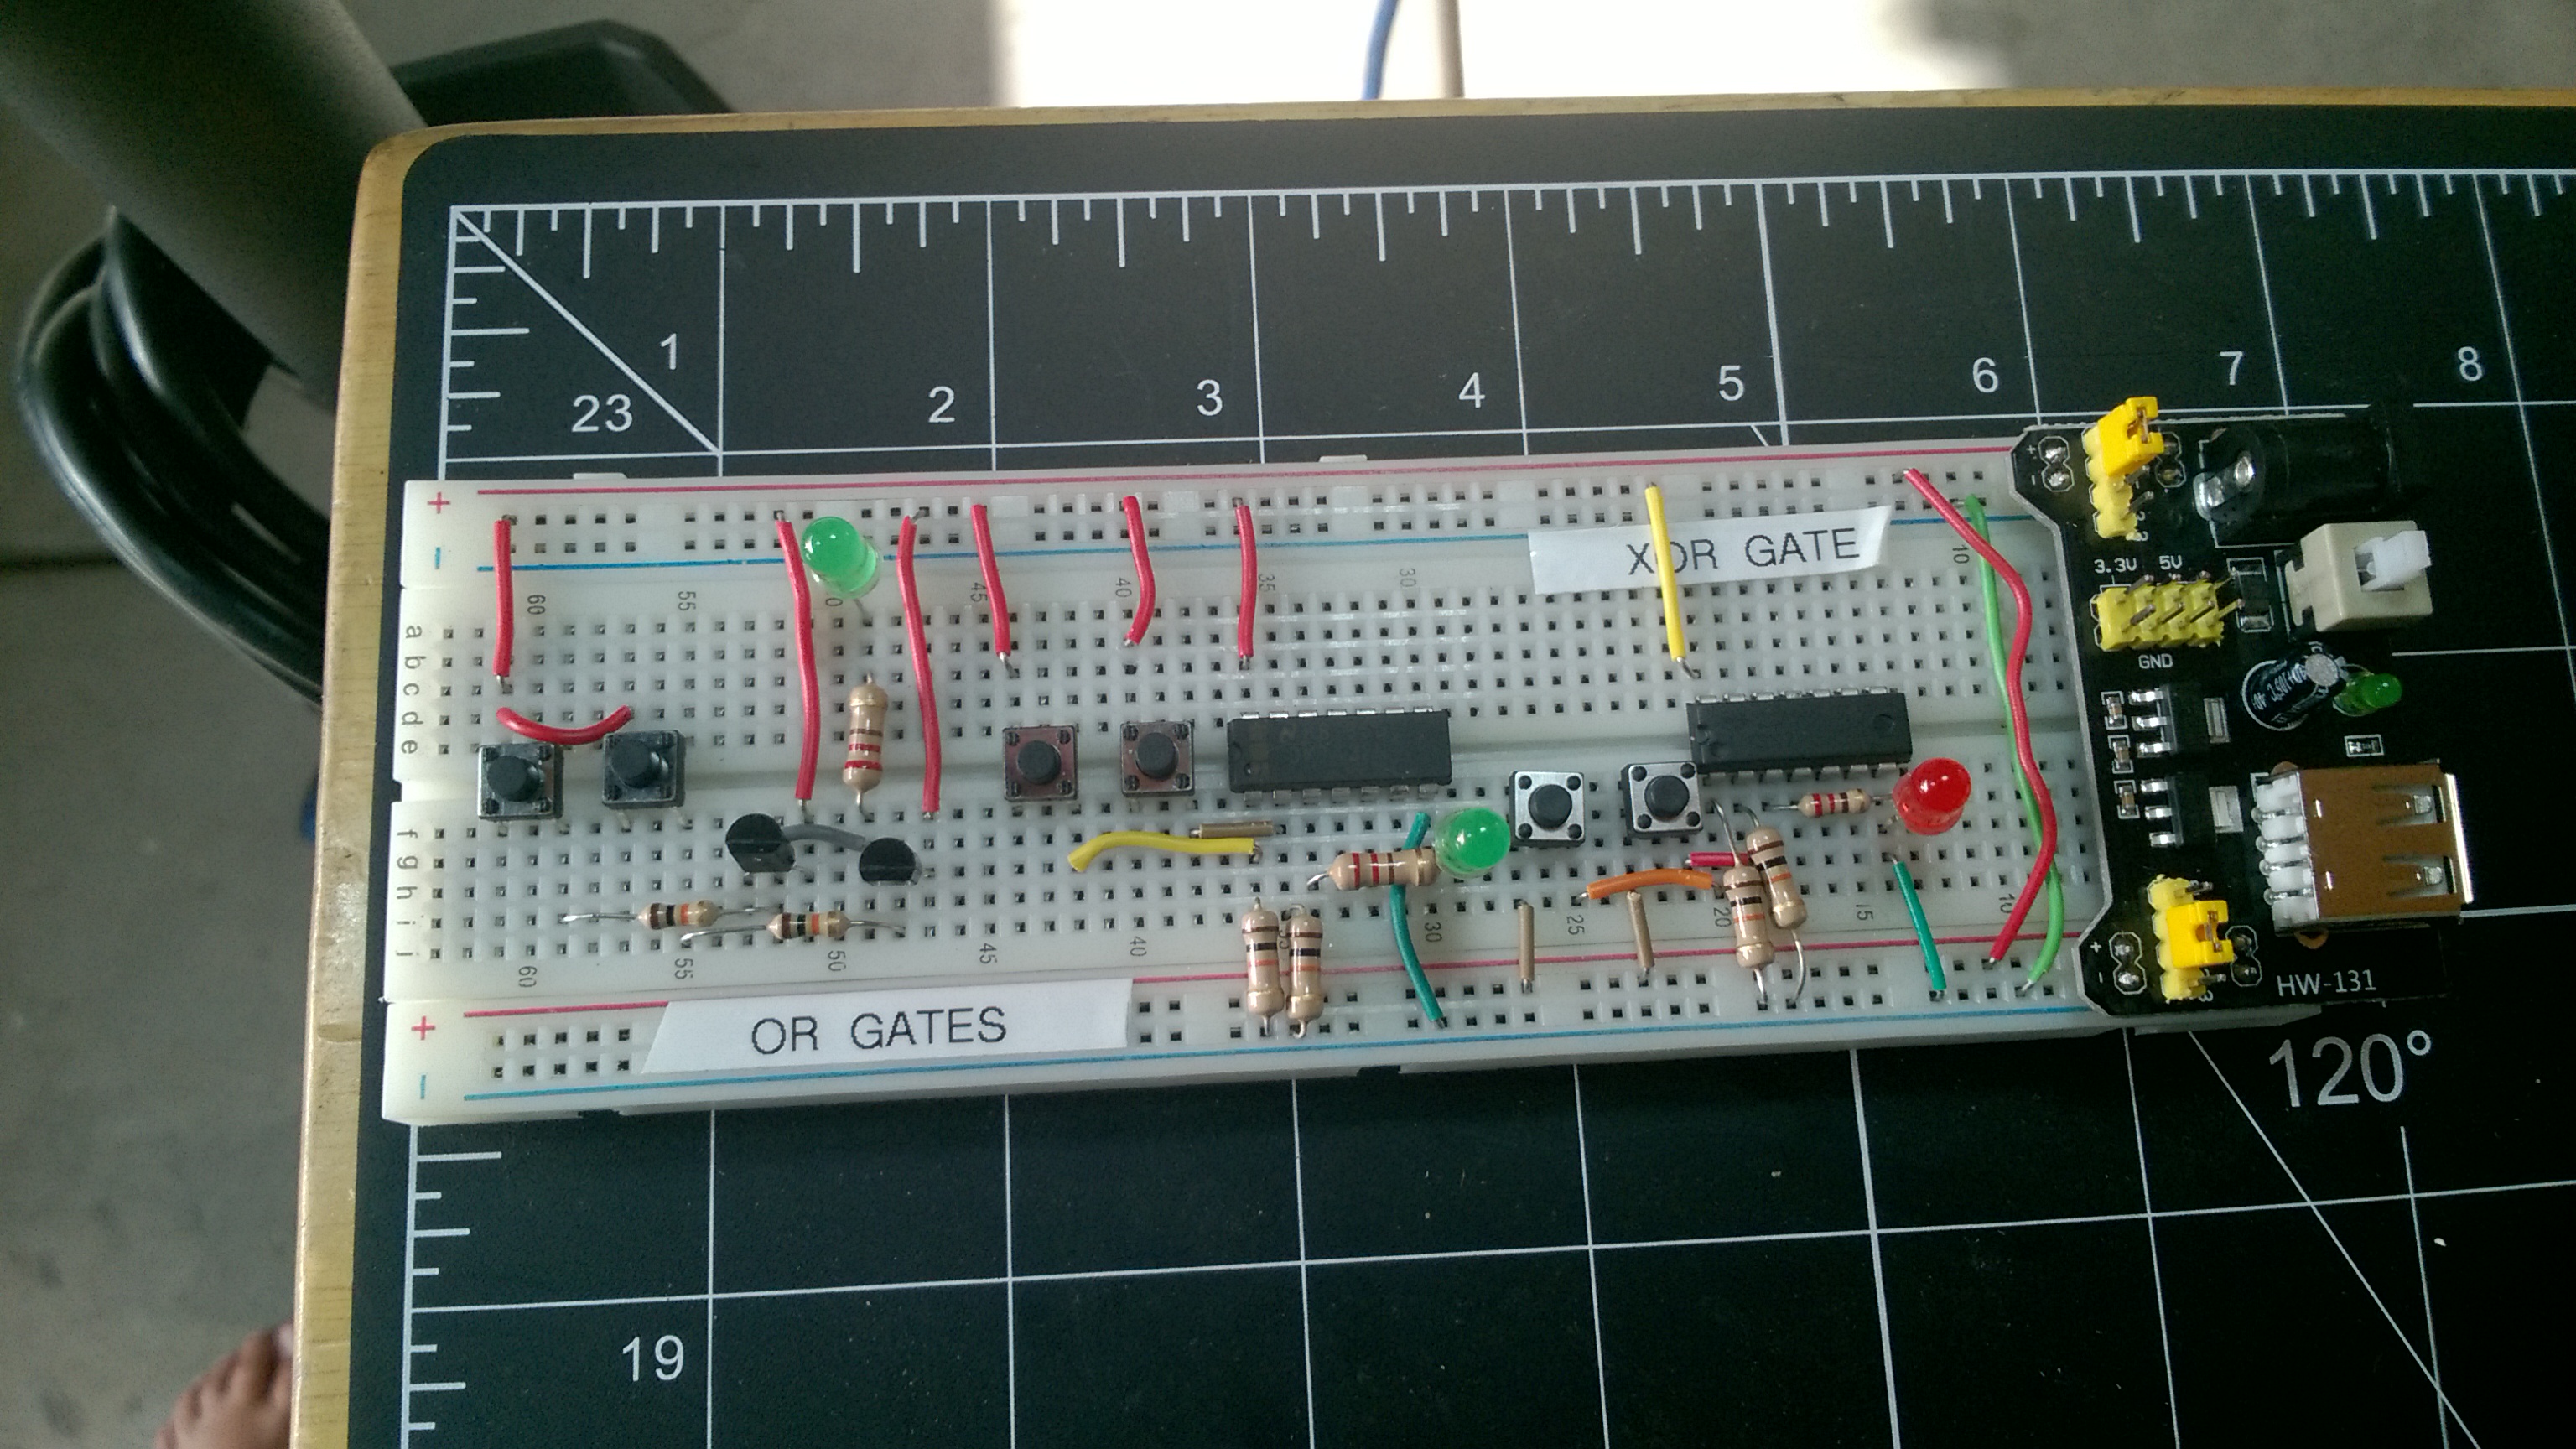
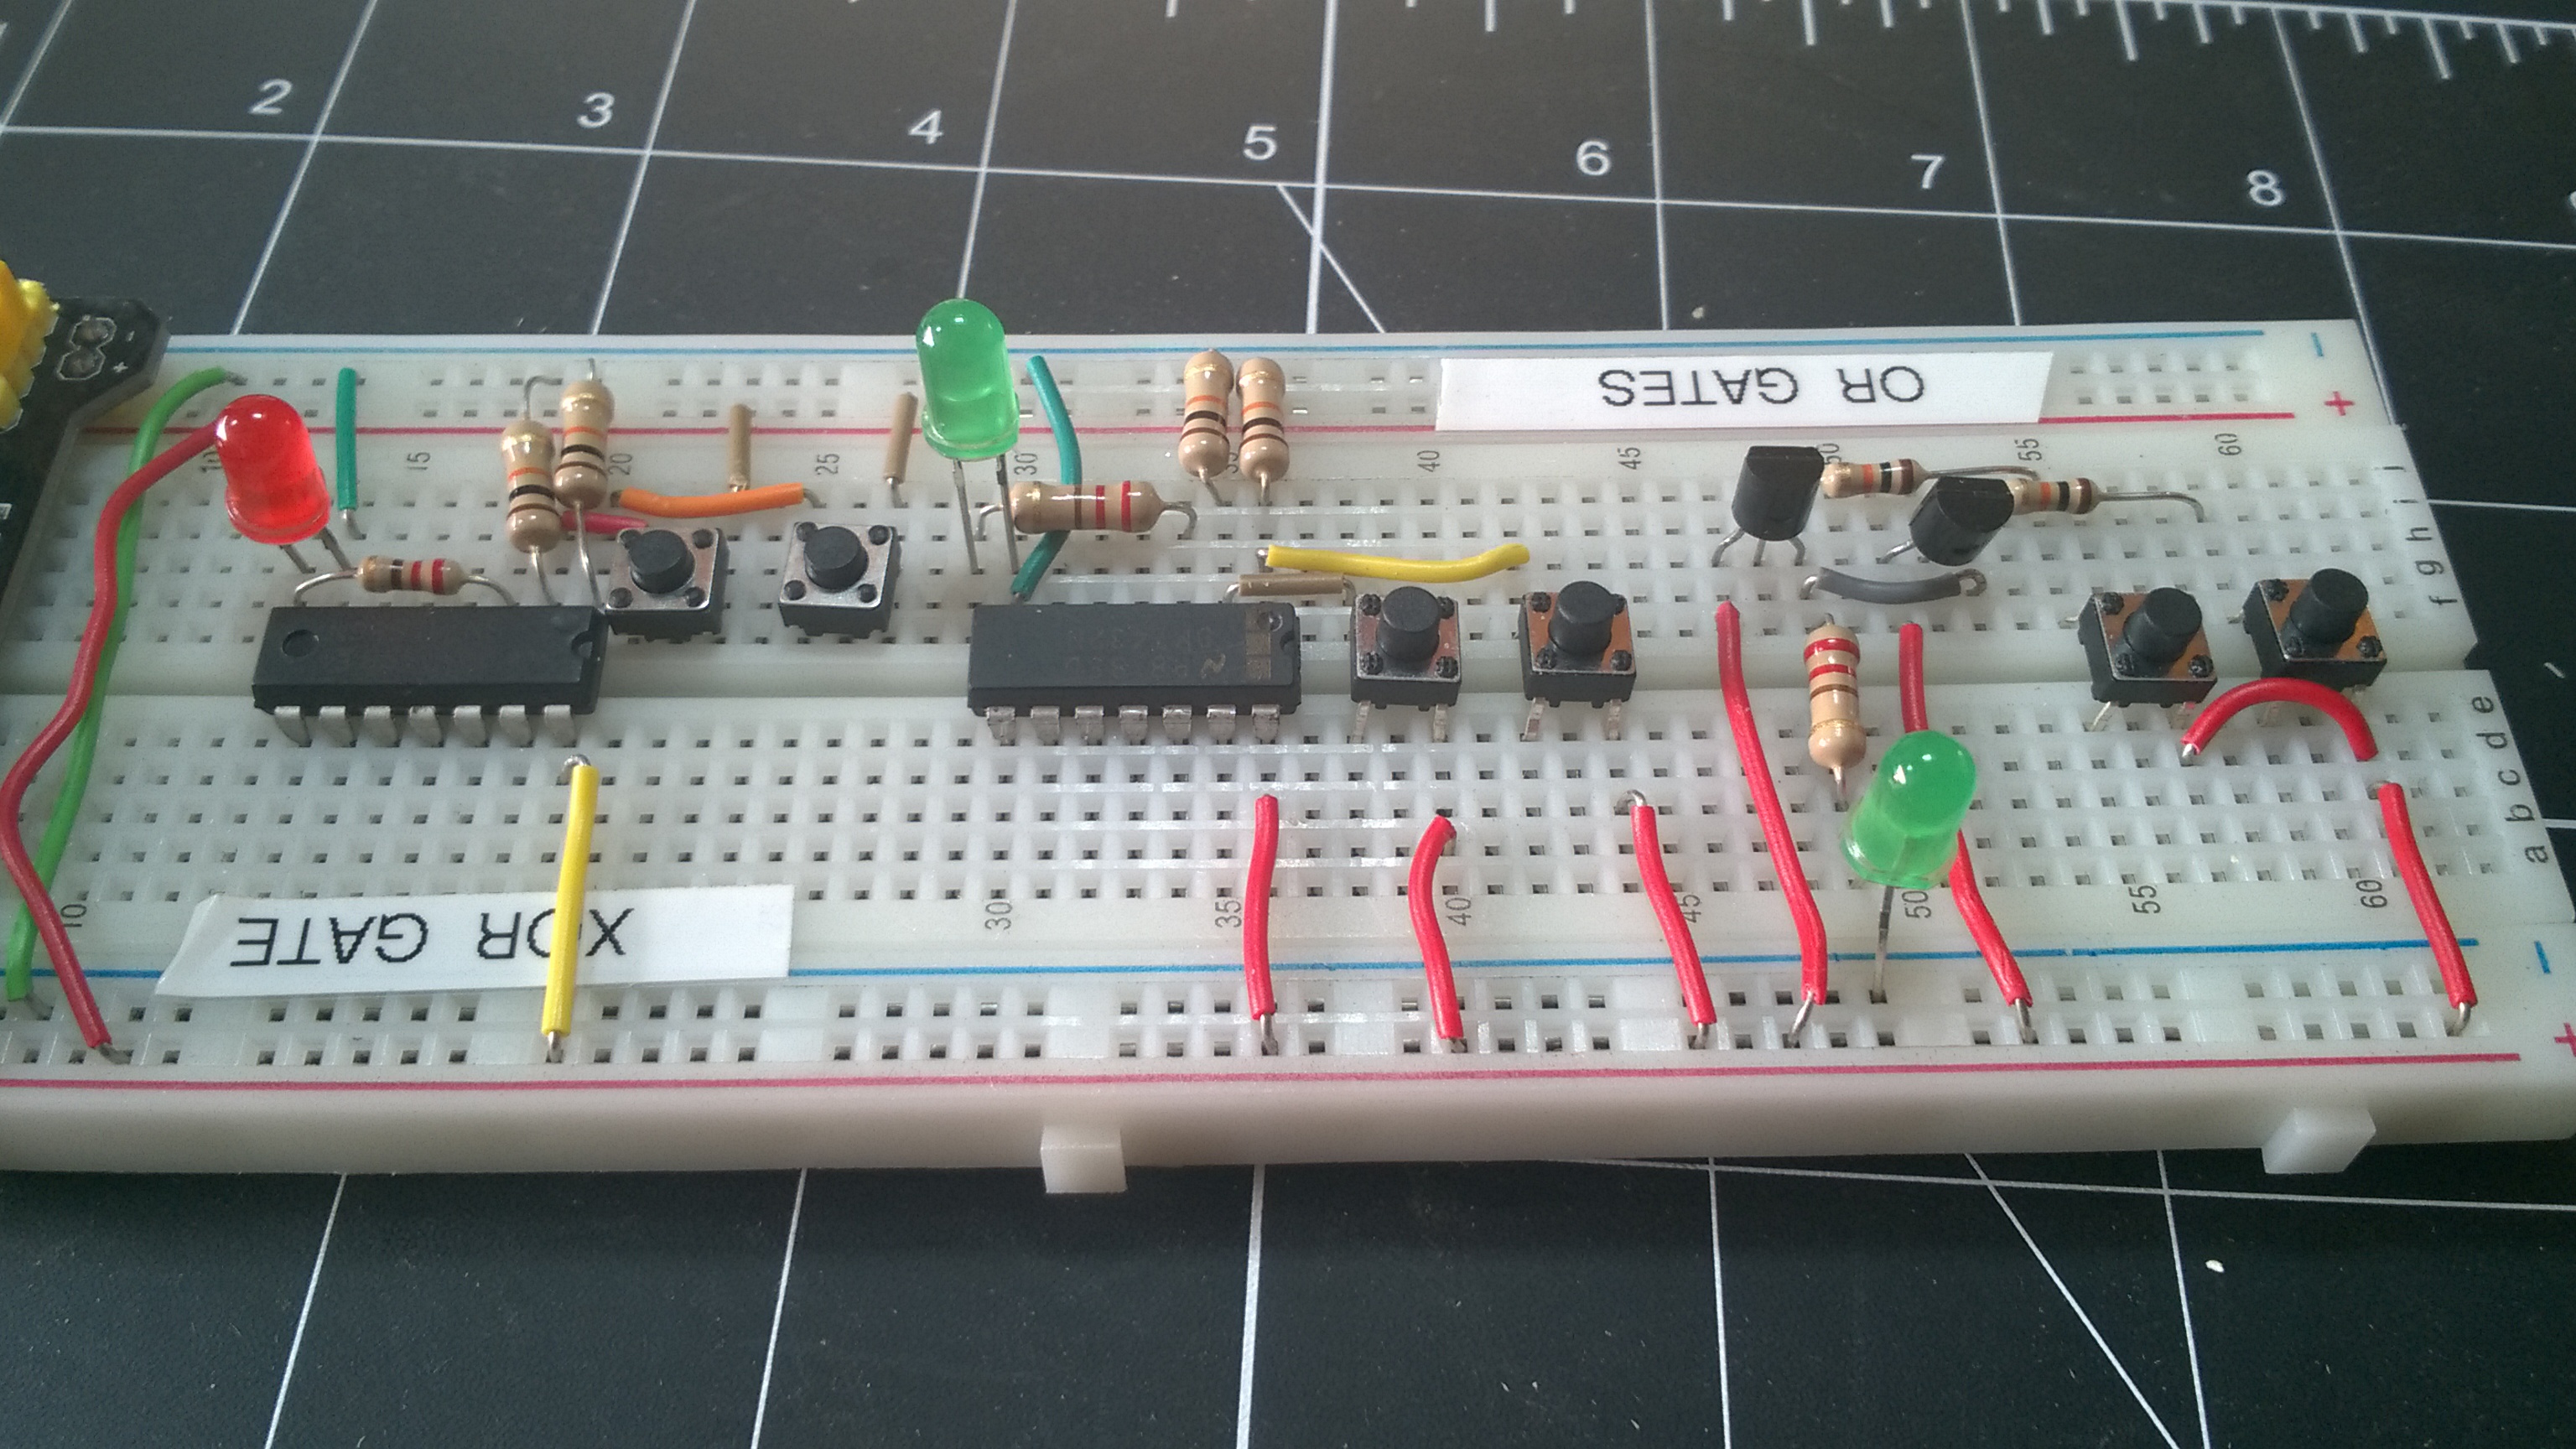
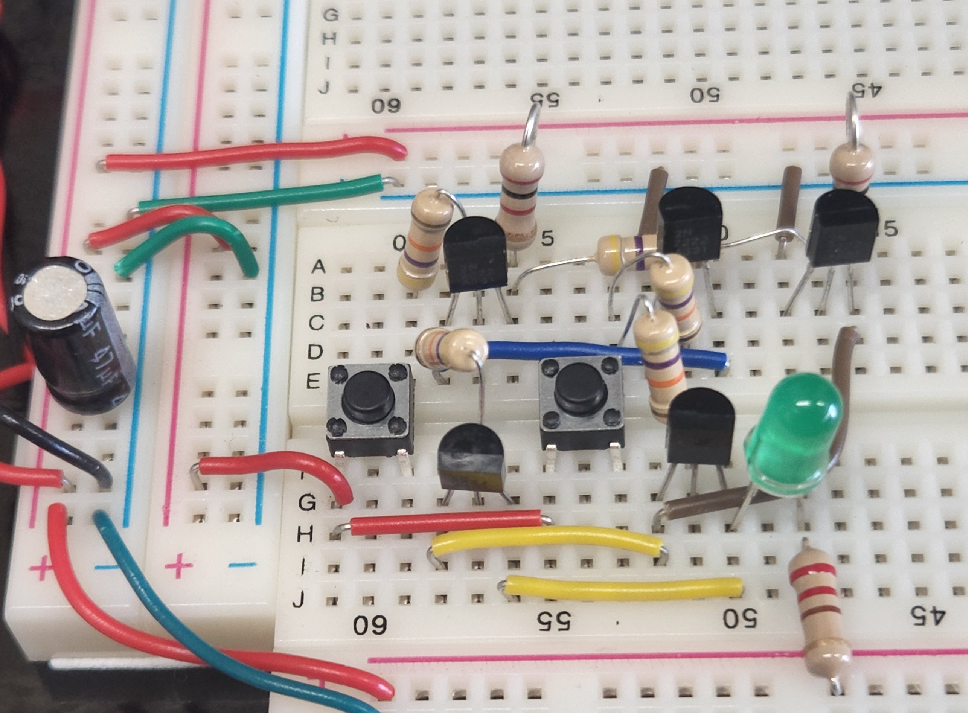
digital electronics and logic gates
- AND|OR|XOR gate logic chips
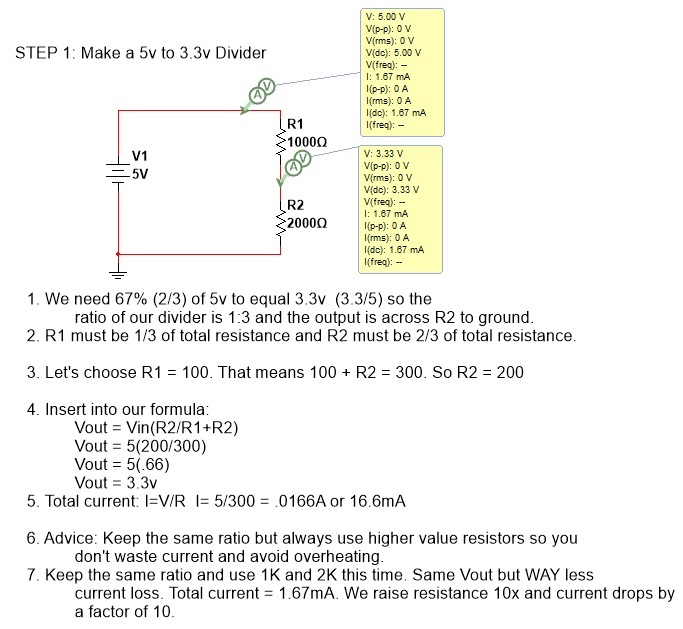
- Voltage Dividers
- Current Sources
- Transistors: Digging Deeper
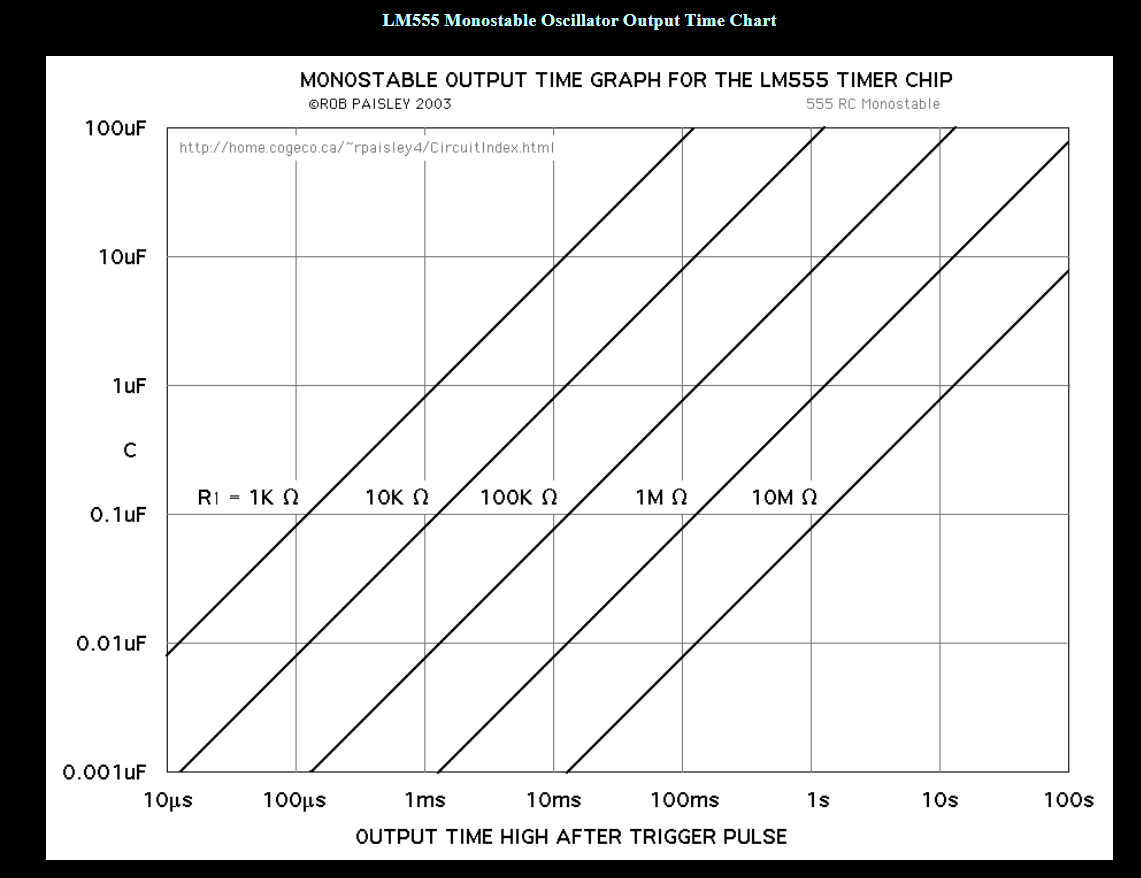
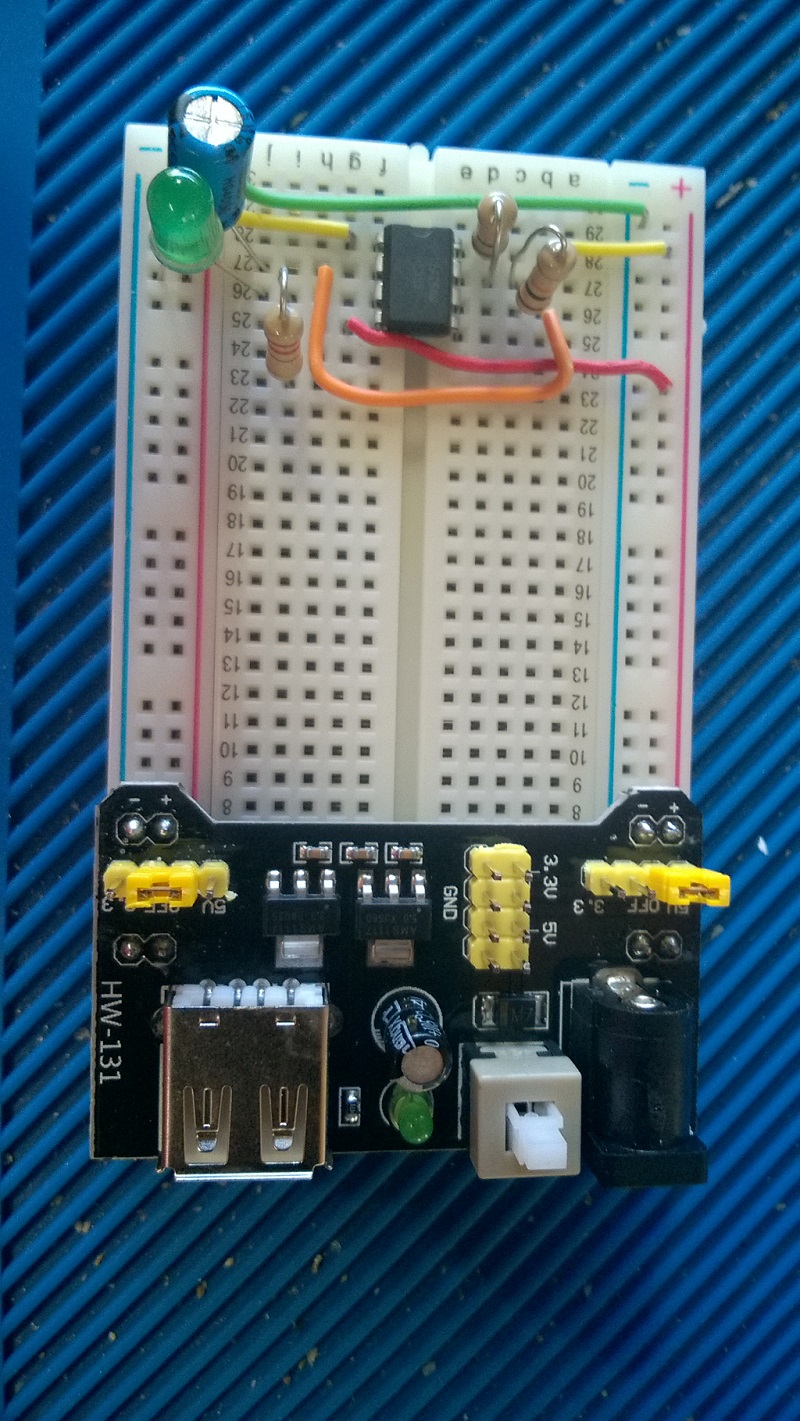
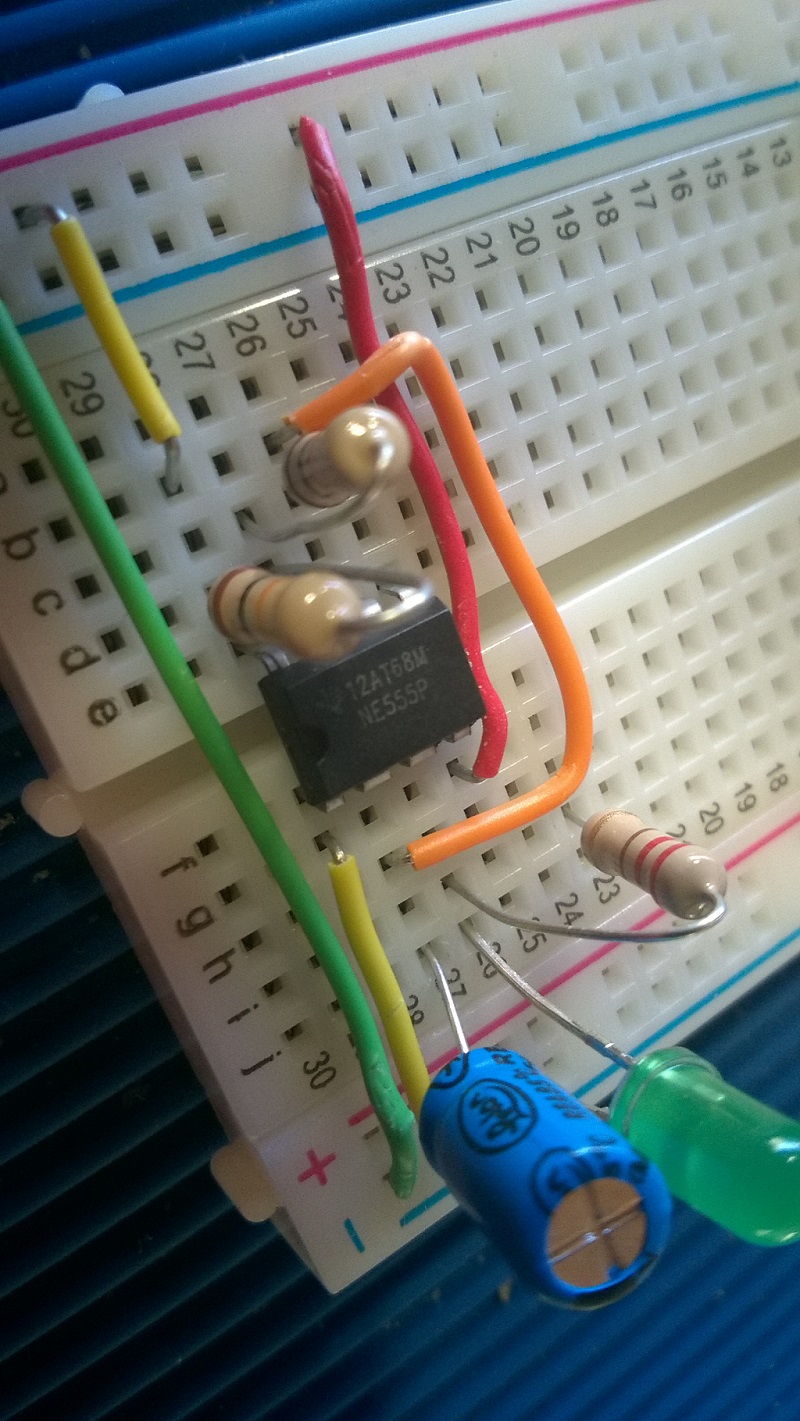
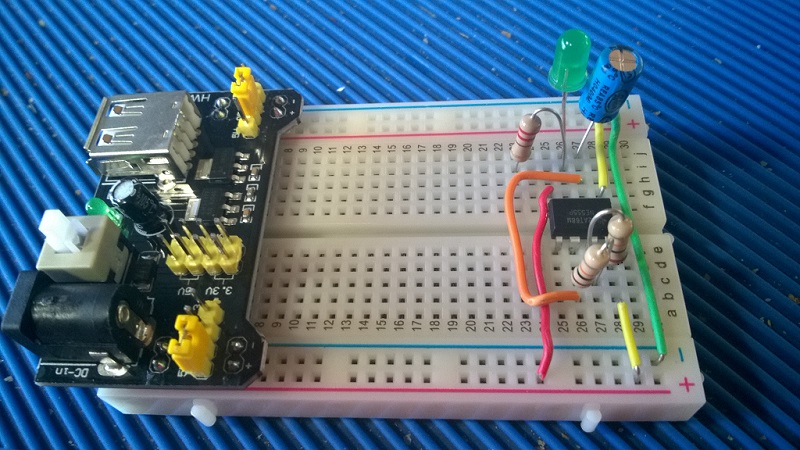
- The 555 timer chip
- Discreet 555 Kit
- Current Mirrors
|
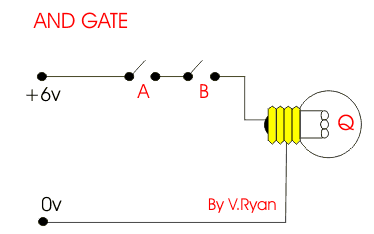
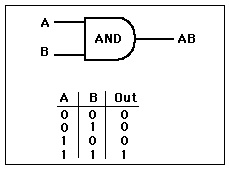
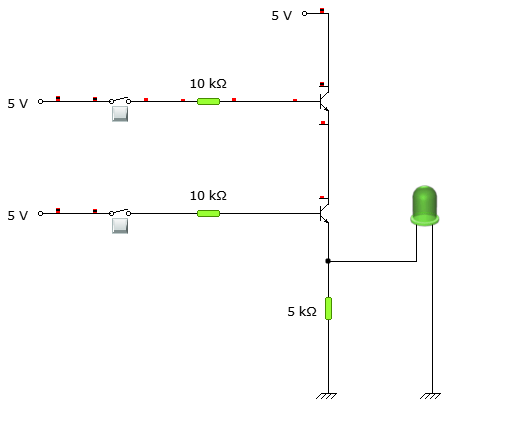
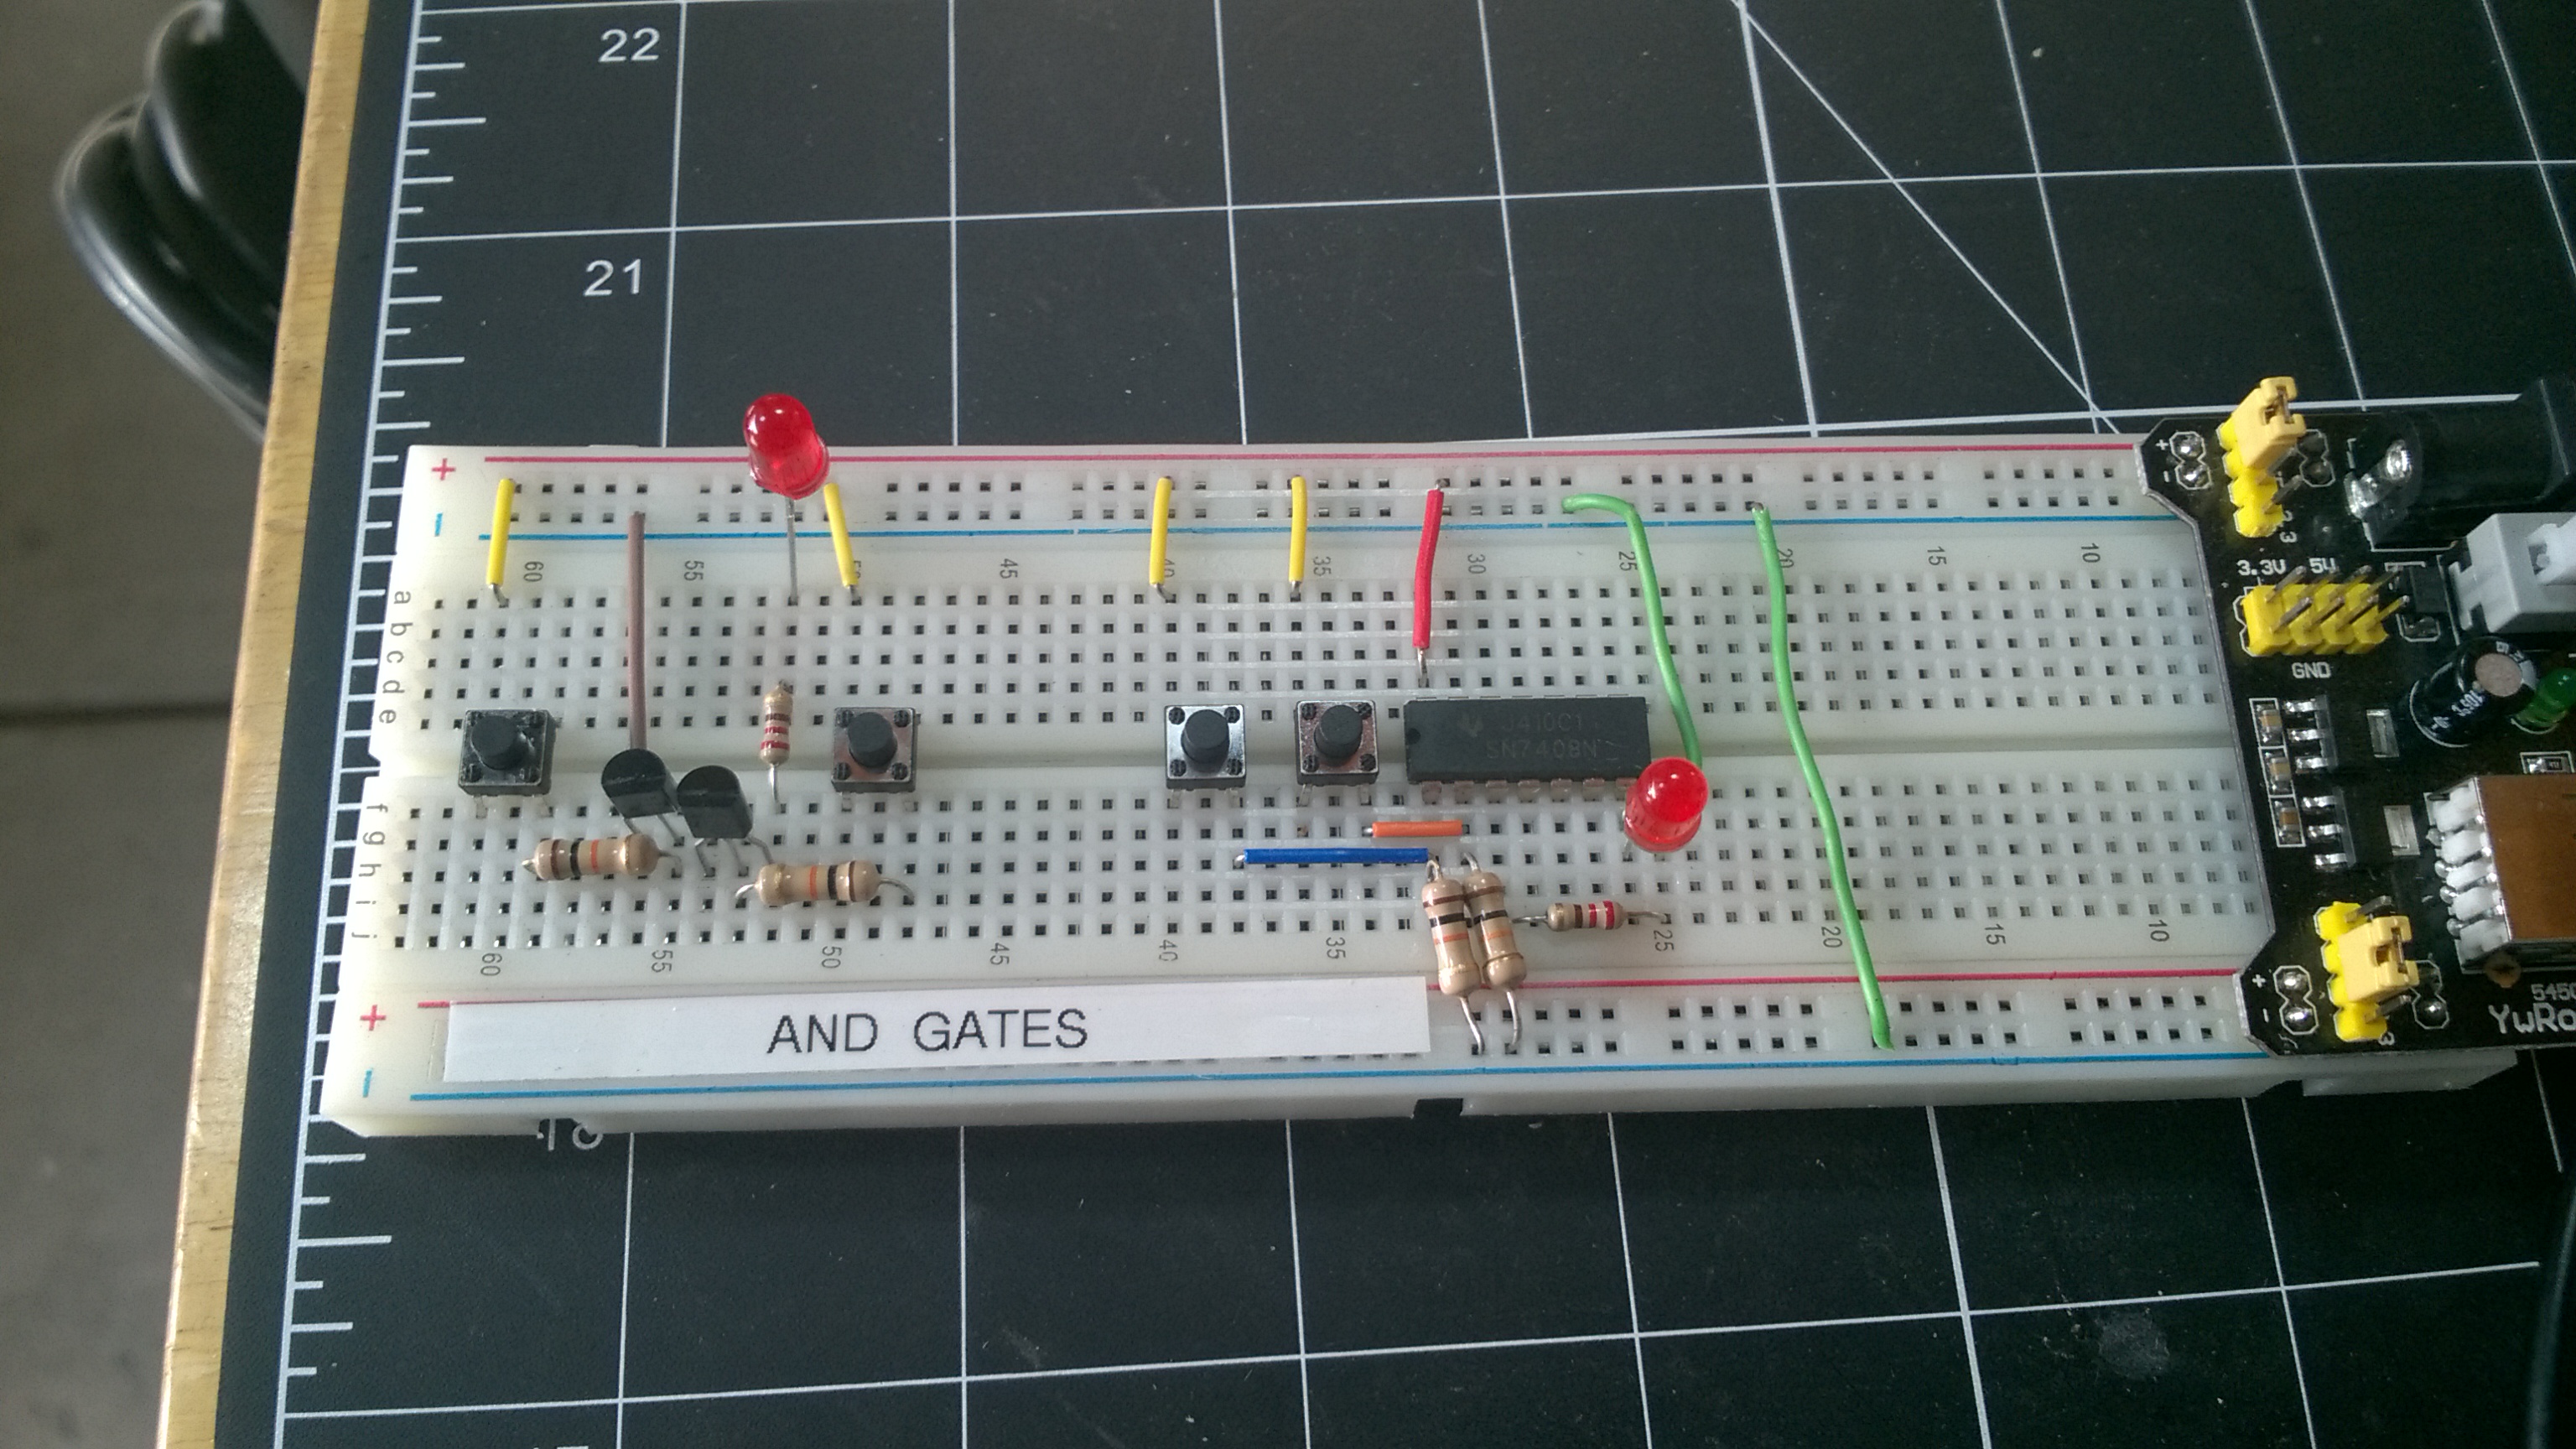
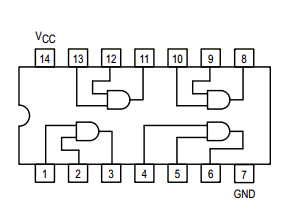
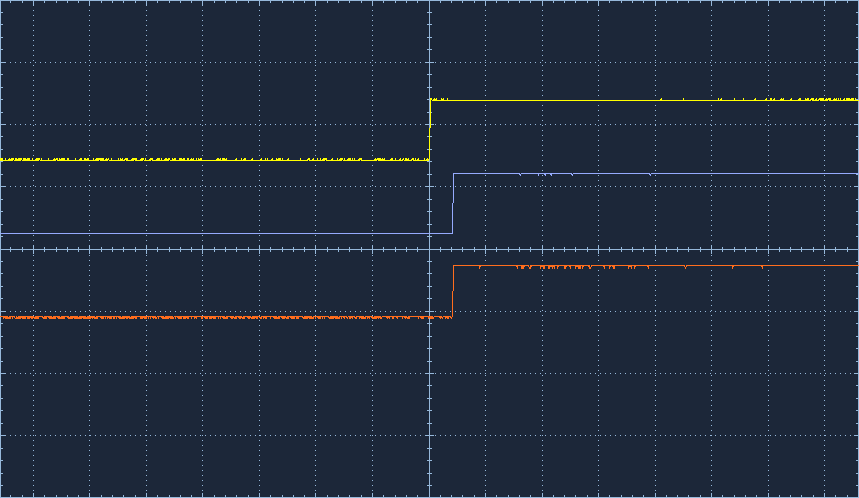
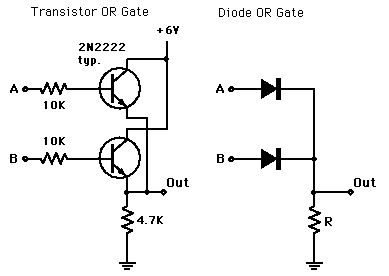
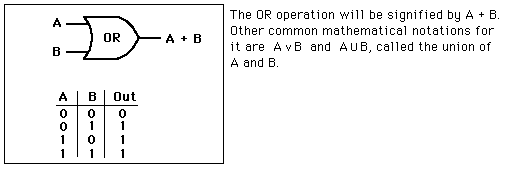
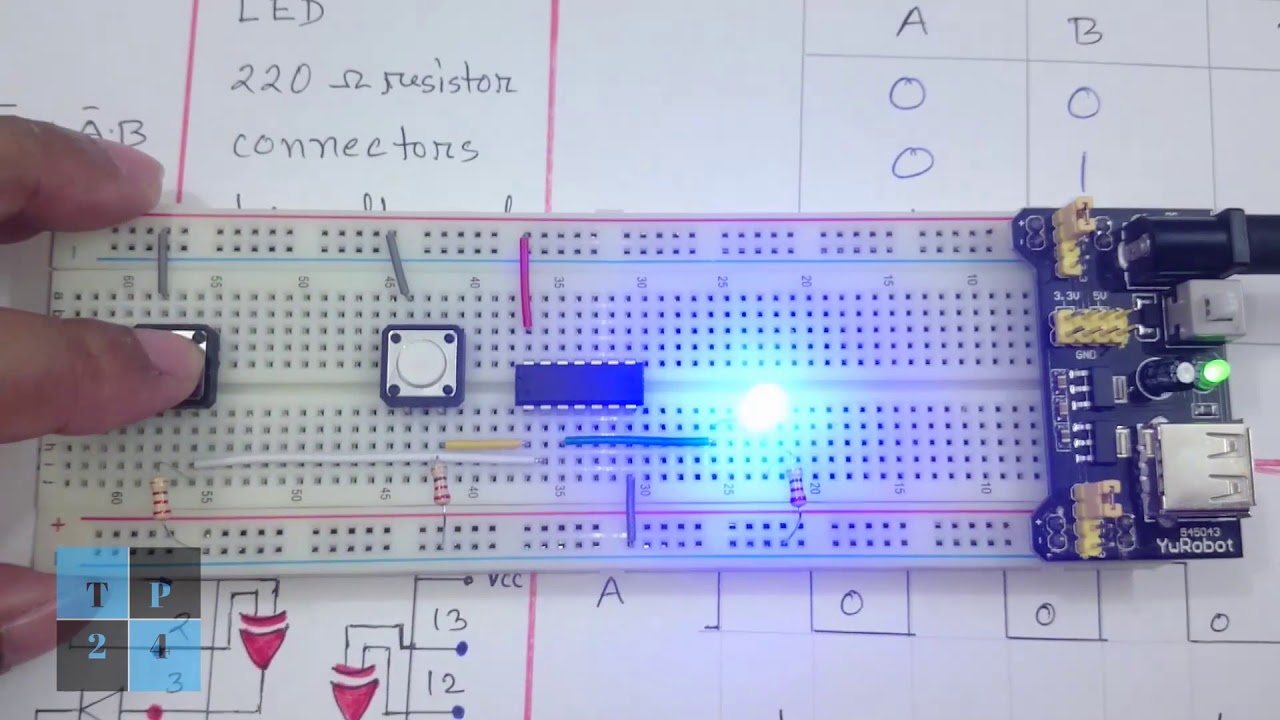
- Introduction to Digital Logic
- AND GATES
(7408 chip)
- Introduction to
Integrated Circuits (IC's)
- OR GATES
(7432 chip)
- XOR Gates
(7486 chip
exclusive OR logic)
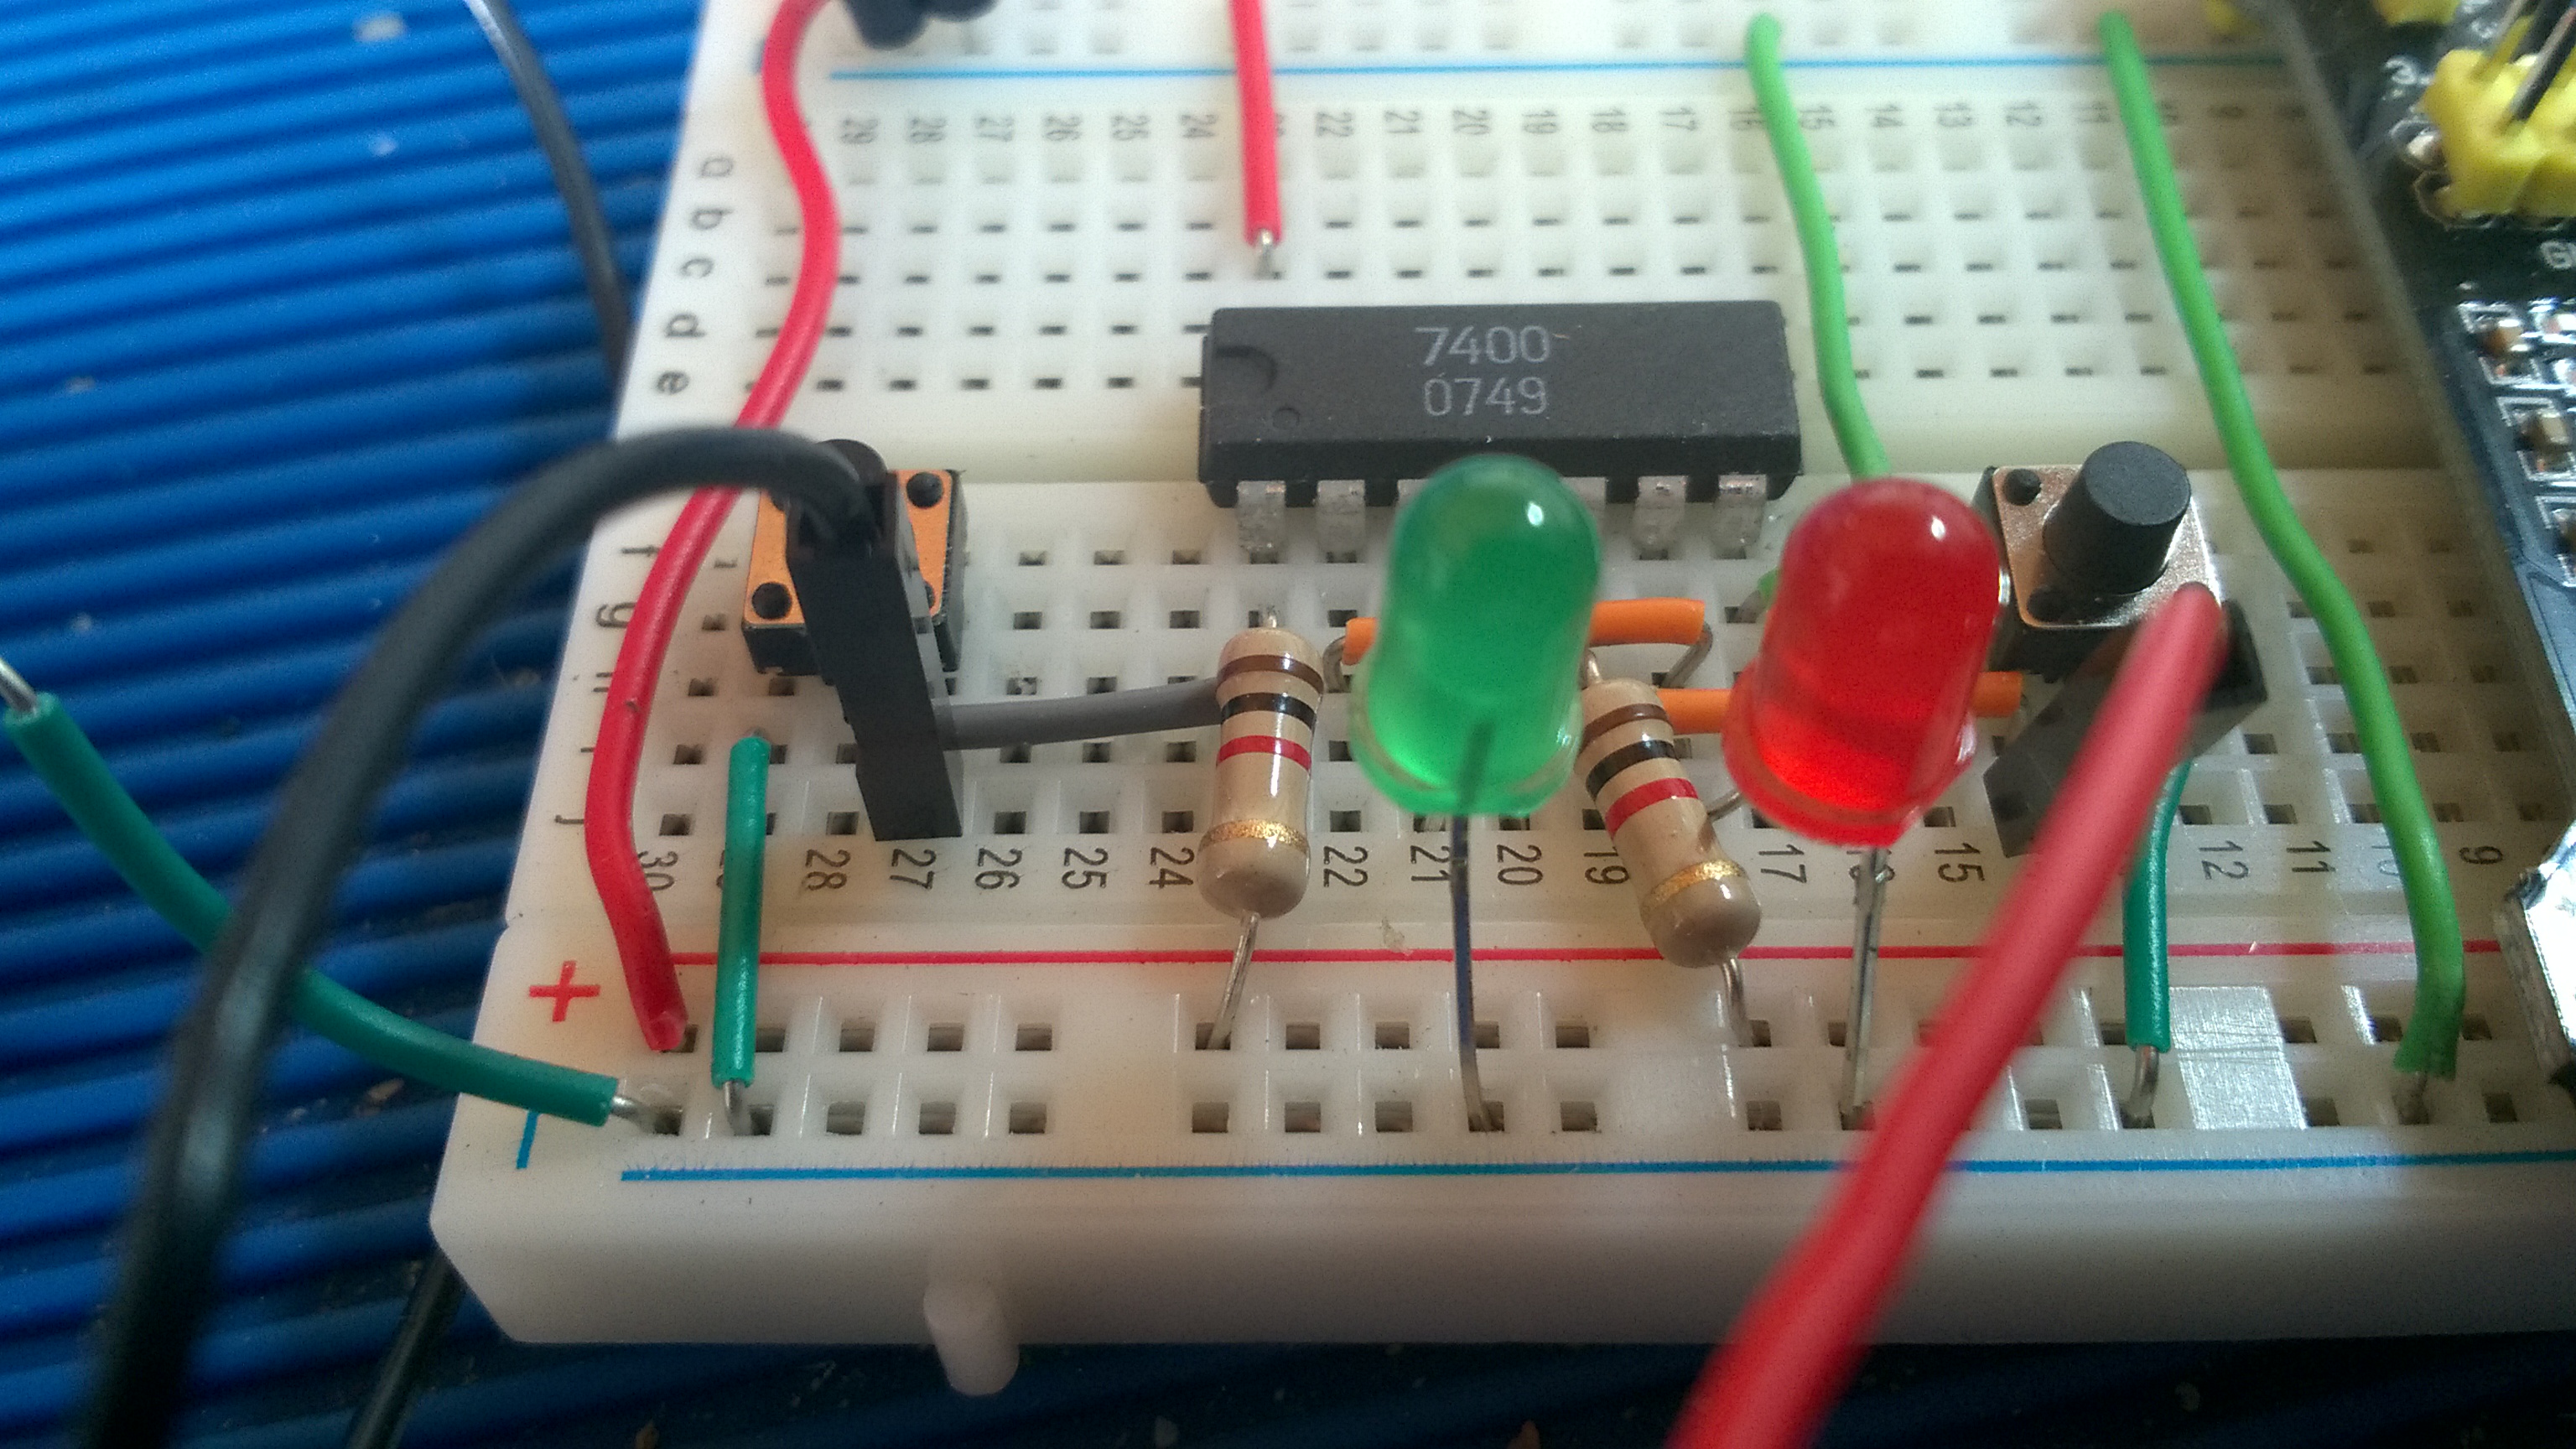
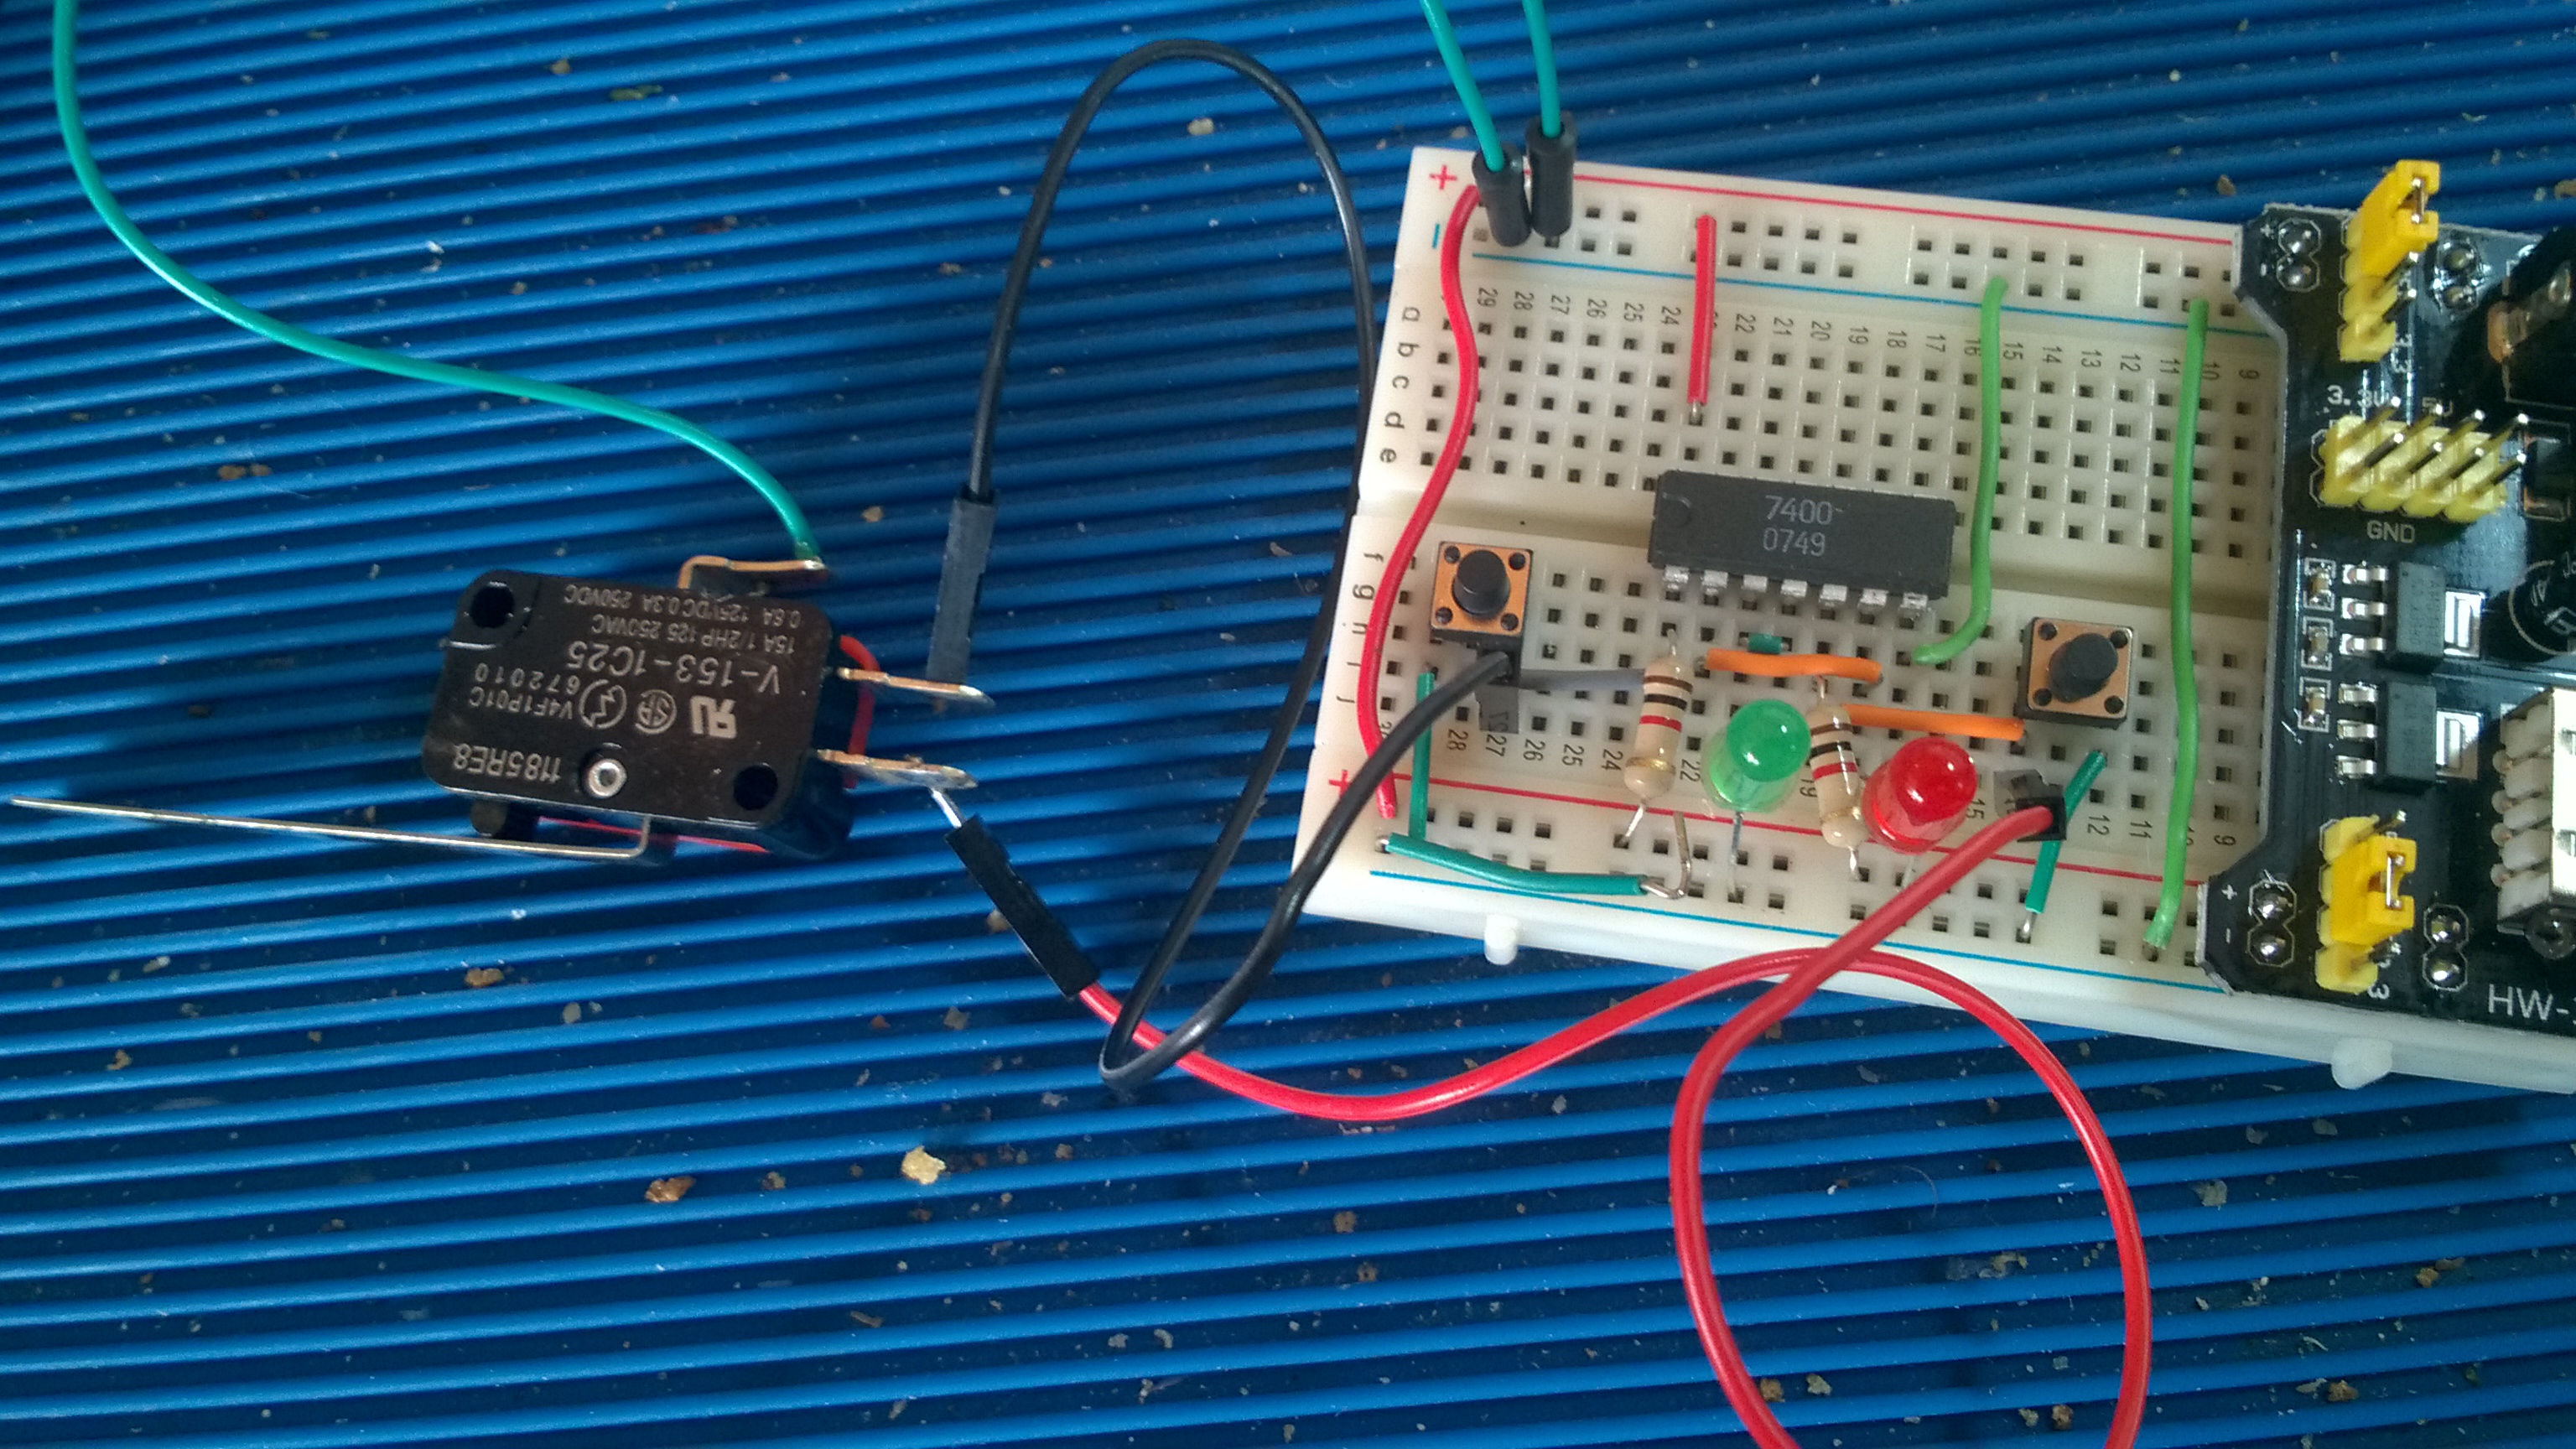
- NAND GATES
(7400 chip)
for S-R Flip-Flops/Latches
DIGGING DEEPER
INTO INTEGRATED CIRCUITS & THE LM555
- Voltage Dividers & Constant-Current Sources- Since the 555 Timer uses
these we need to learn about them first.
|
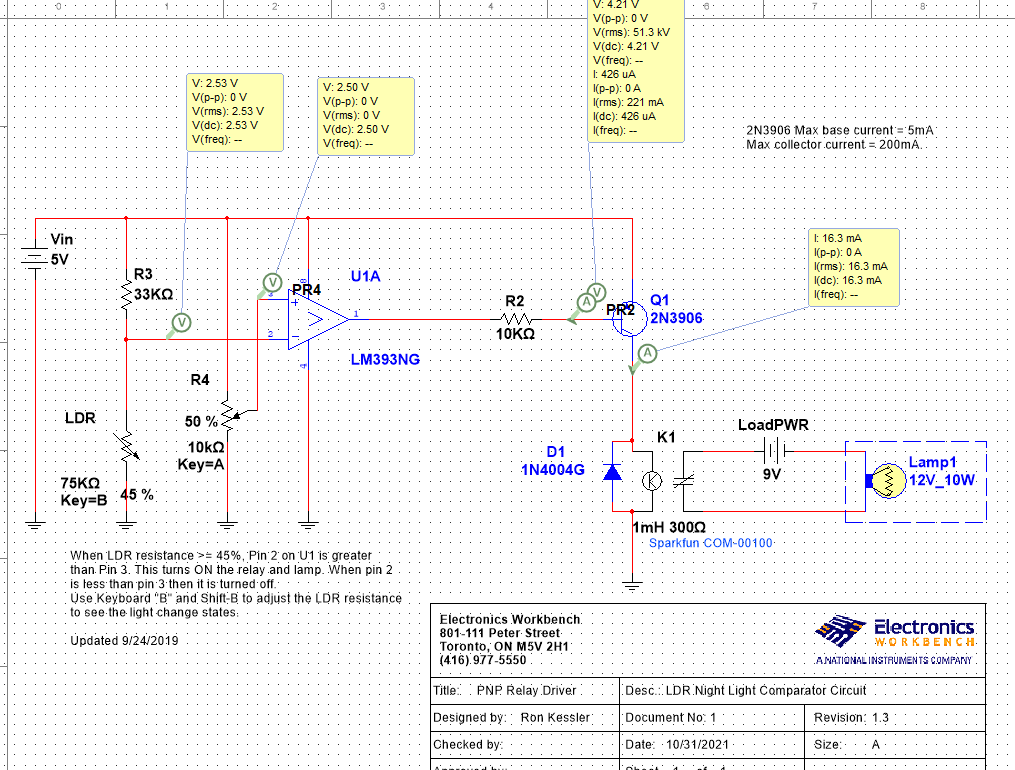
-
Lesson 9
Introduction to
operational amplifiers (OP-AMPS)
-
Using Comparators
- Introduction to passive and active RC
Filters
|
- Introduction to Op-Amps (LM741 & LM393)
- Light-Dependant-Resistors
- OP Amp Demo Board (LM741)
|
|
|
-
Lesson 10
Introduction to
Arduino and C# programming
- Introduction to Visual Studio & Arduino
Platform development
|
- Introduction to Windows©
Desktop Programming & SQL Databases
- Learning to control Arduino with C# Desktop Applications
- Adafruit ESP8266 Feather Huzzah board &
QV ESP32 Devkit Board
- Bluetooth & Visual Studio Communication
Projects for Arduino:
- Demo 1: C# to UNO Blink breadboard LED
- Introduction
to SQL Database apps:
- Demo:
SQL Database Demo C# 3-tier model.
(Download zip file and unpack to
desktop. With Visual Studio 2022 installed, open folder and
double-click on the .SLN file to load app. Then click Run
(Green Arrow) on the toolbar. Click help menu in the app
main form for features).
|
|
|
- Introduction to Microchip Studio 7 and C Programming
-
GET STARTED HERE:
-
Download Microchip Studio
here.
This takes a while
so be patient. You only need to include AVR Microcontrollers for
our class. Pin to your start and/or taskbar
-
Download the "SimulIDE" simulator
here.
Extract. In the \bin folder is the
simulide.exe file. Make a shortcut to your desktop to run it. No
installer needed.
-
Install
AVRDUDE 6.3 to a new folder
called
C:\AVRDUDE
(This uploads C code in MC Studio to UNO
board. We may use the version in the Arduino IDE but do this in
case we need it.)
-
See my
notes on AVRDUDE
-
START CODING HERE:
|
|
Introduction to Assembly Language
Using Loops in Assembler
For-Loop video good place to start!
3-BlinkyWithASMLoops project
Look here for how to create the external tool in
MC Studio to upload to your UNO board.
|
-
Lesson 12
Introduction to
RF. AM/FM radio, mixers, modulation &
demodulation.
- Introduction to LoRa Radio modules.
- Getting to know XBEE radios
|
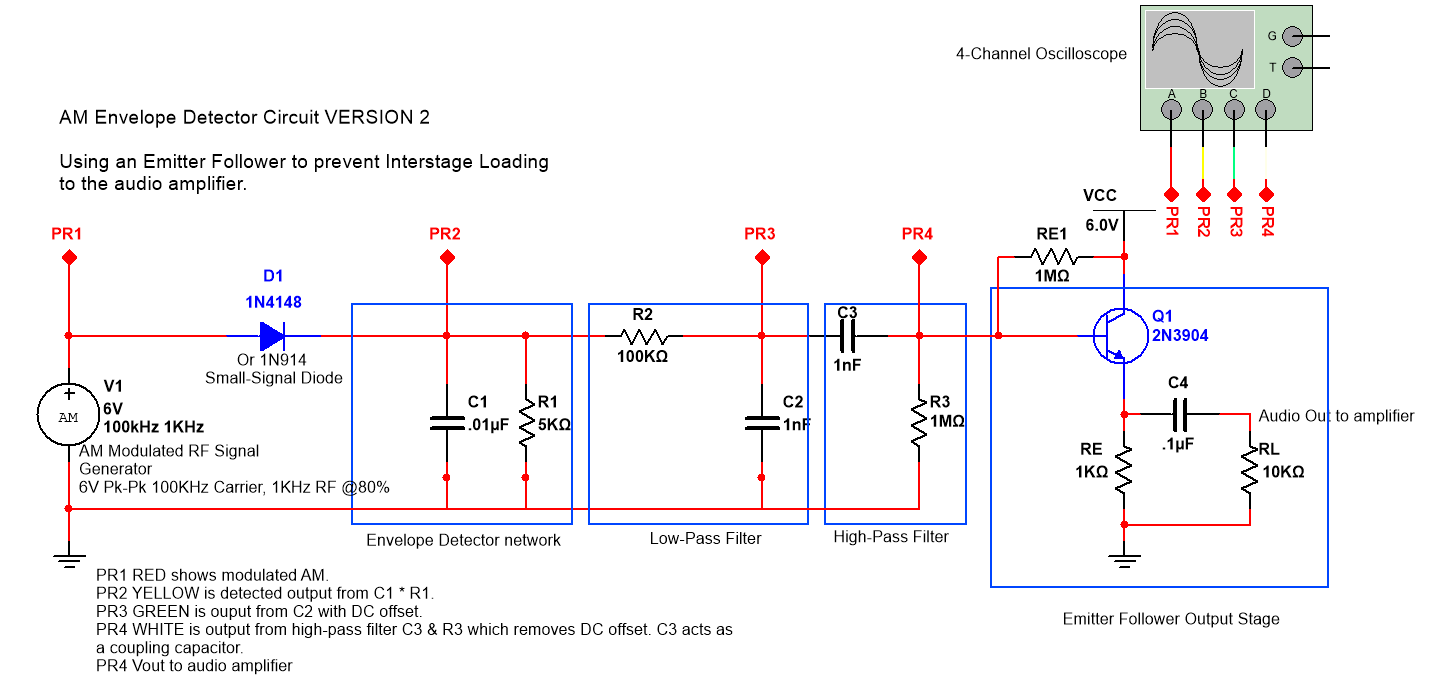
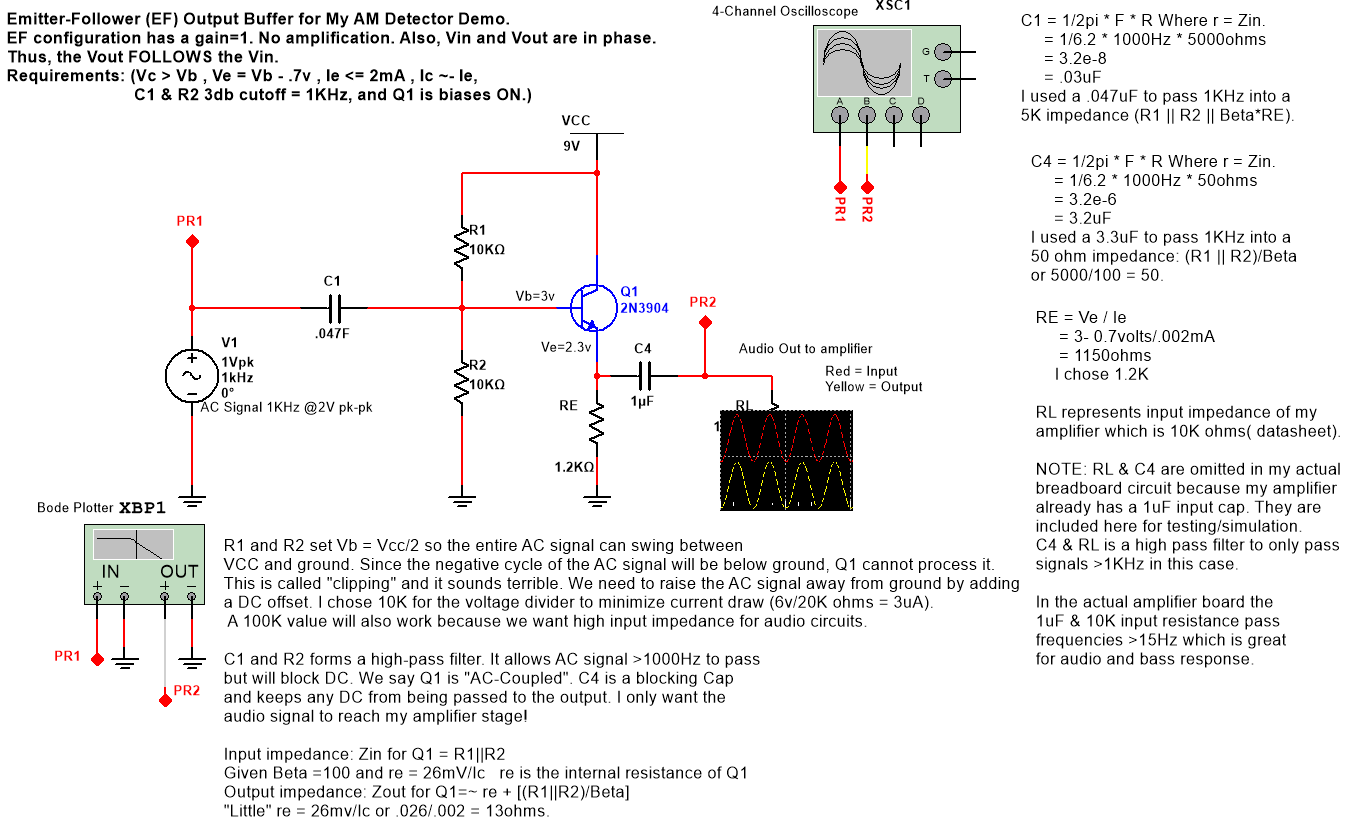
- Introduction to Radio
- Classes of Amplifiers (A, B, AB, D)
video
- Transistor amplifier configuration options
video
- Adding an audio amplifier to my detector: The Emitter Follower Amplifier
video
|
|
|
- XBEE Radio Projects (for XBEE Pro S1
radios)
|
Copyright © 2021-2024 Ronald P. Kessler, Ph.D.
All rights reserved.
Revised: October 6, 2024 |
